


CNC Milled Fingerboards
Ever since I was a kid, I enjoyed having a fingerboard on my desk. Fingerboards are tiny skateboards you can do tricks on with your fingers. It's a fun toy to play with as I'm working through programming problems or I just need a break from the screen.
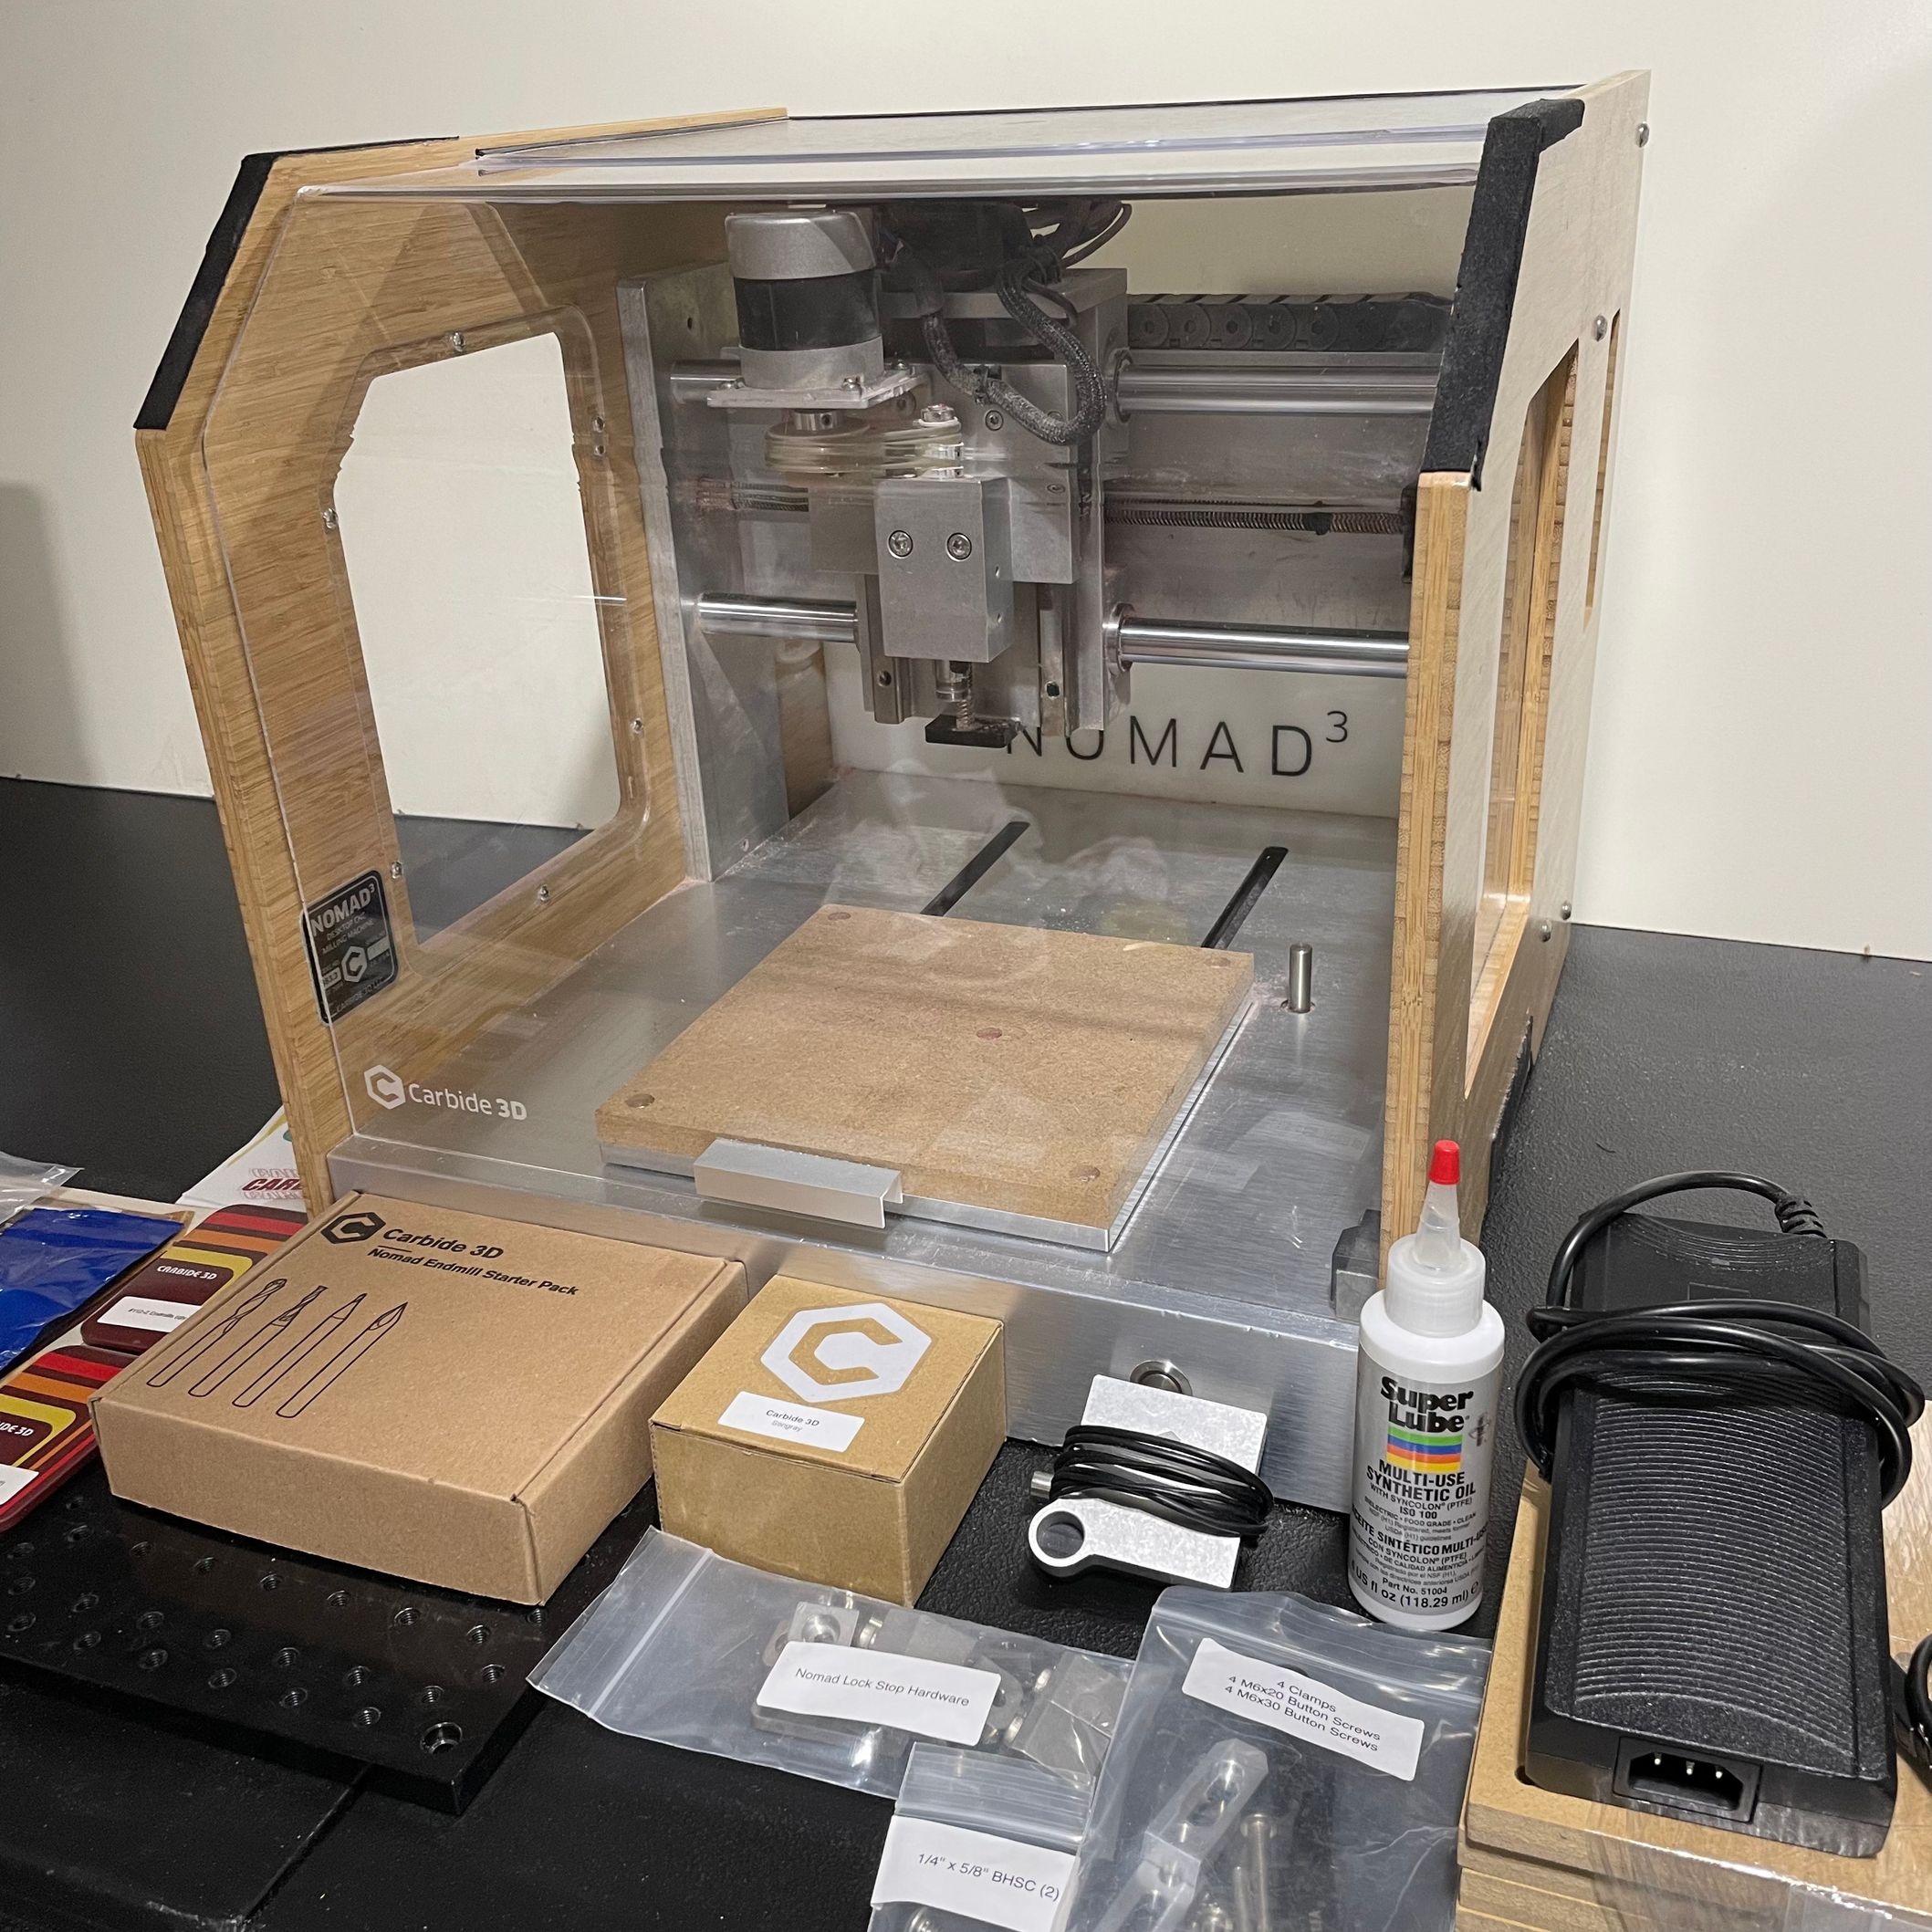
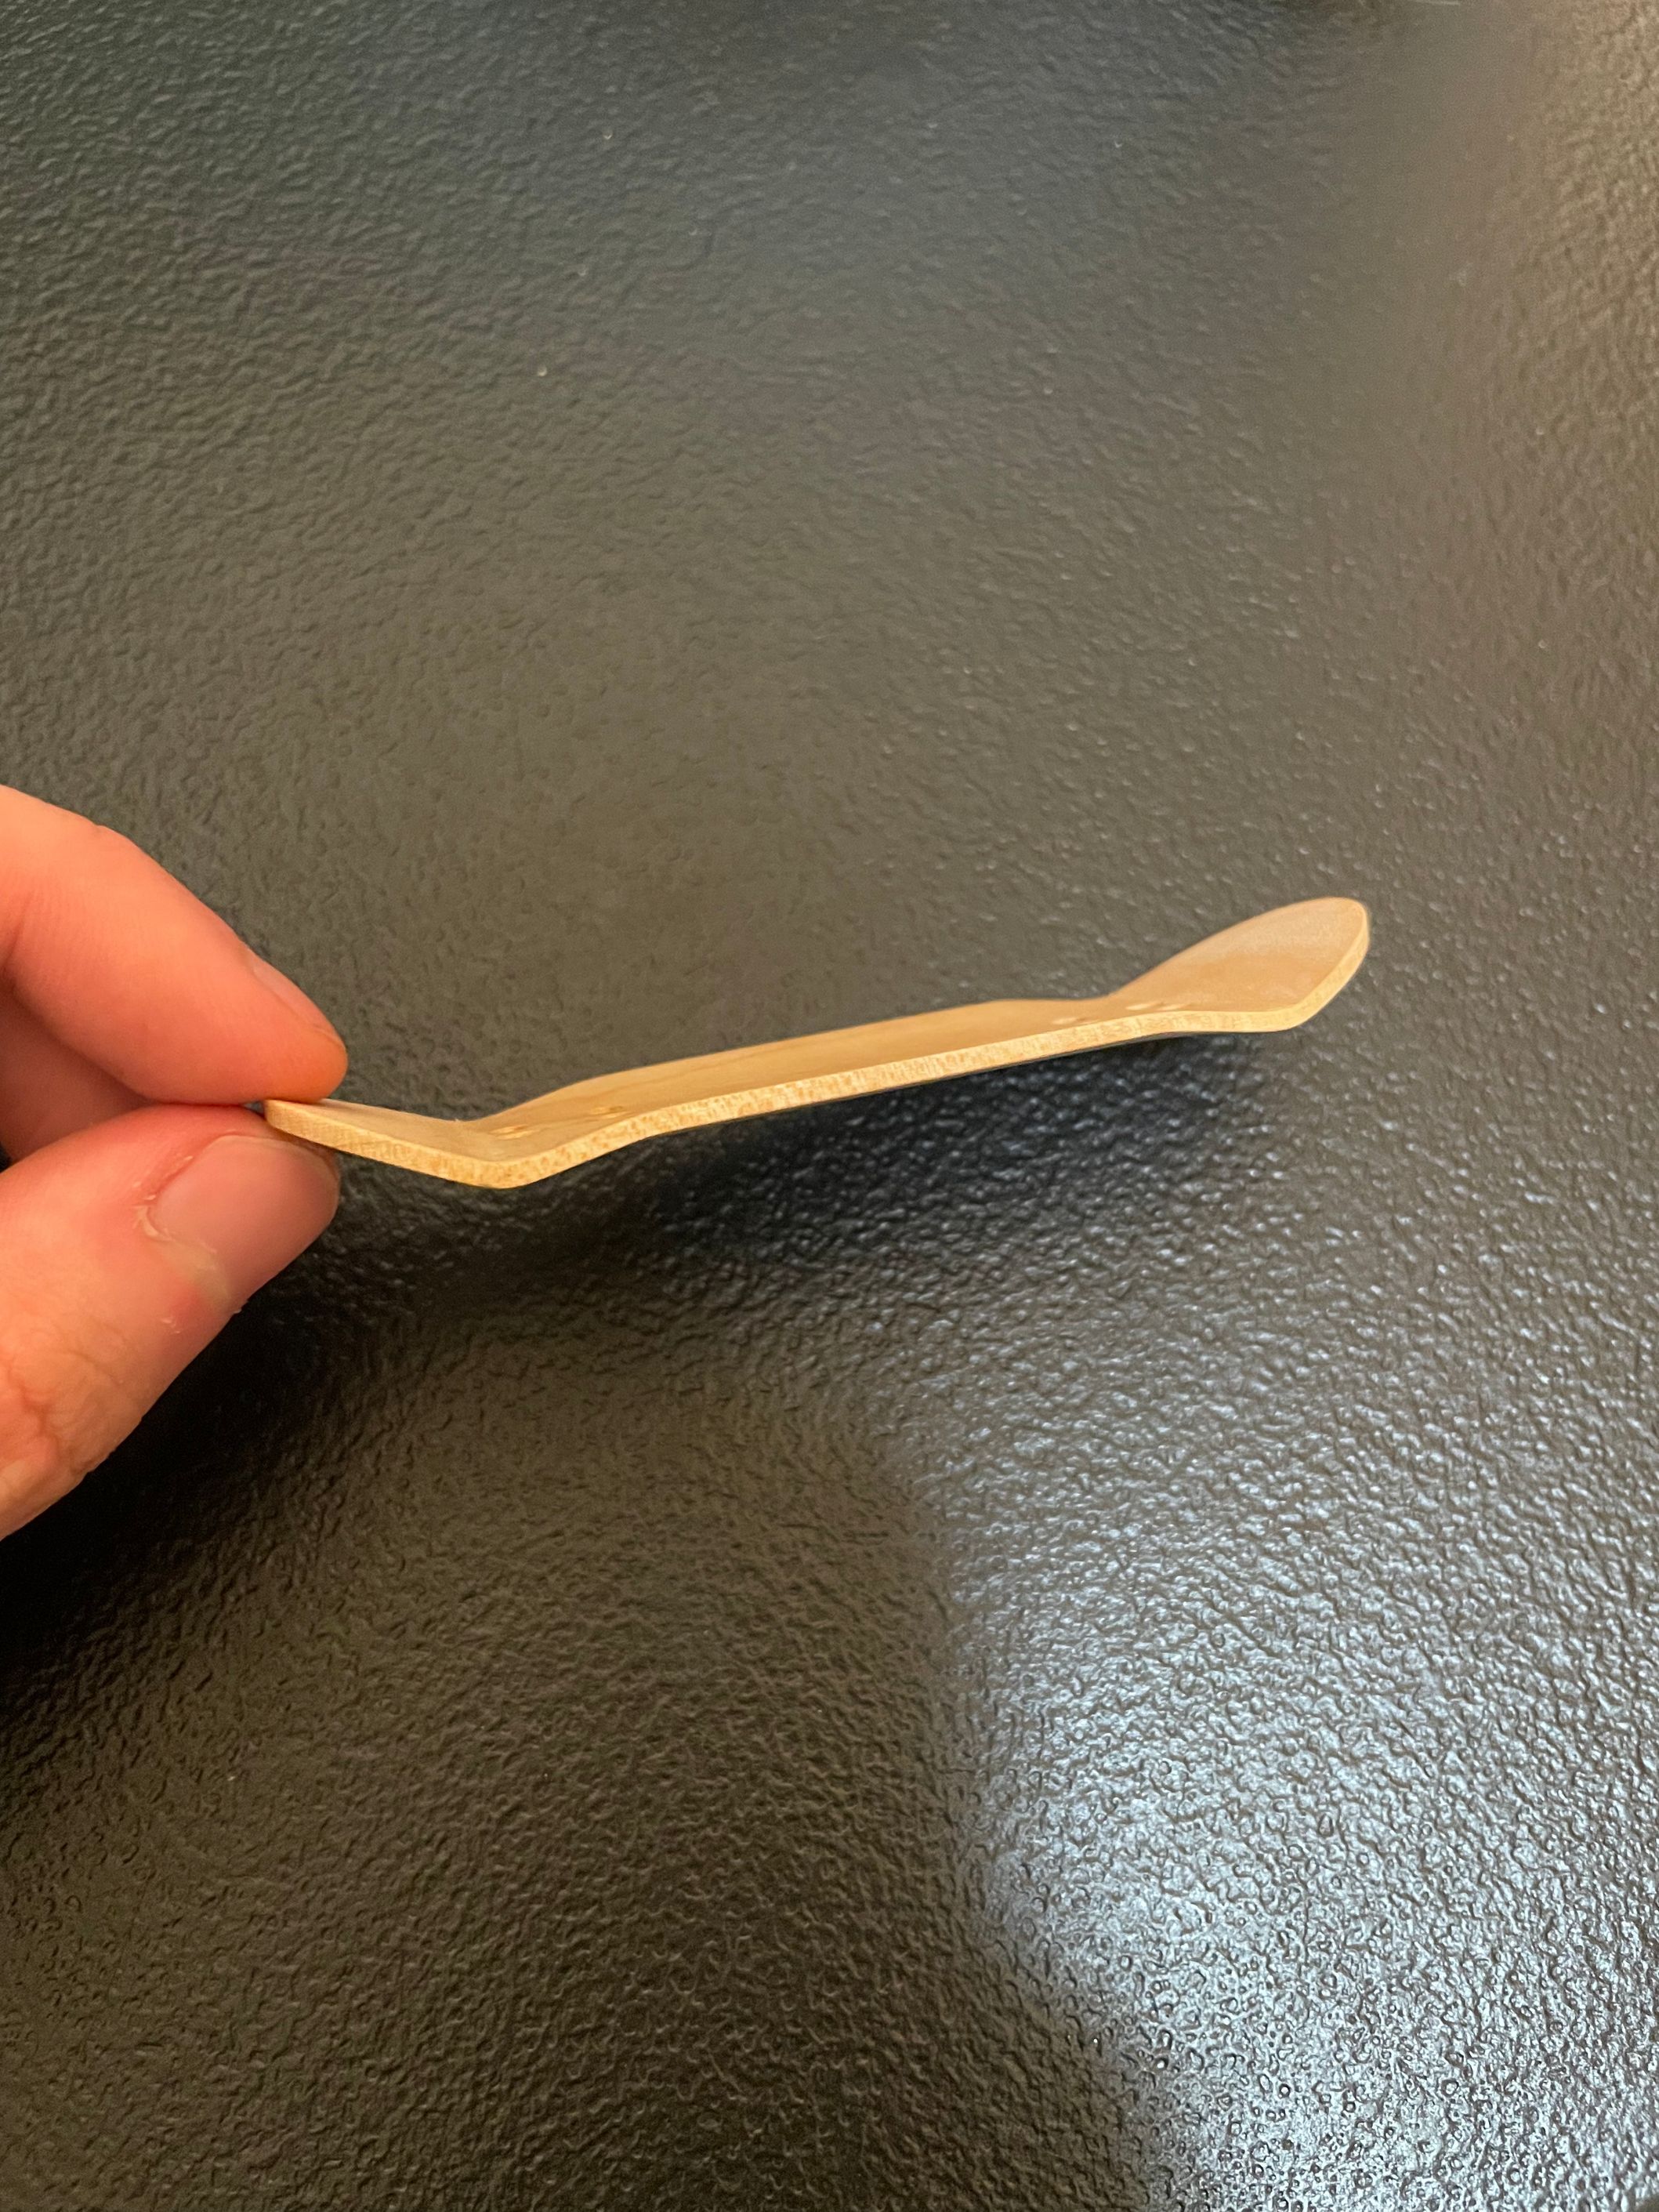
I got a Carbide Nomad 2 CNC milling machine to mill out fingerboards. Fingerboards are traditionally made by gluing five sheets of wood veneer together and placing them in a mold. Then, you cut out the shape of the board and drill the holes. I wanted to try a new approach to see if CNC milling fingerboards out of solid wood would make boards perform better or be easier to manufacture.
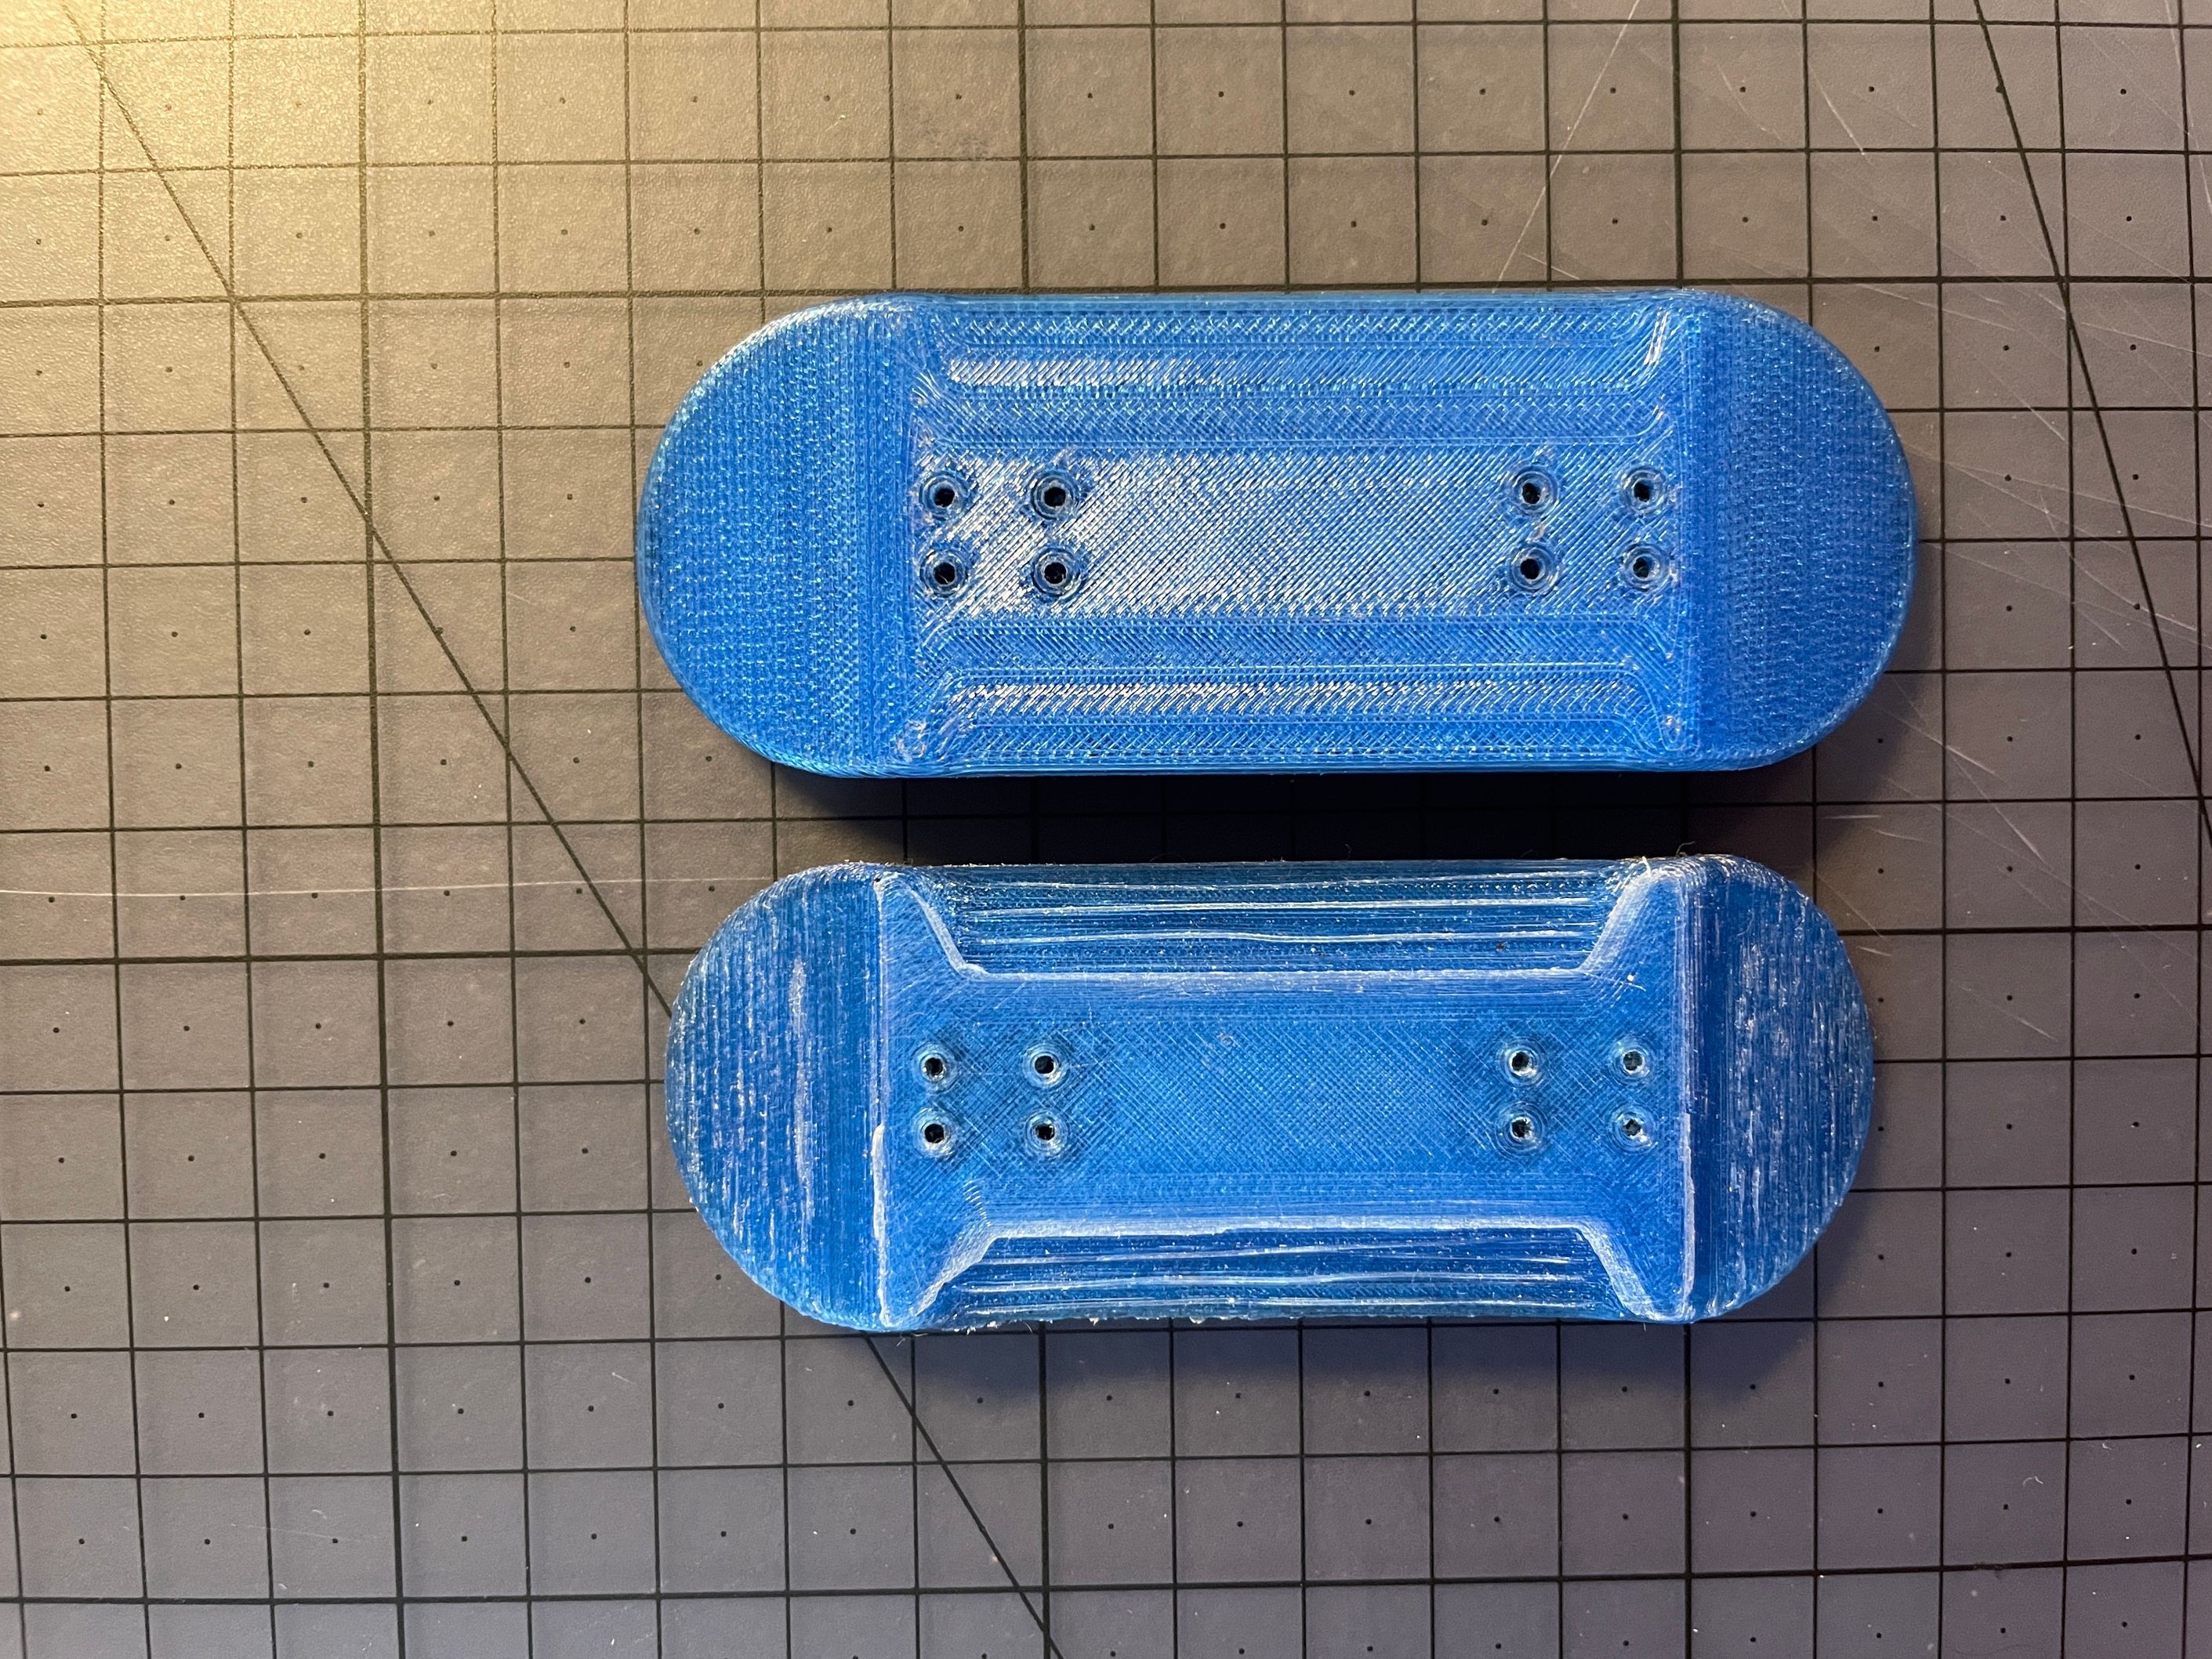
I began by hand modeling a fingerboard in Fusion 360 and 3D printing some variations to determine the correct truck hole placement, kick length, and body length.
These are version 1 and version 2.
Once I was able to get my base measurements correct, I modeled the fingerboard using a Python script in Fusion 360. I also added parameterization to the script to quickly adjust components such as kick height, kick length, board length, and so on.
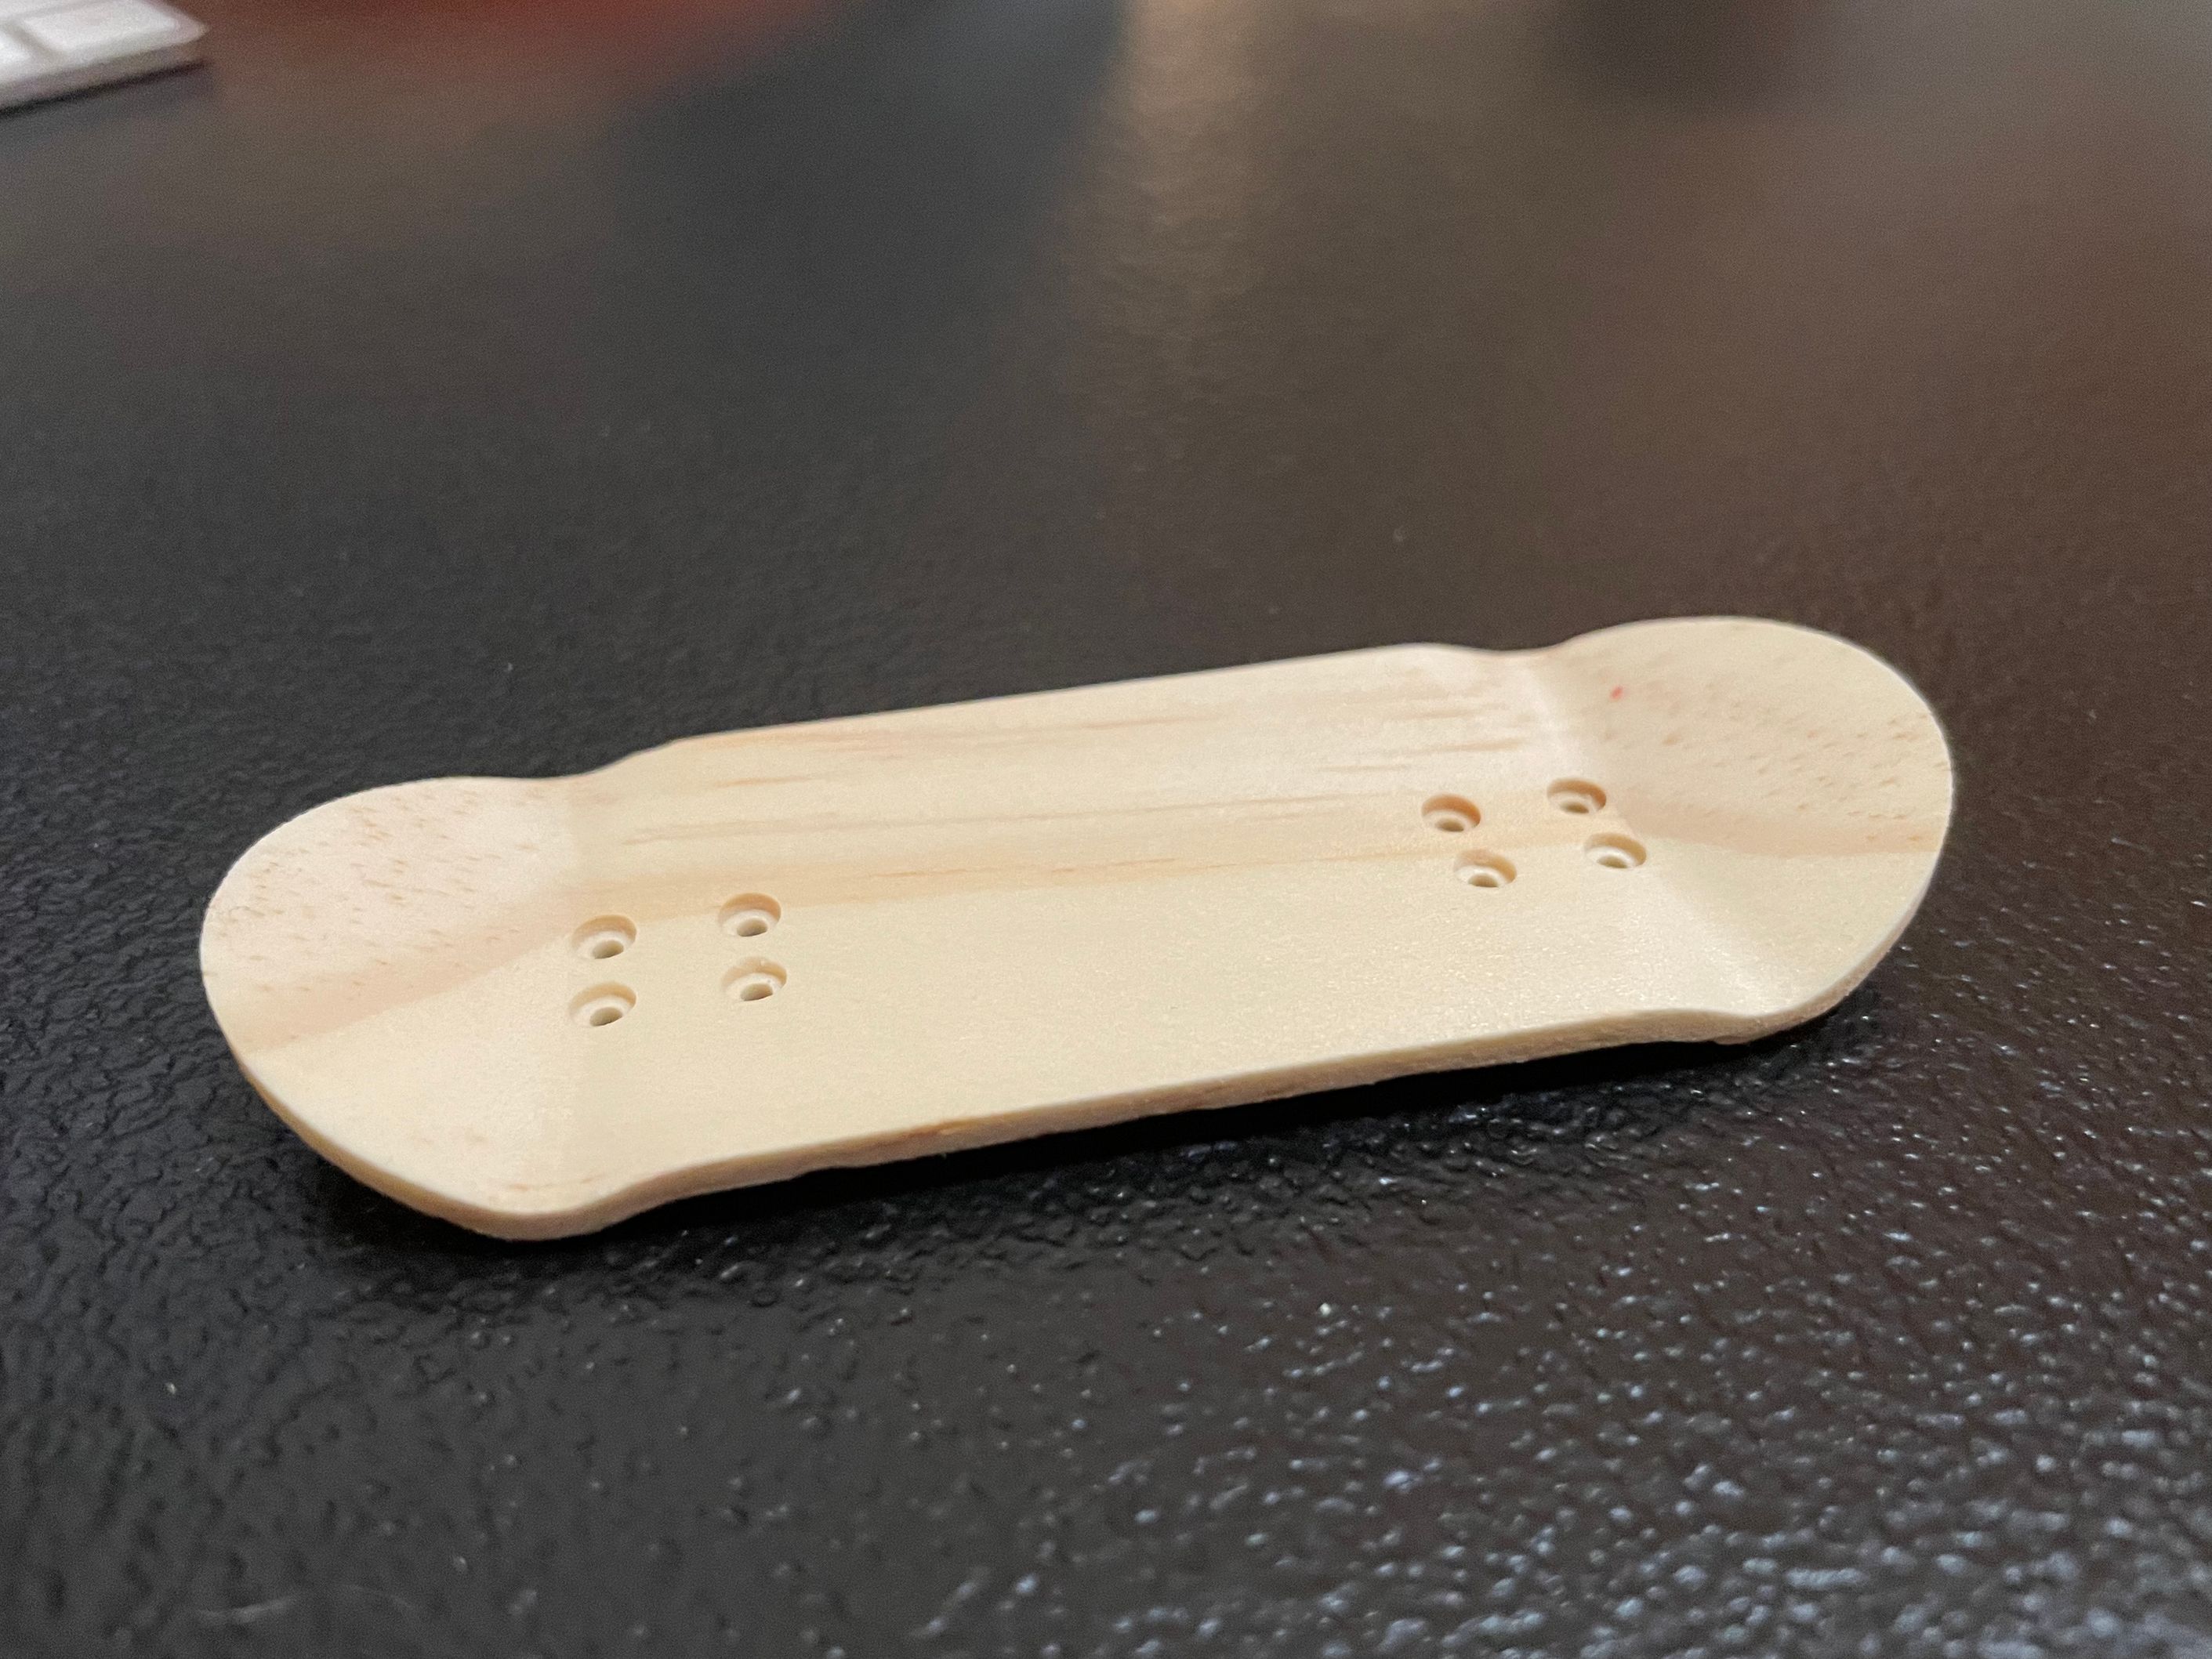
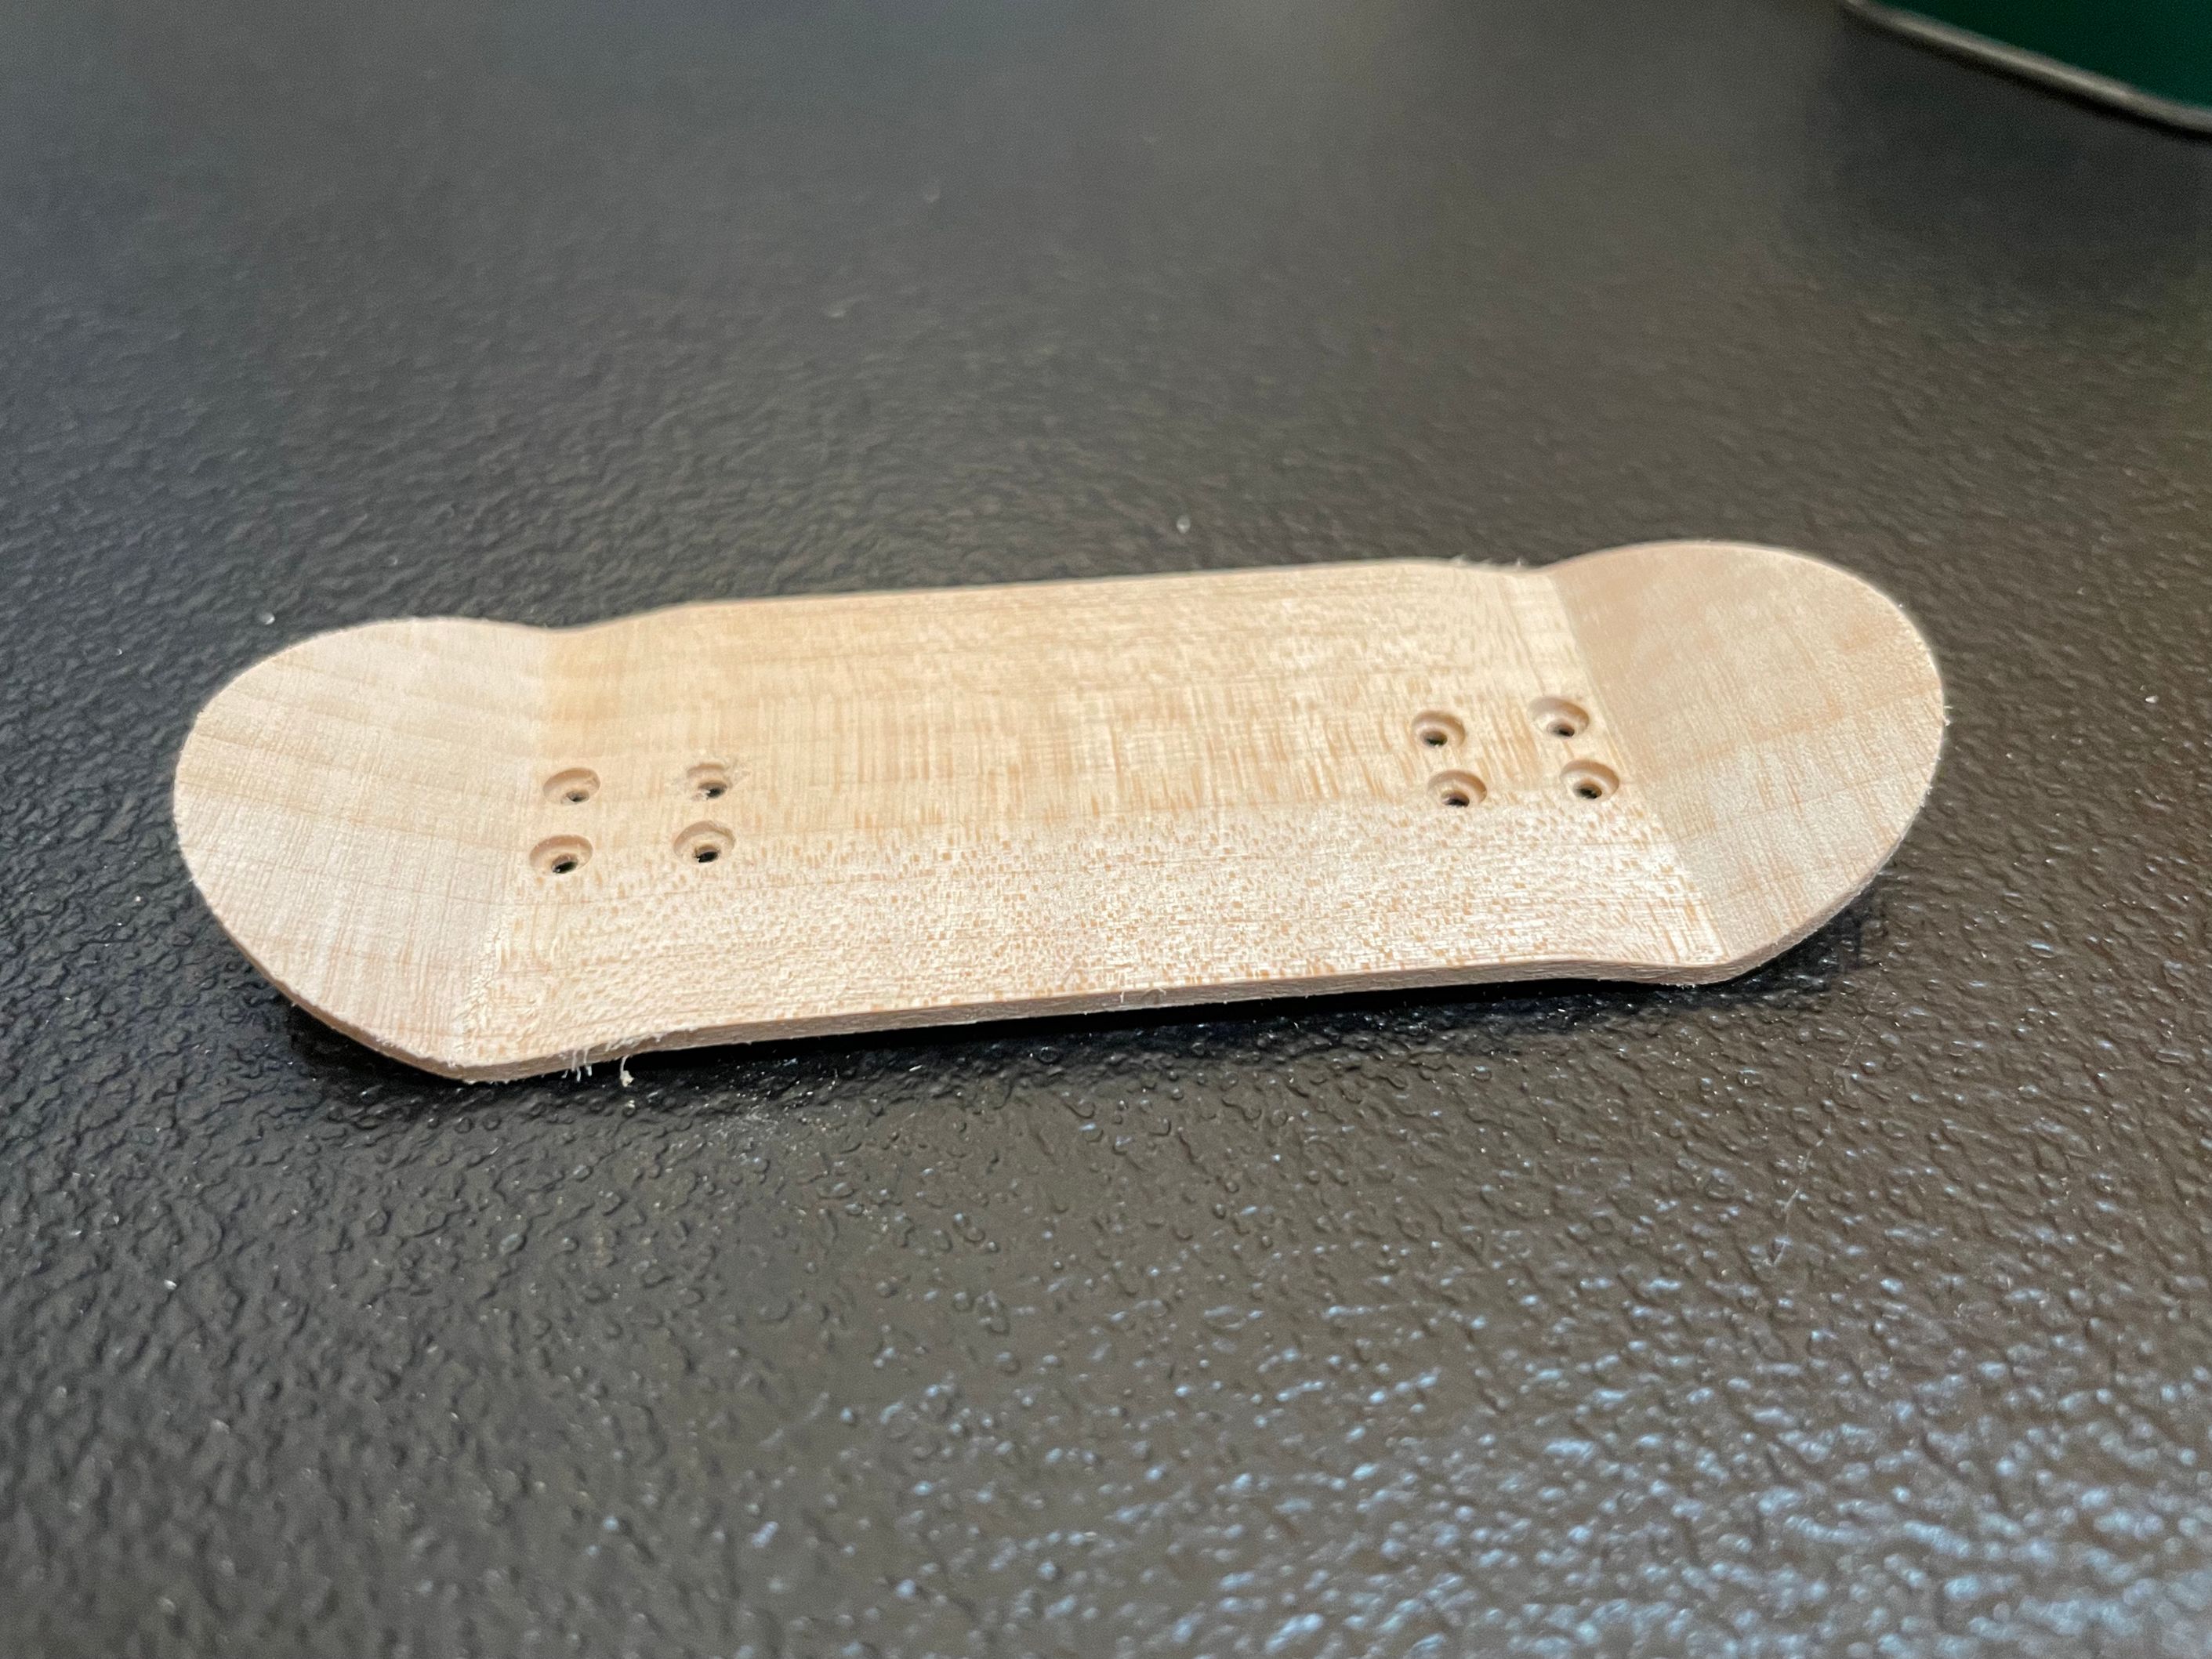
I then began milling the first wooden version of the fingerboard, and the third version in total. I used a 2x4 (Douglas Fir) for the prototype.
To mill out the board shape, I first had to mill a base for the board to sit on, then mill the bottom of the board, then use double sided tape to attach the bottom of the board to the base.
As you can see from this video, the board is sitting on top of a separate base.
Seeing the CNC perfectly mill the truck holes was very satisfying.
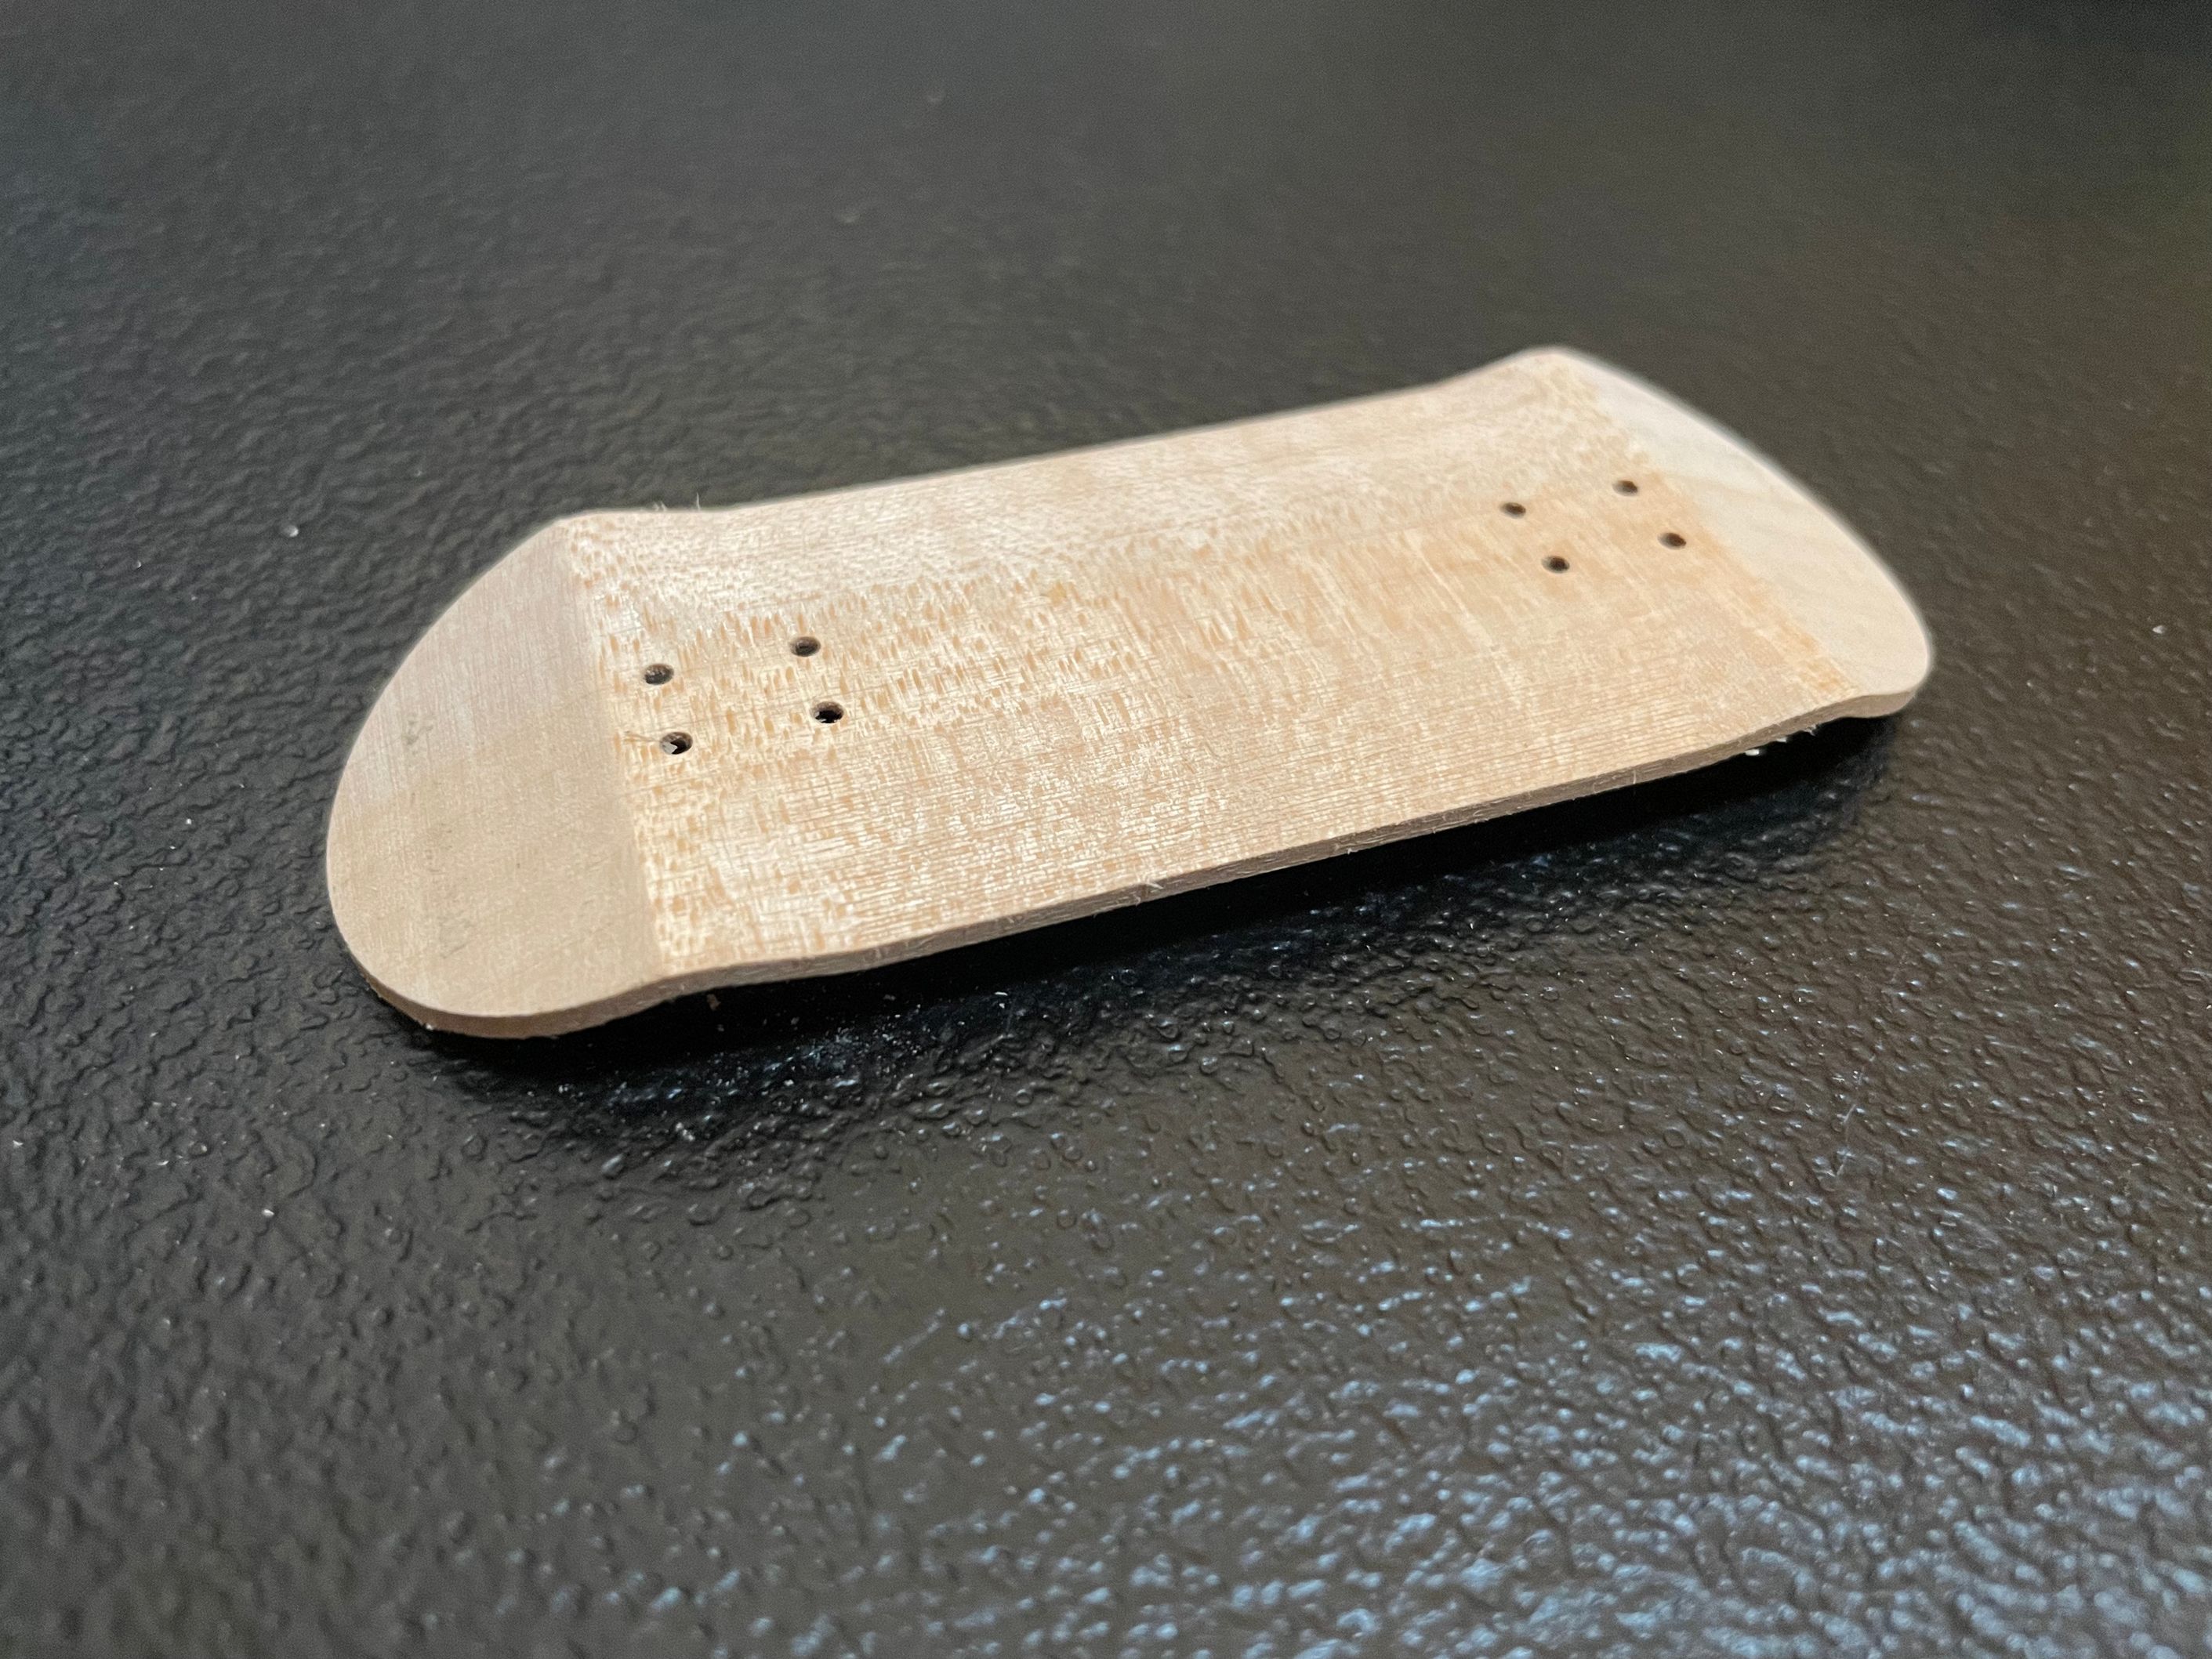
V3 came out better than I expected. It wasn't perfect but for a first try I was happy with the results.
This video shows a more detailed look at V3.
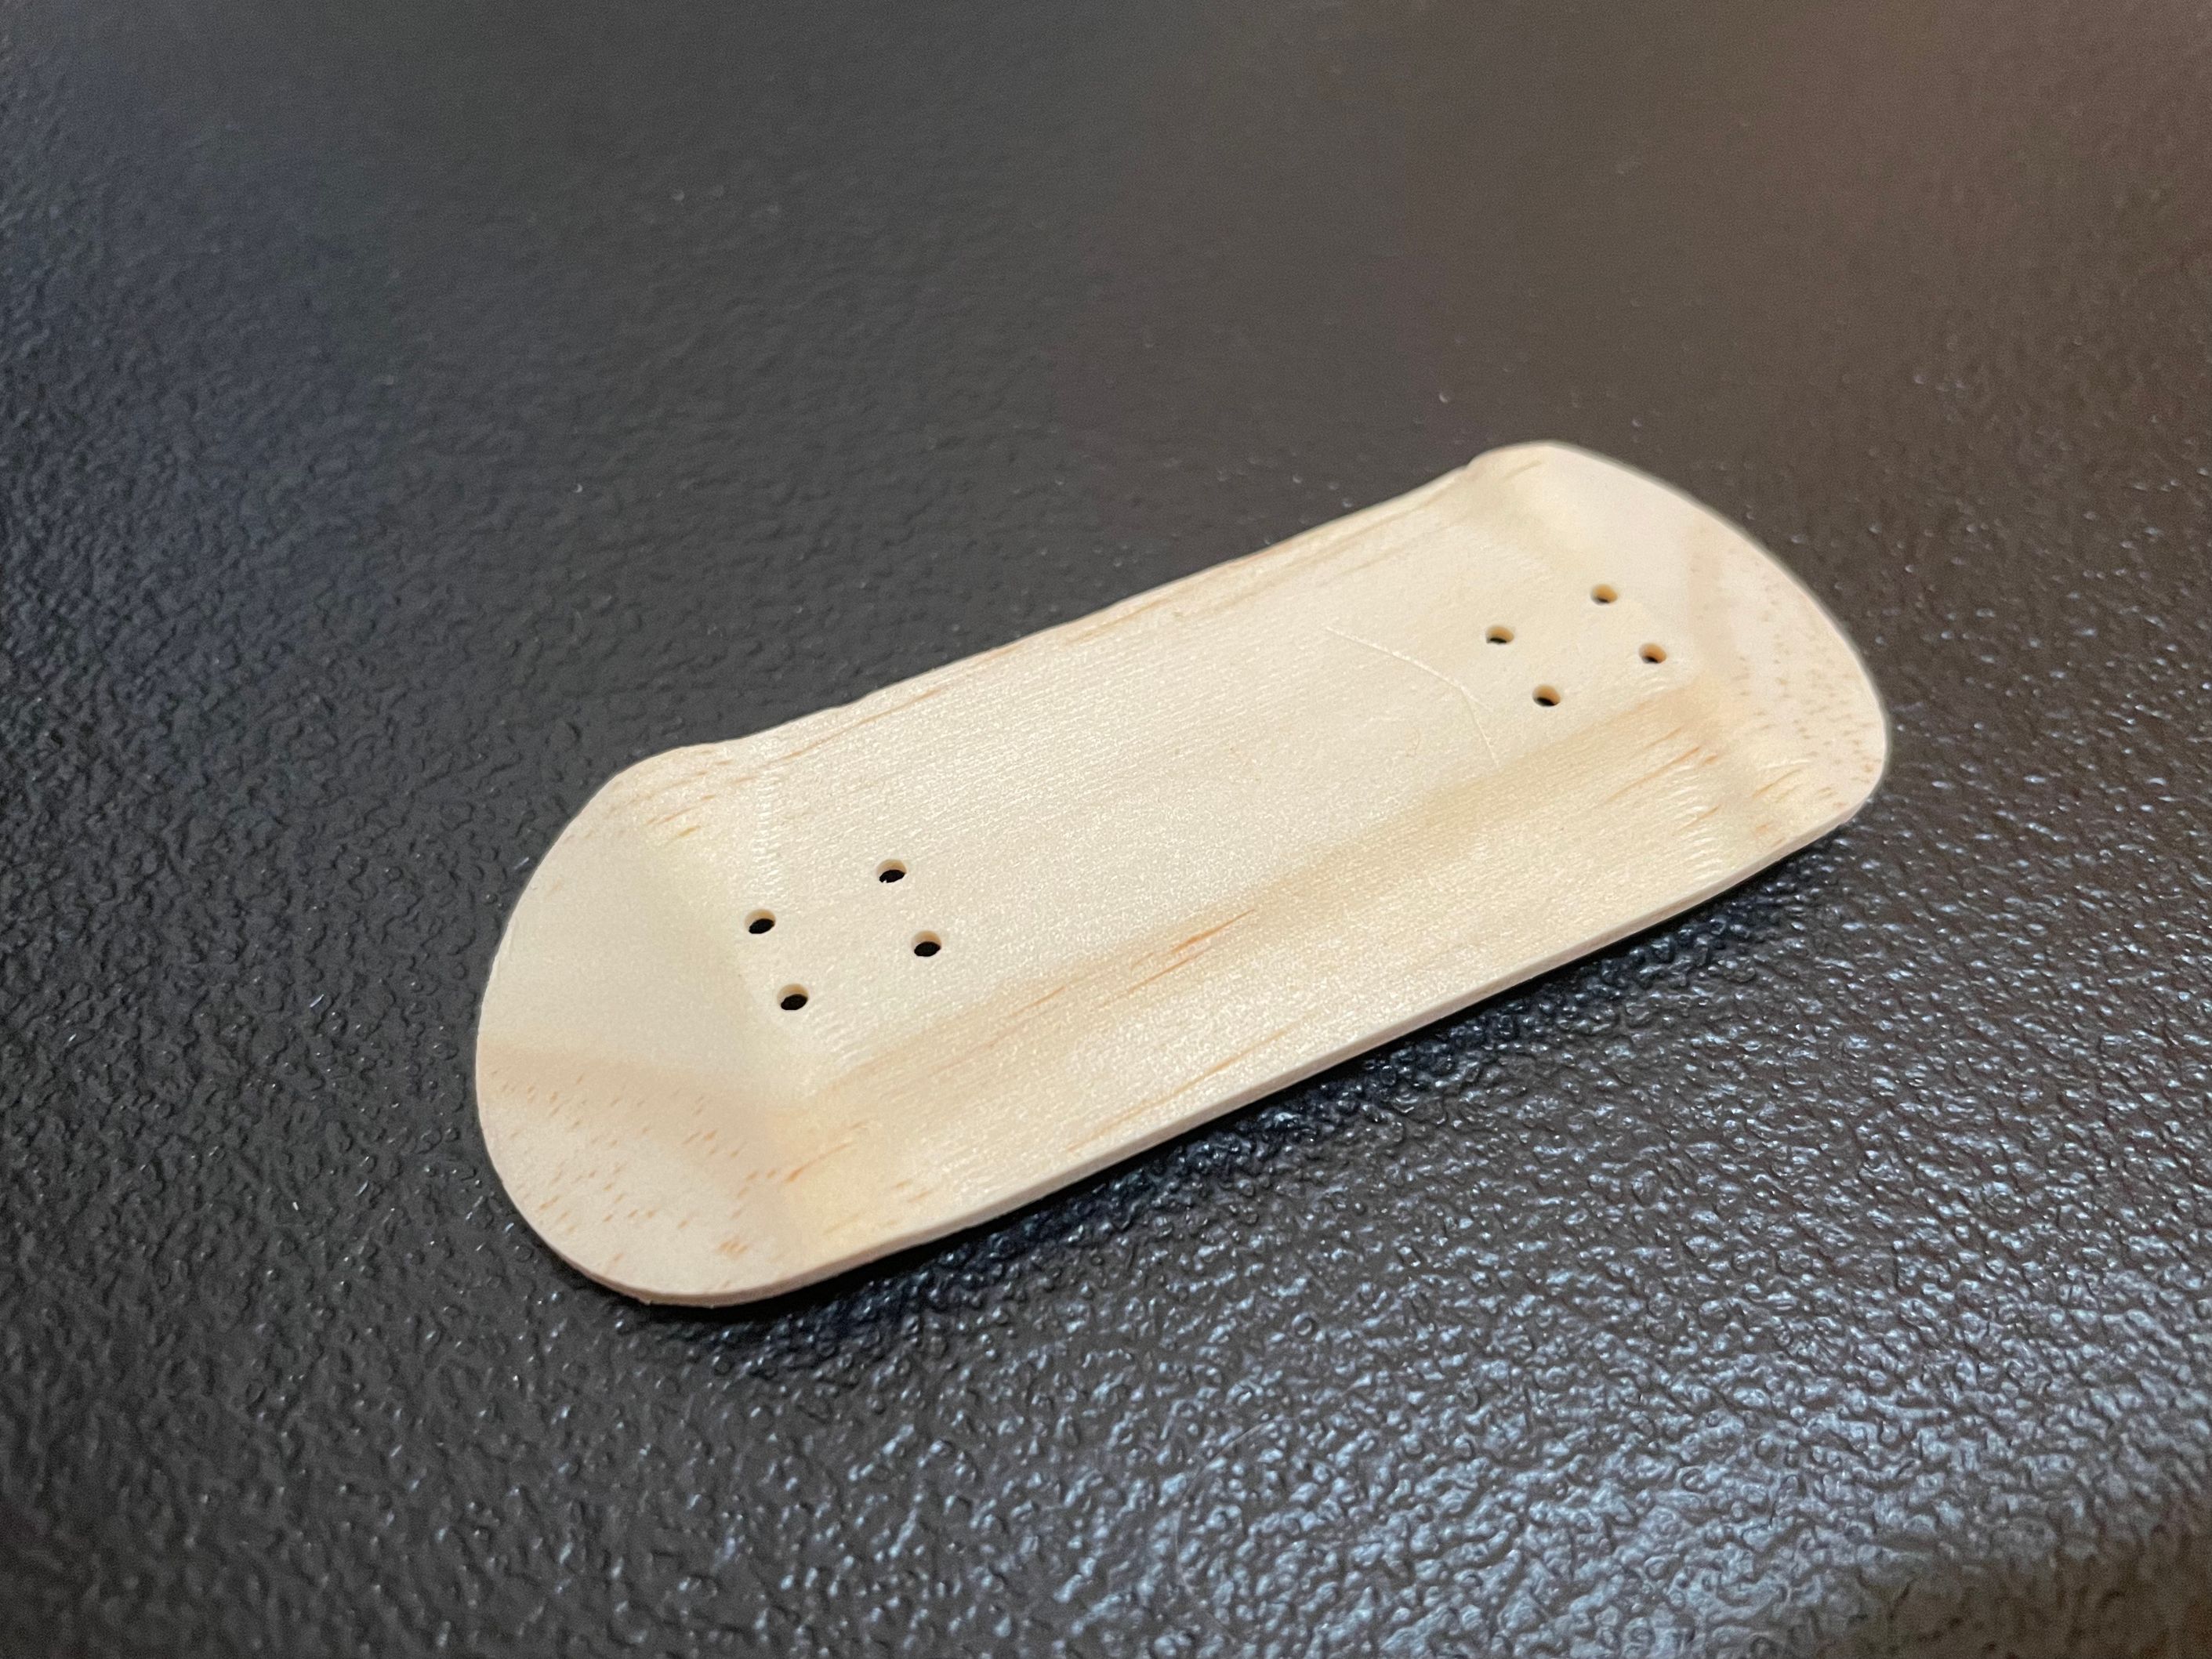
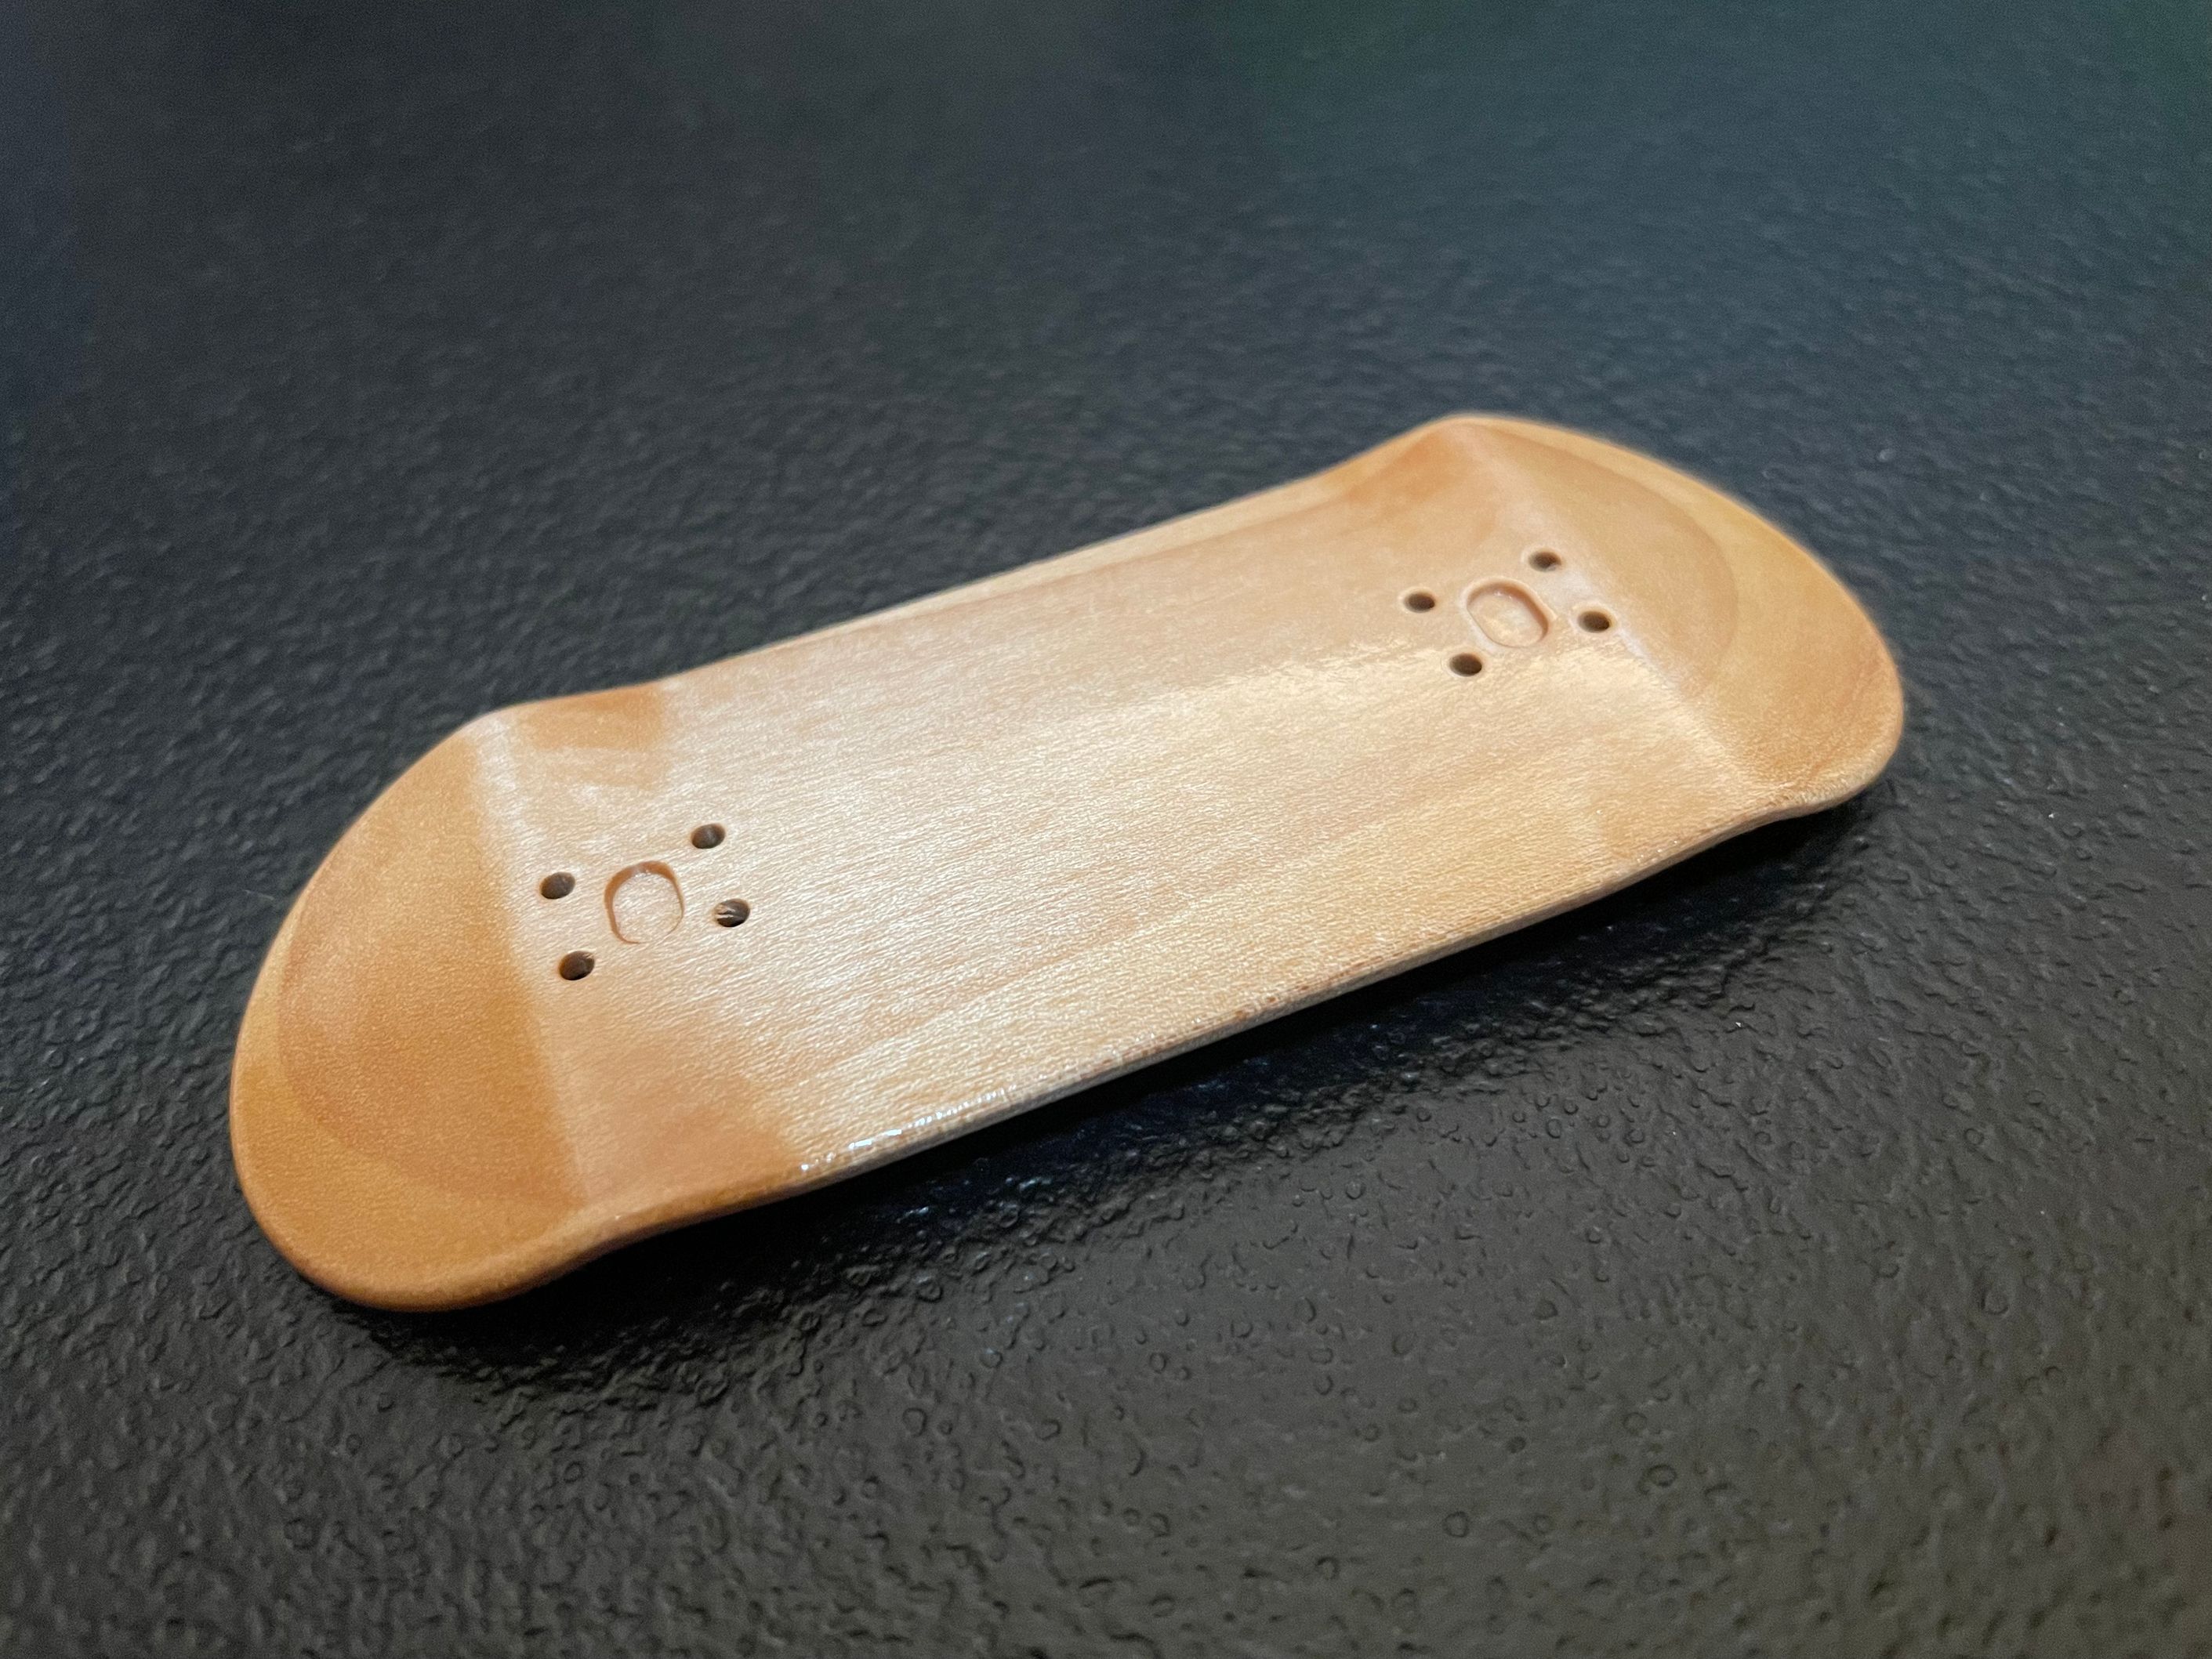
After a successful trial run, I could move on to milling with Maple wood, which is a harder wood than Douglas Fir.
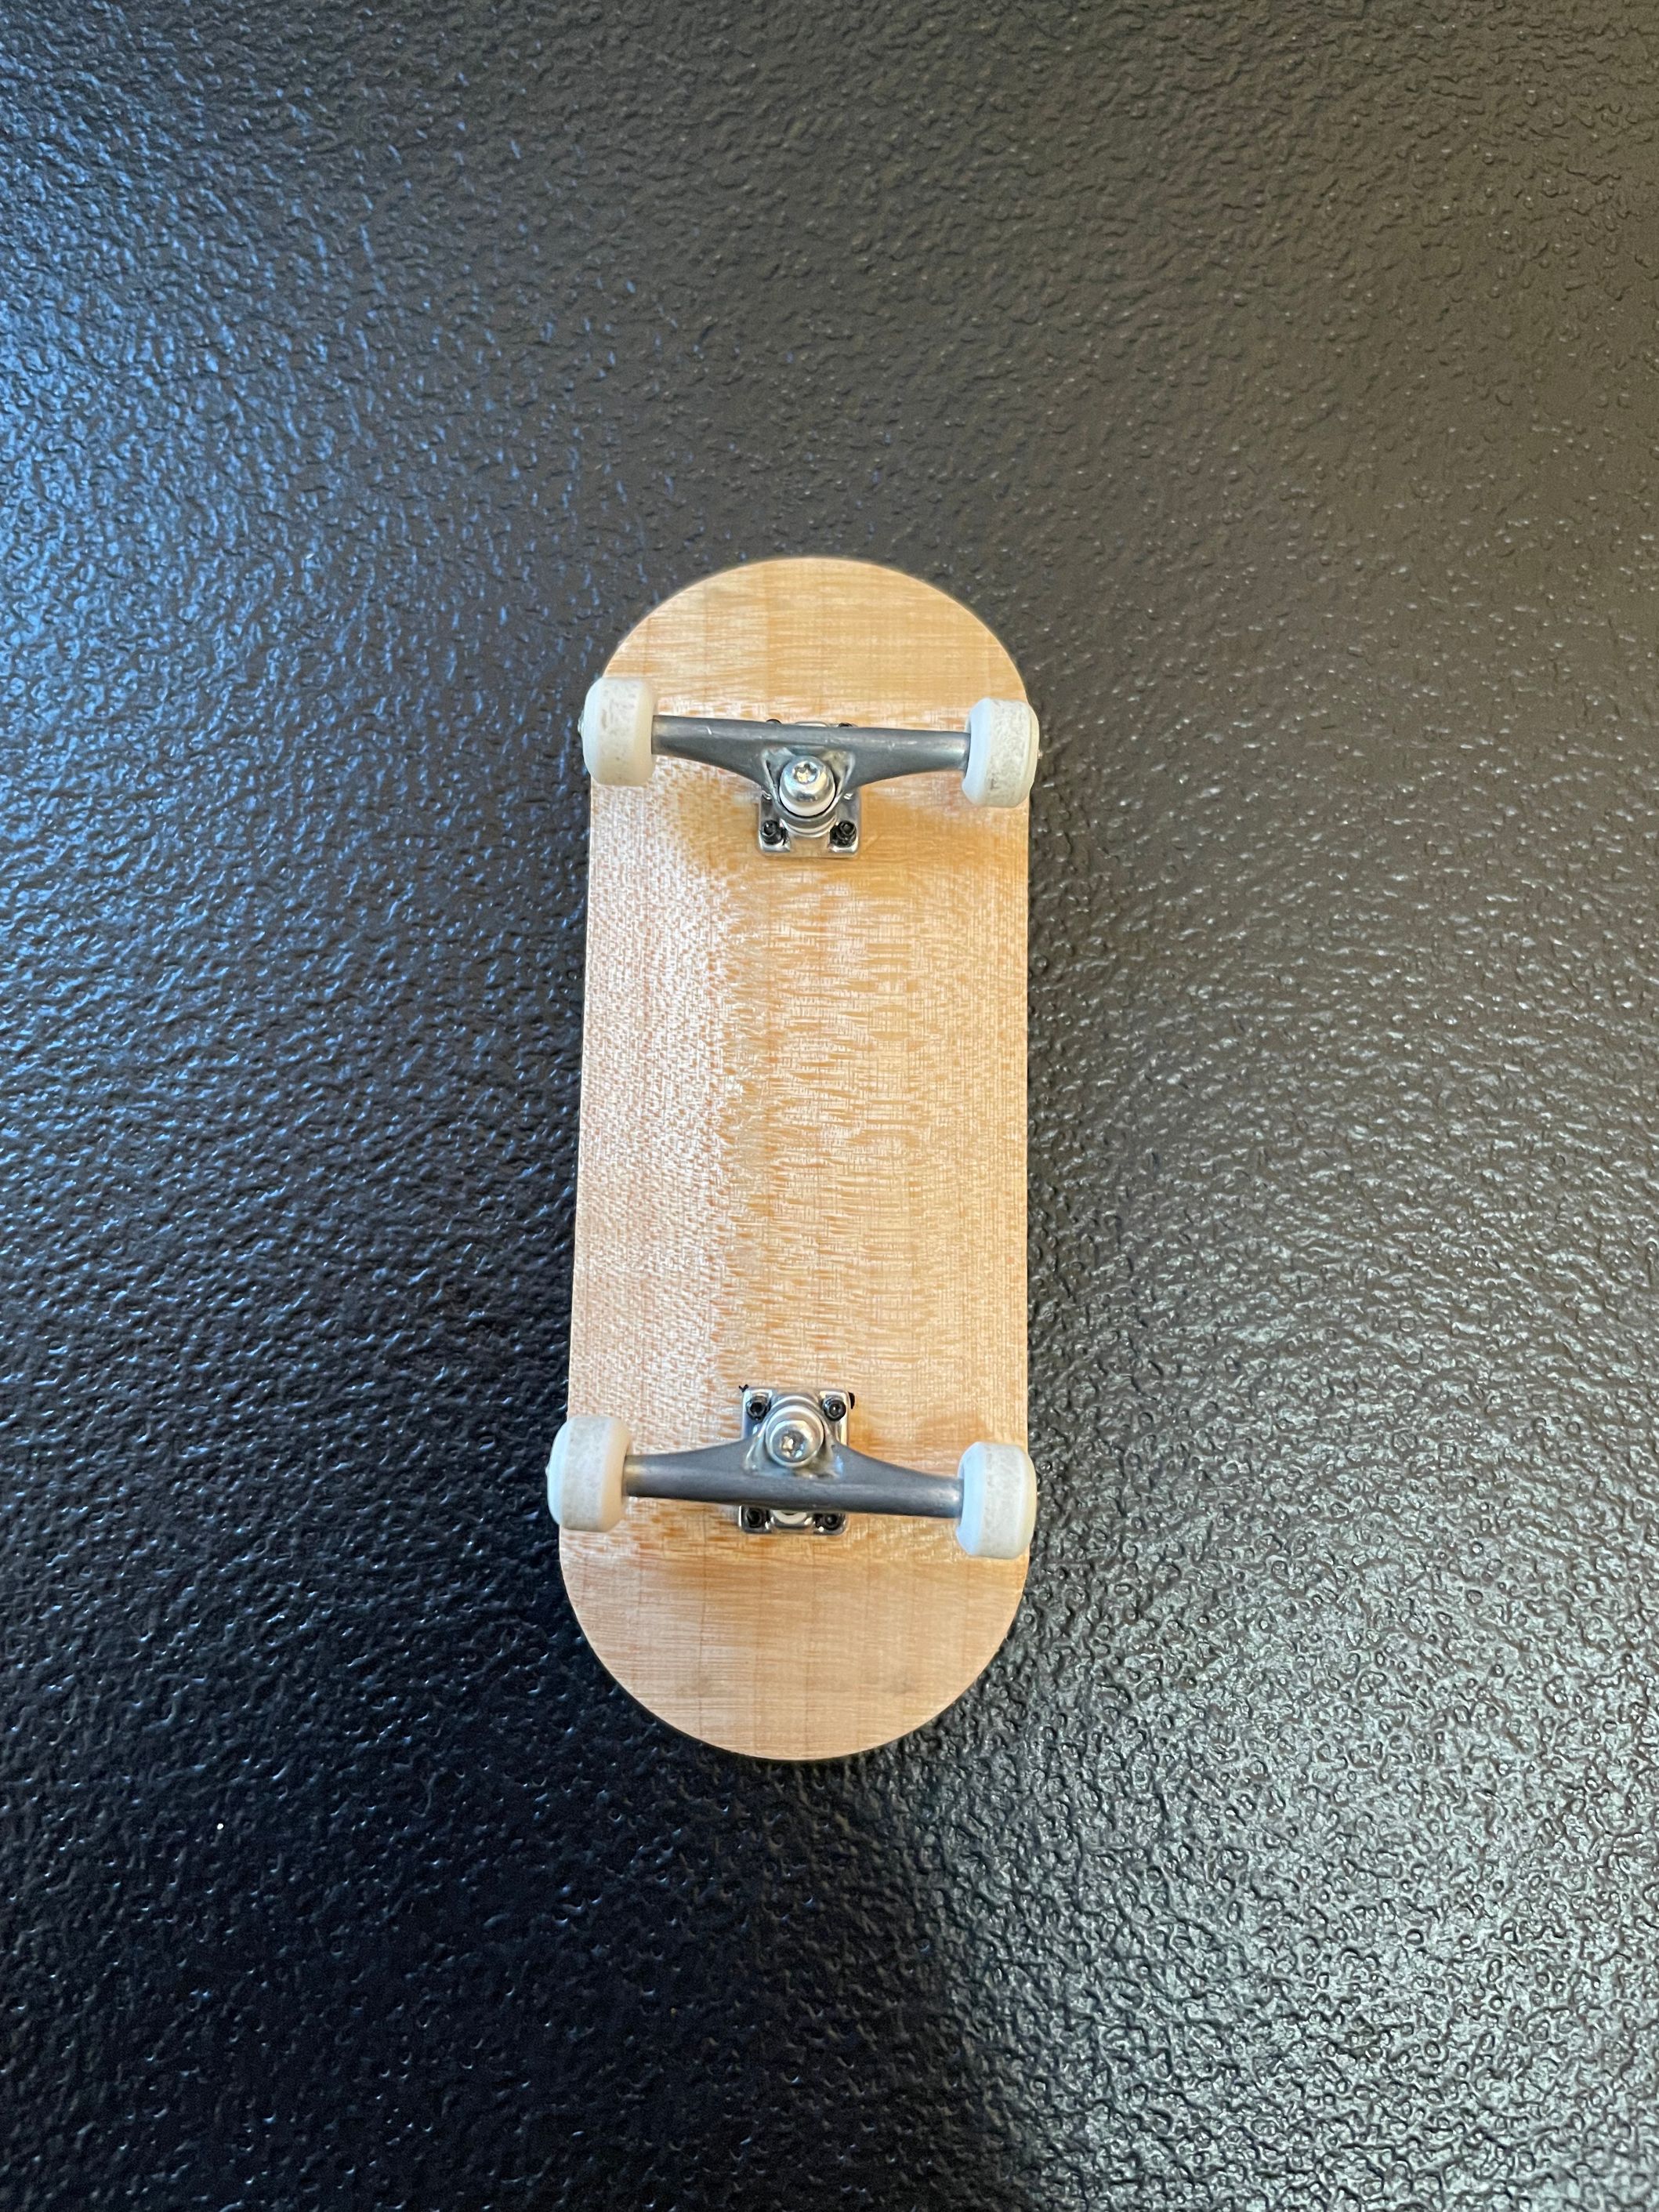
The result of V4.
Here is V4 set up.
Along the way I was adjusting my dimensions in Fusion 360 to get the board shape I was going for. I also began applying glossy laquer as the boards improved. Here is V5.
V5 vs. V4
Sawing blanks on my deck in Philadelphia.
I also began experimenting with inverting the base and finishing the milling process with the board face down. Ultimately this didn't make much of a difference in milling accuracy.
For V6 I increased the rounding on the sides.
V7, V8, and V9 were more shape adjustments. Here is is V1-V9.

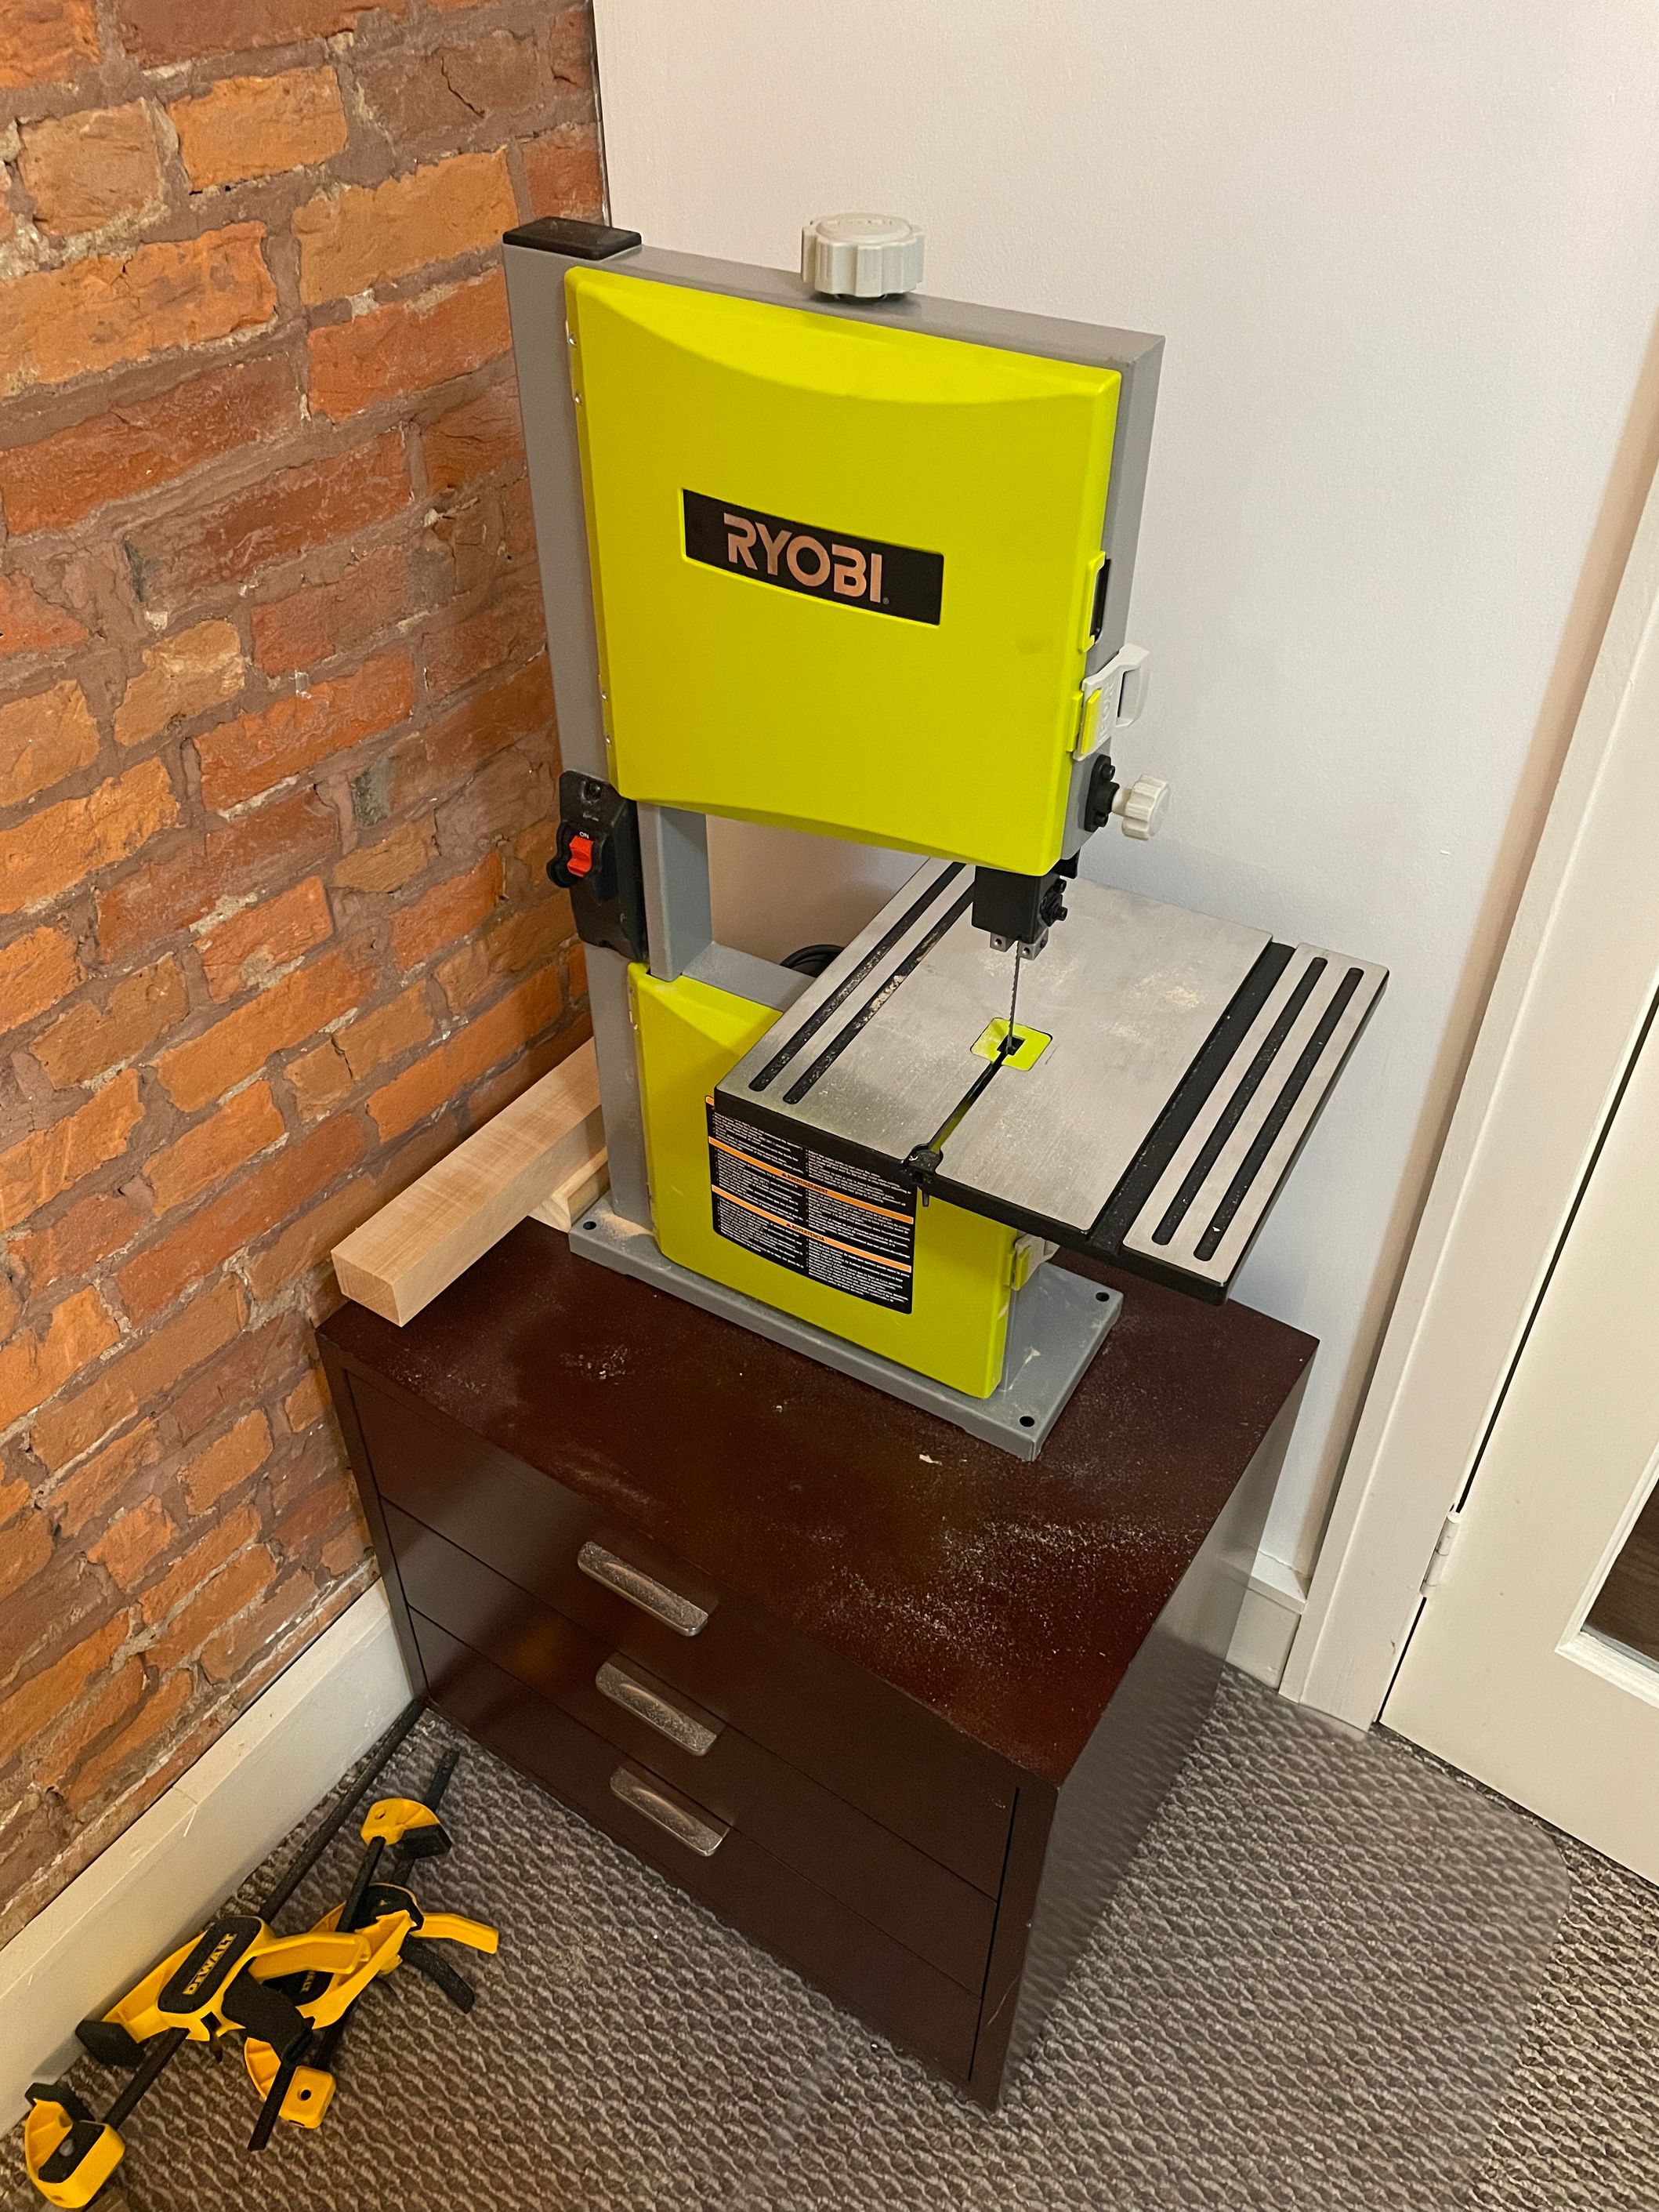
At this point my skills were improving, and I bought a band saw to speed up production. I do not recommend having a band saw in your apartment, but I had limited space to work with.
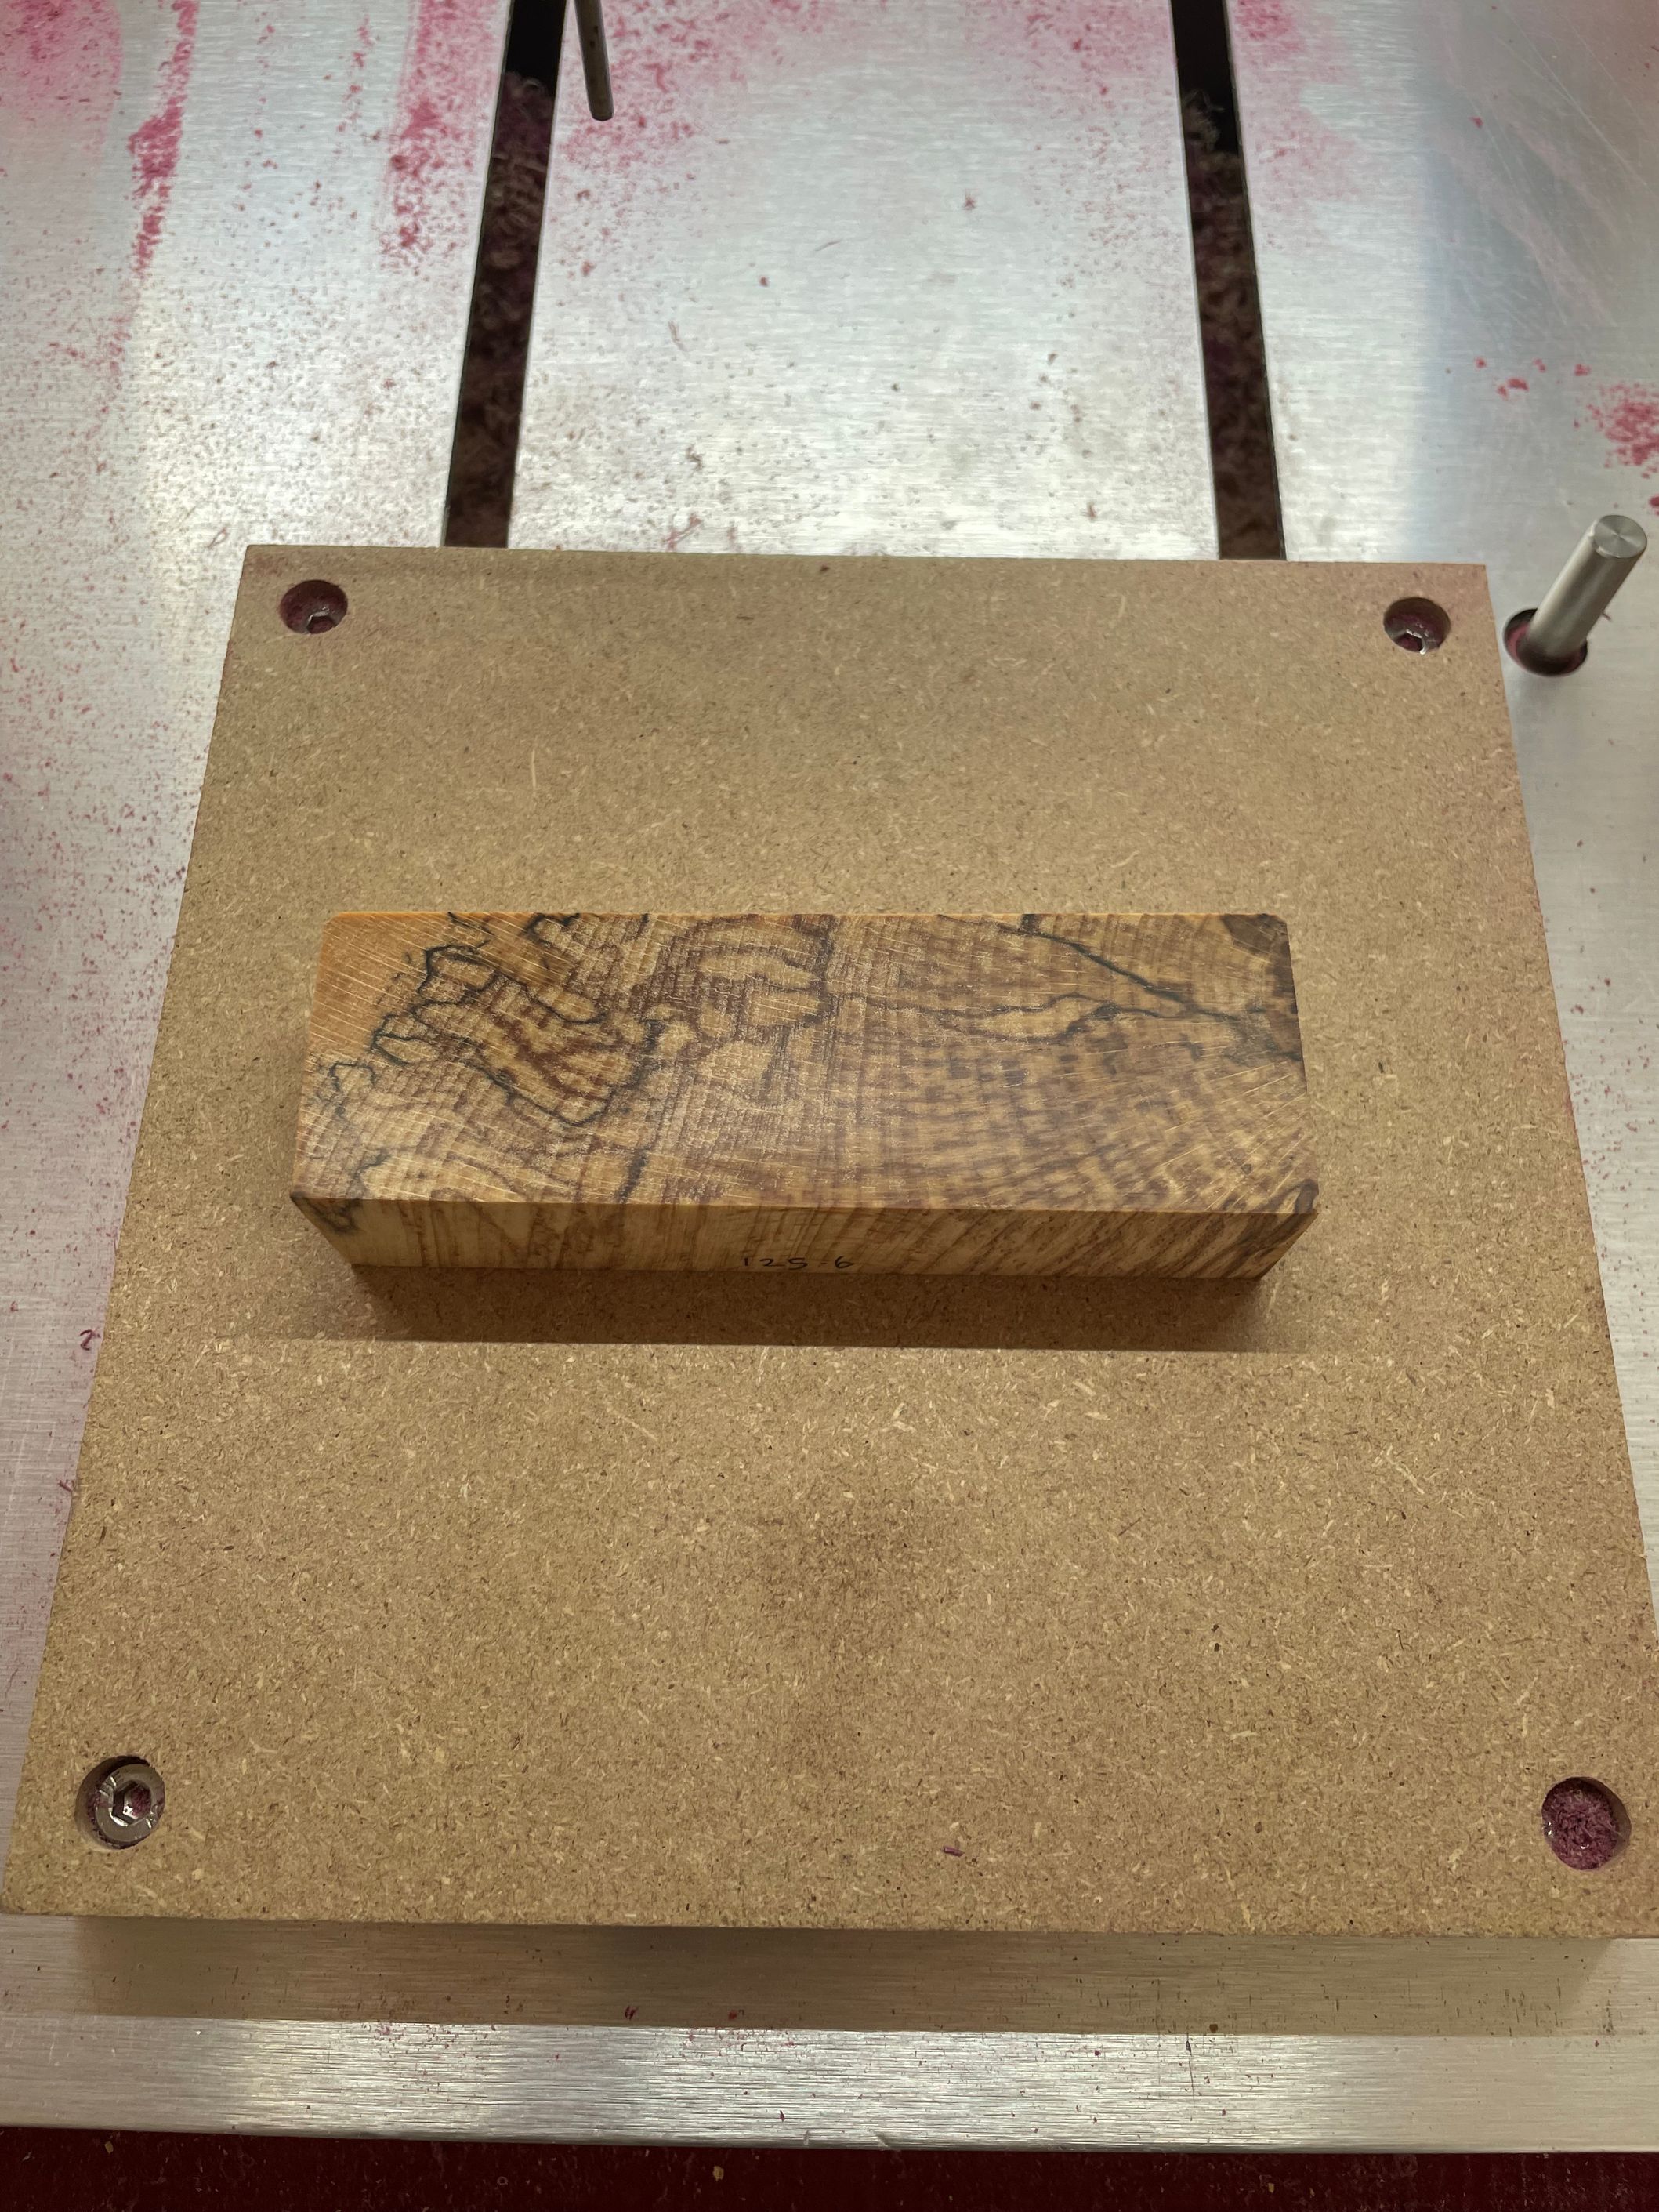
Here is V10 with a comparison of the block of maple it gets milled out of.
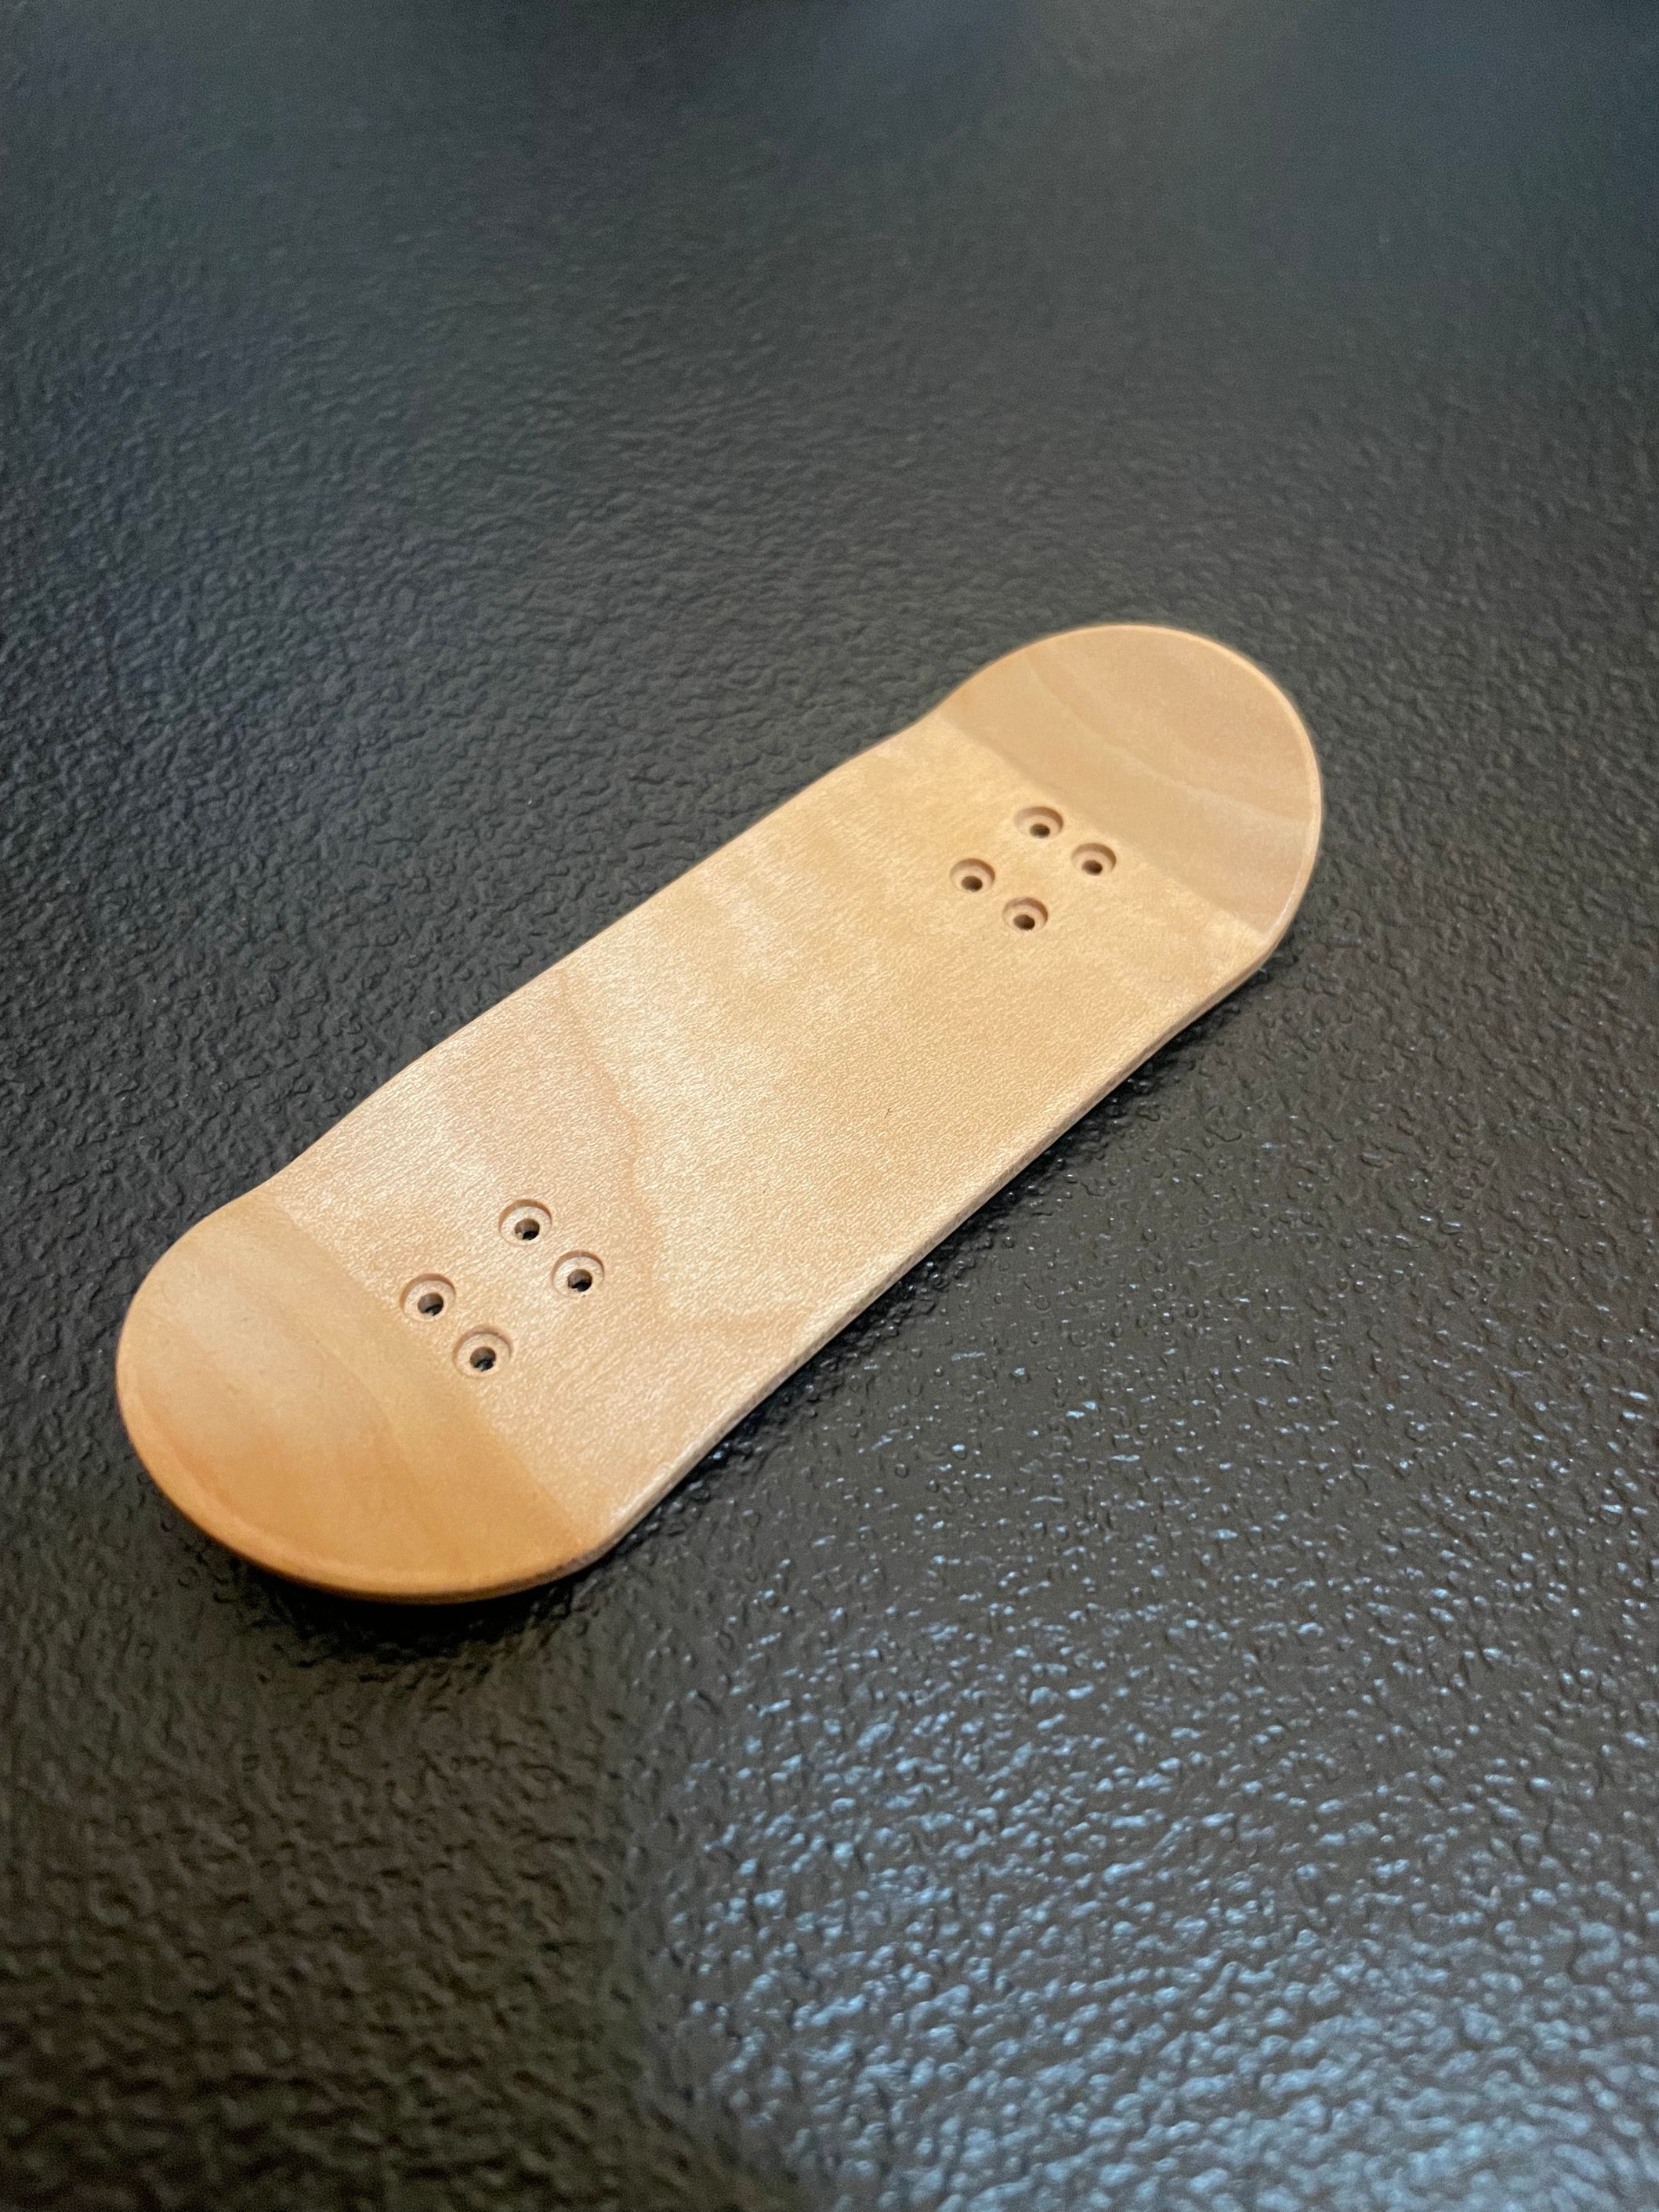
For V11 I added alignment holes on the bottom of the board, which helped with aligning the board to the base when milling.
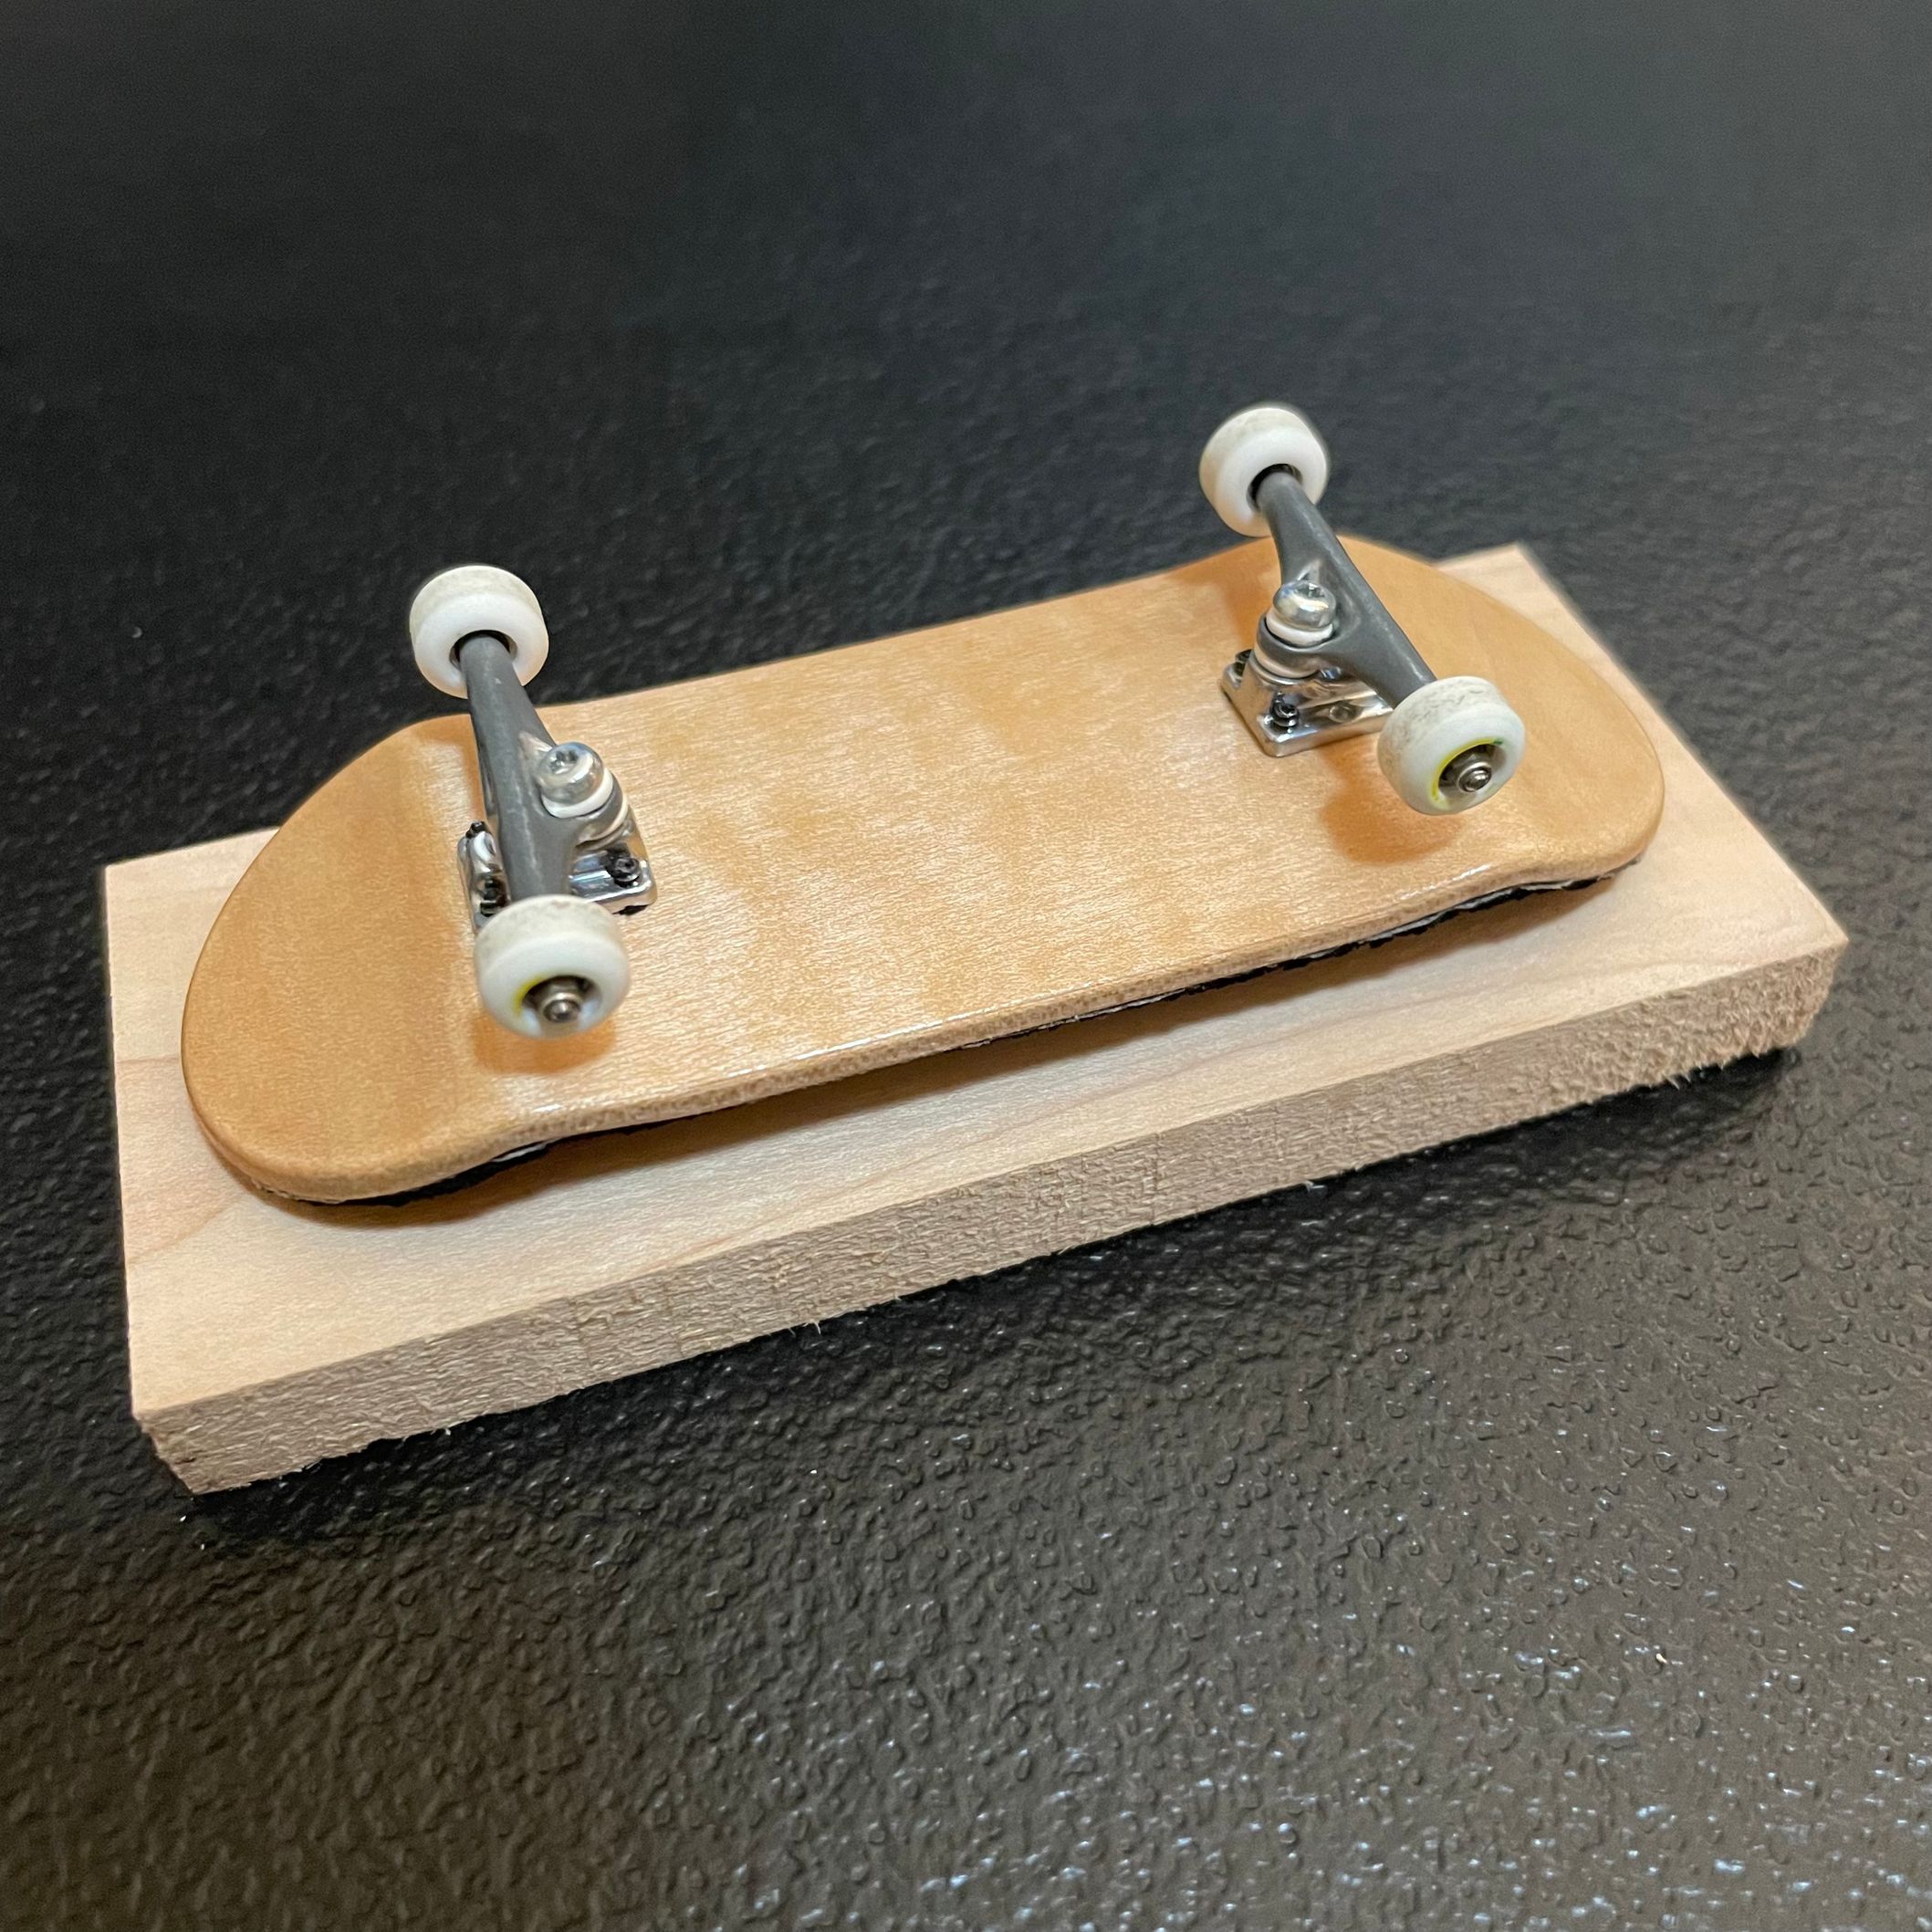
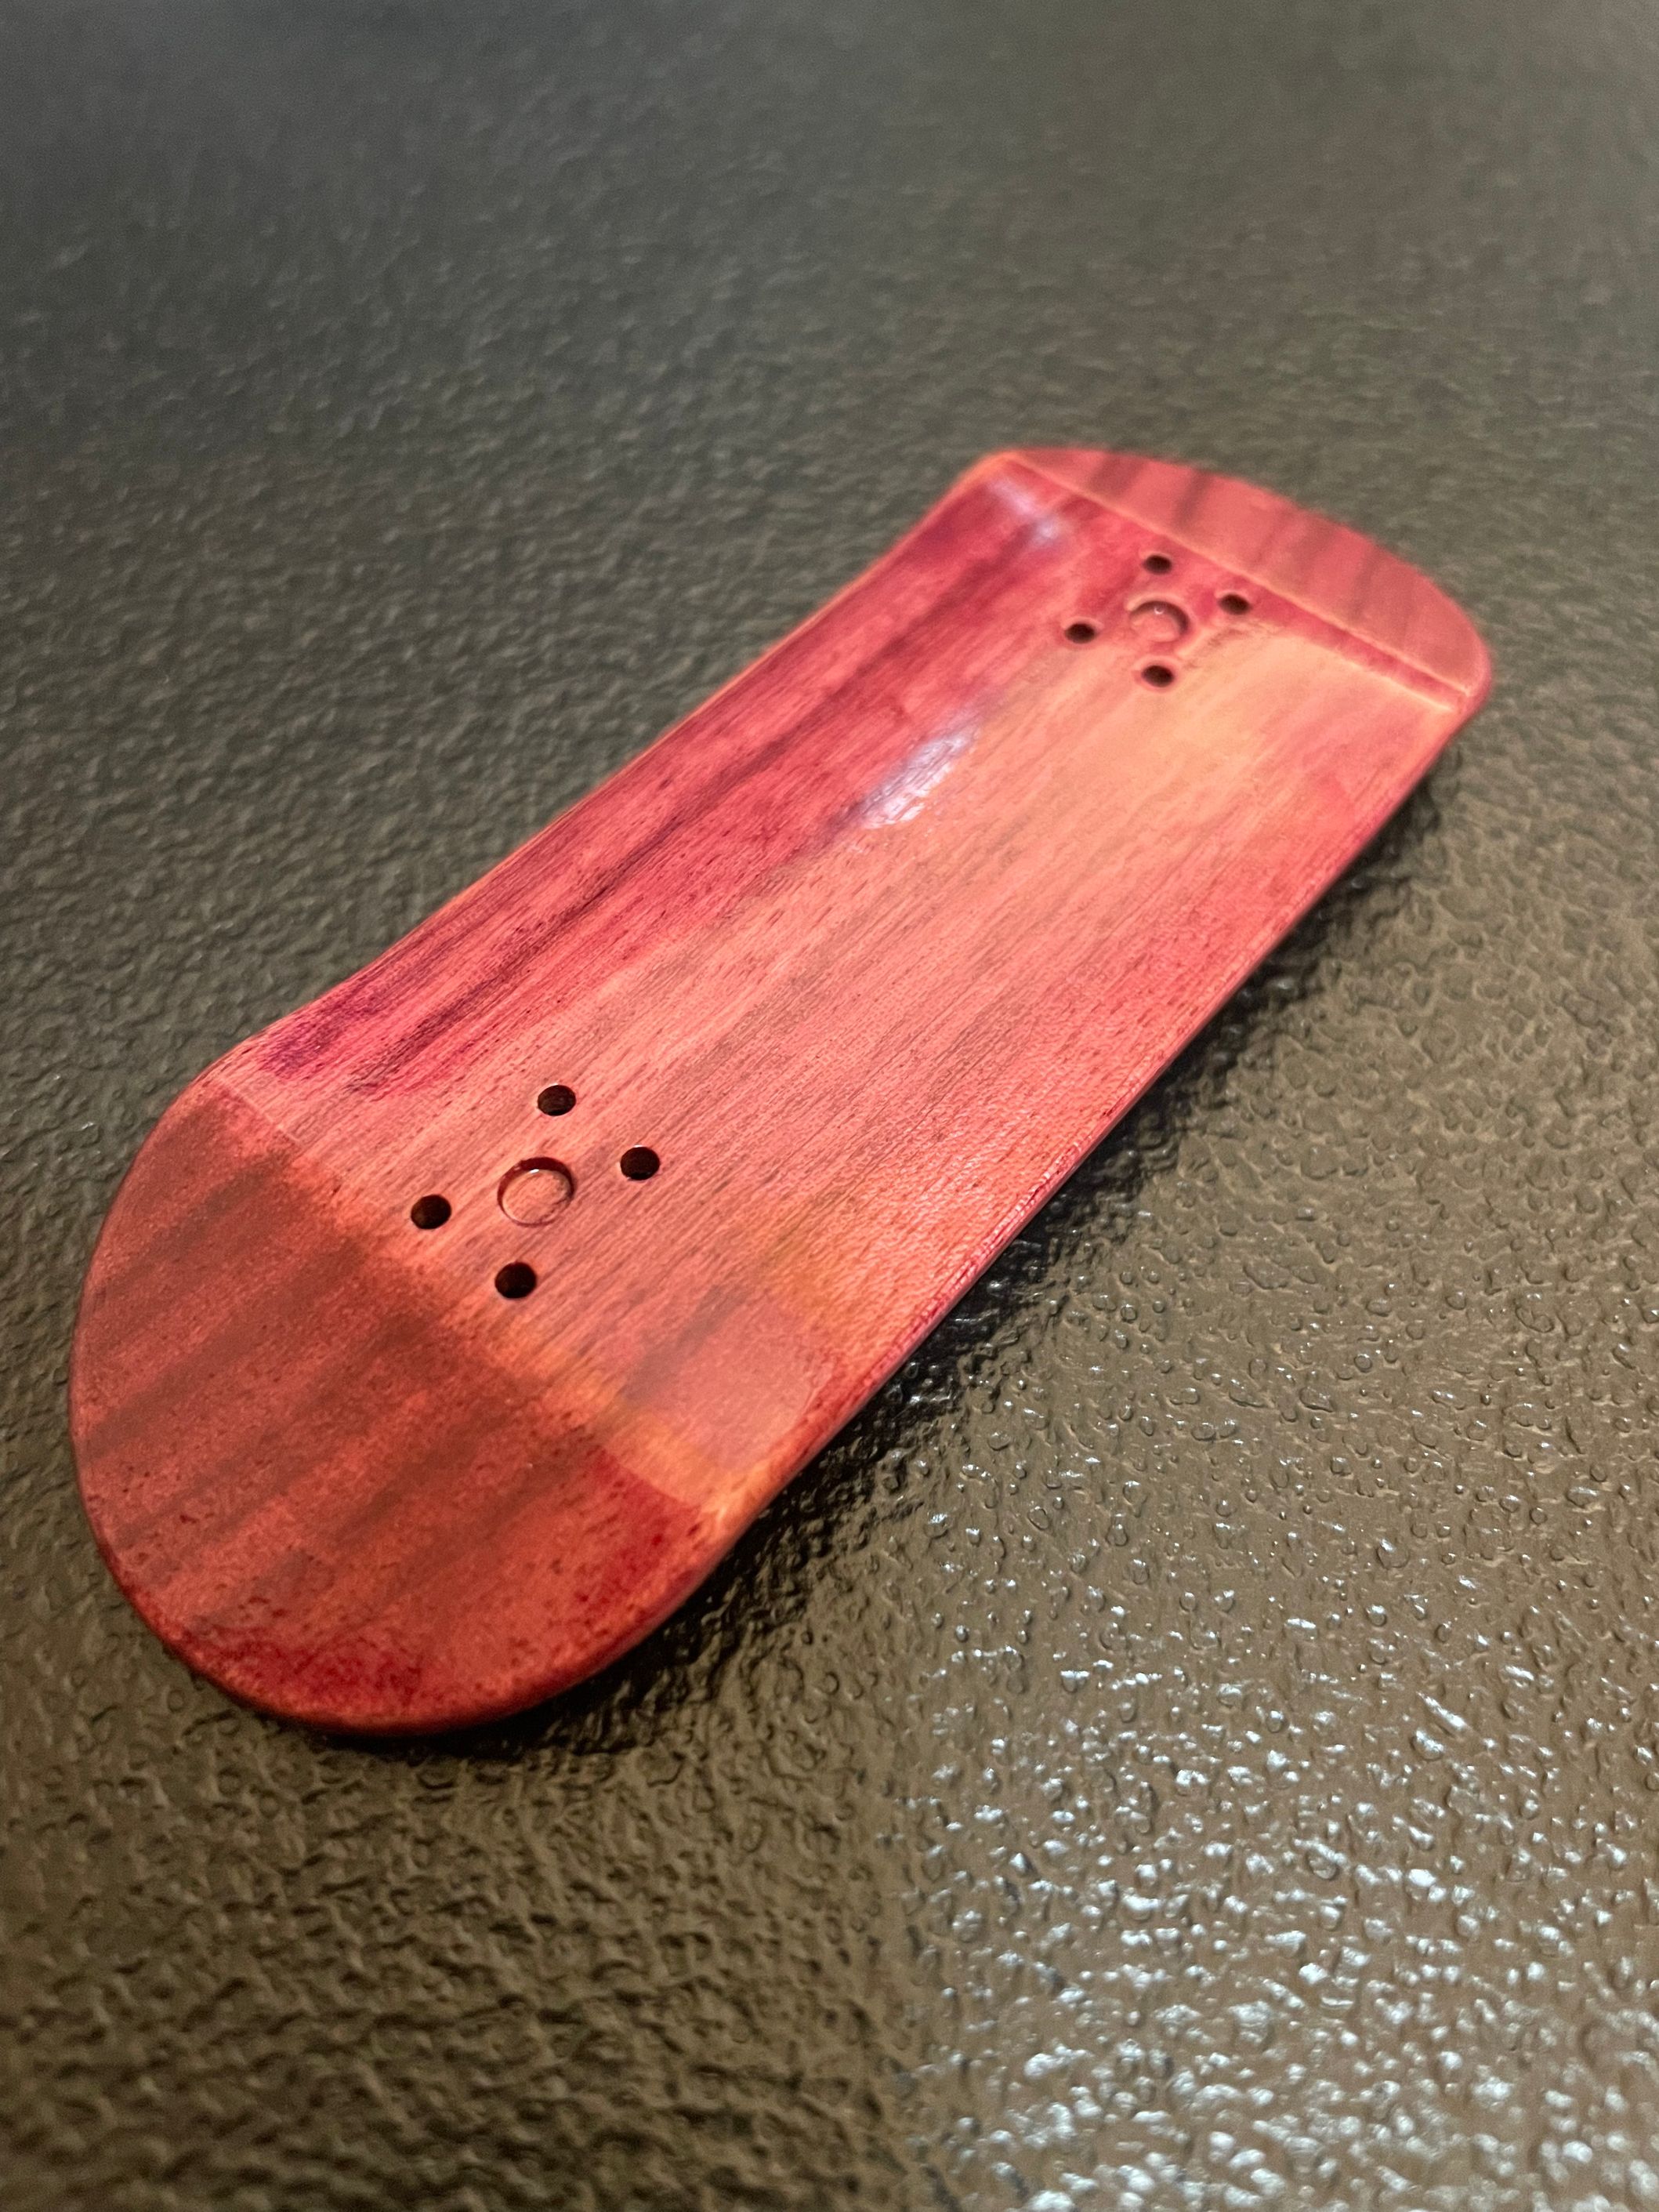
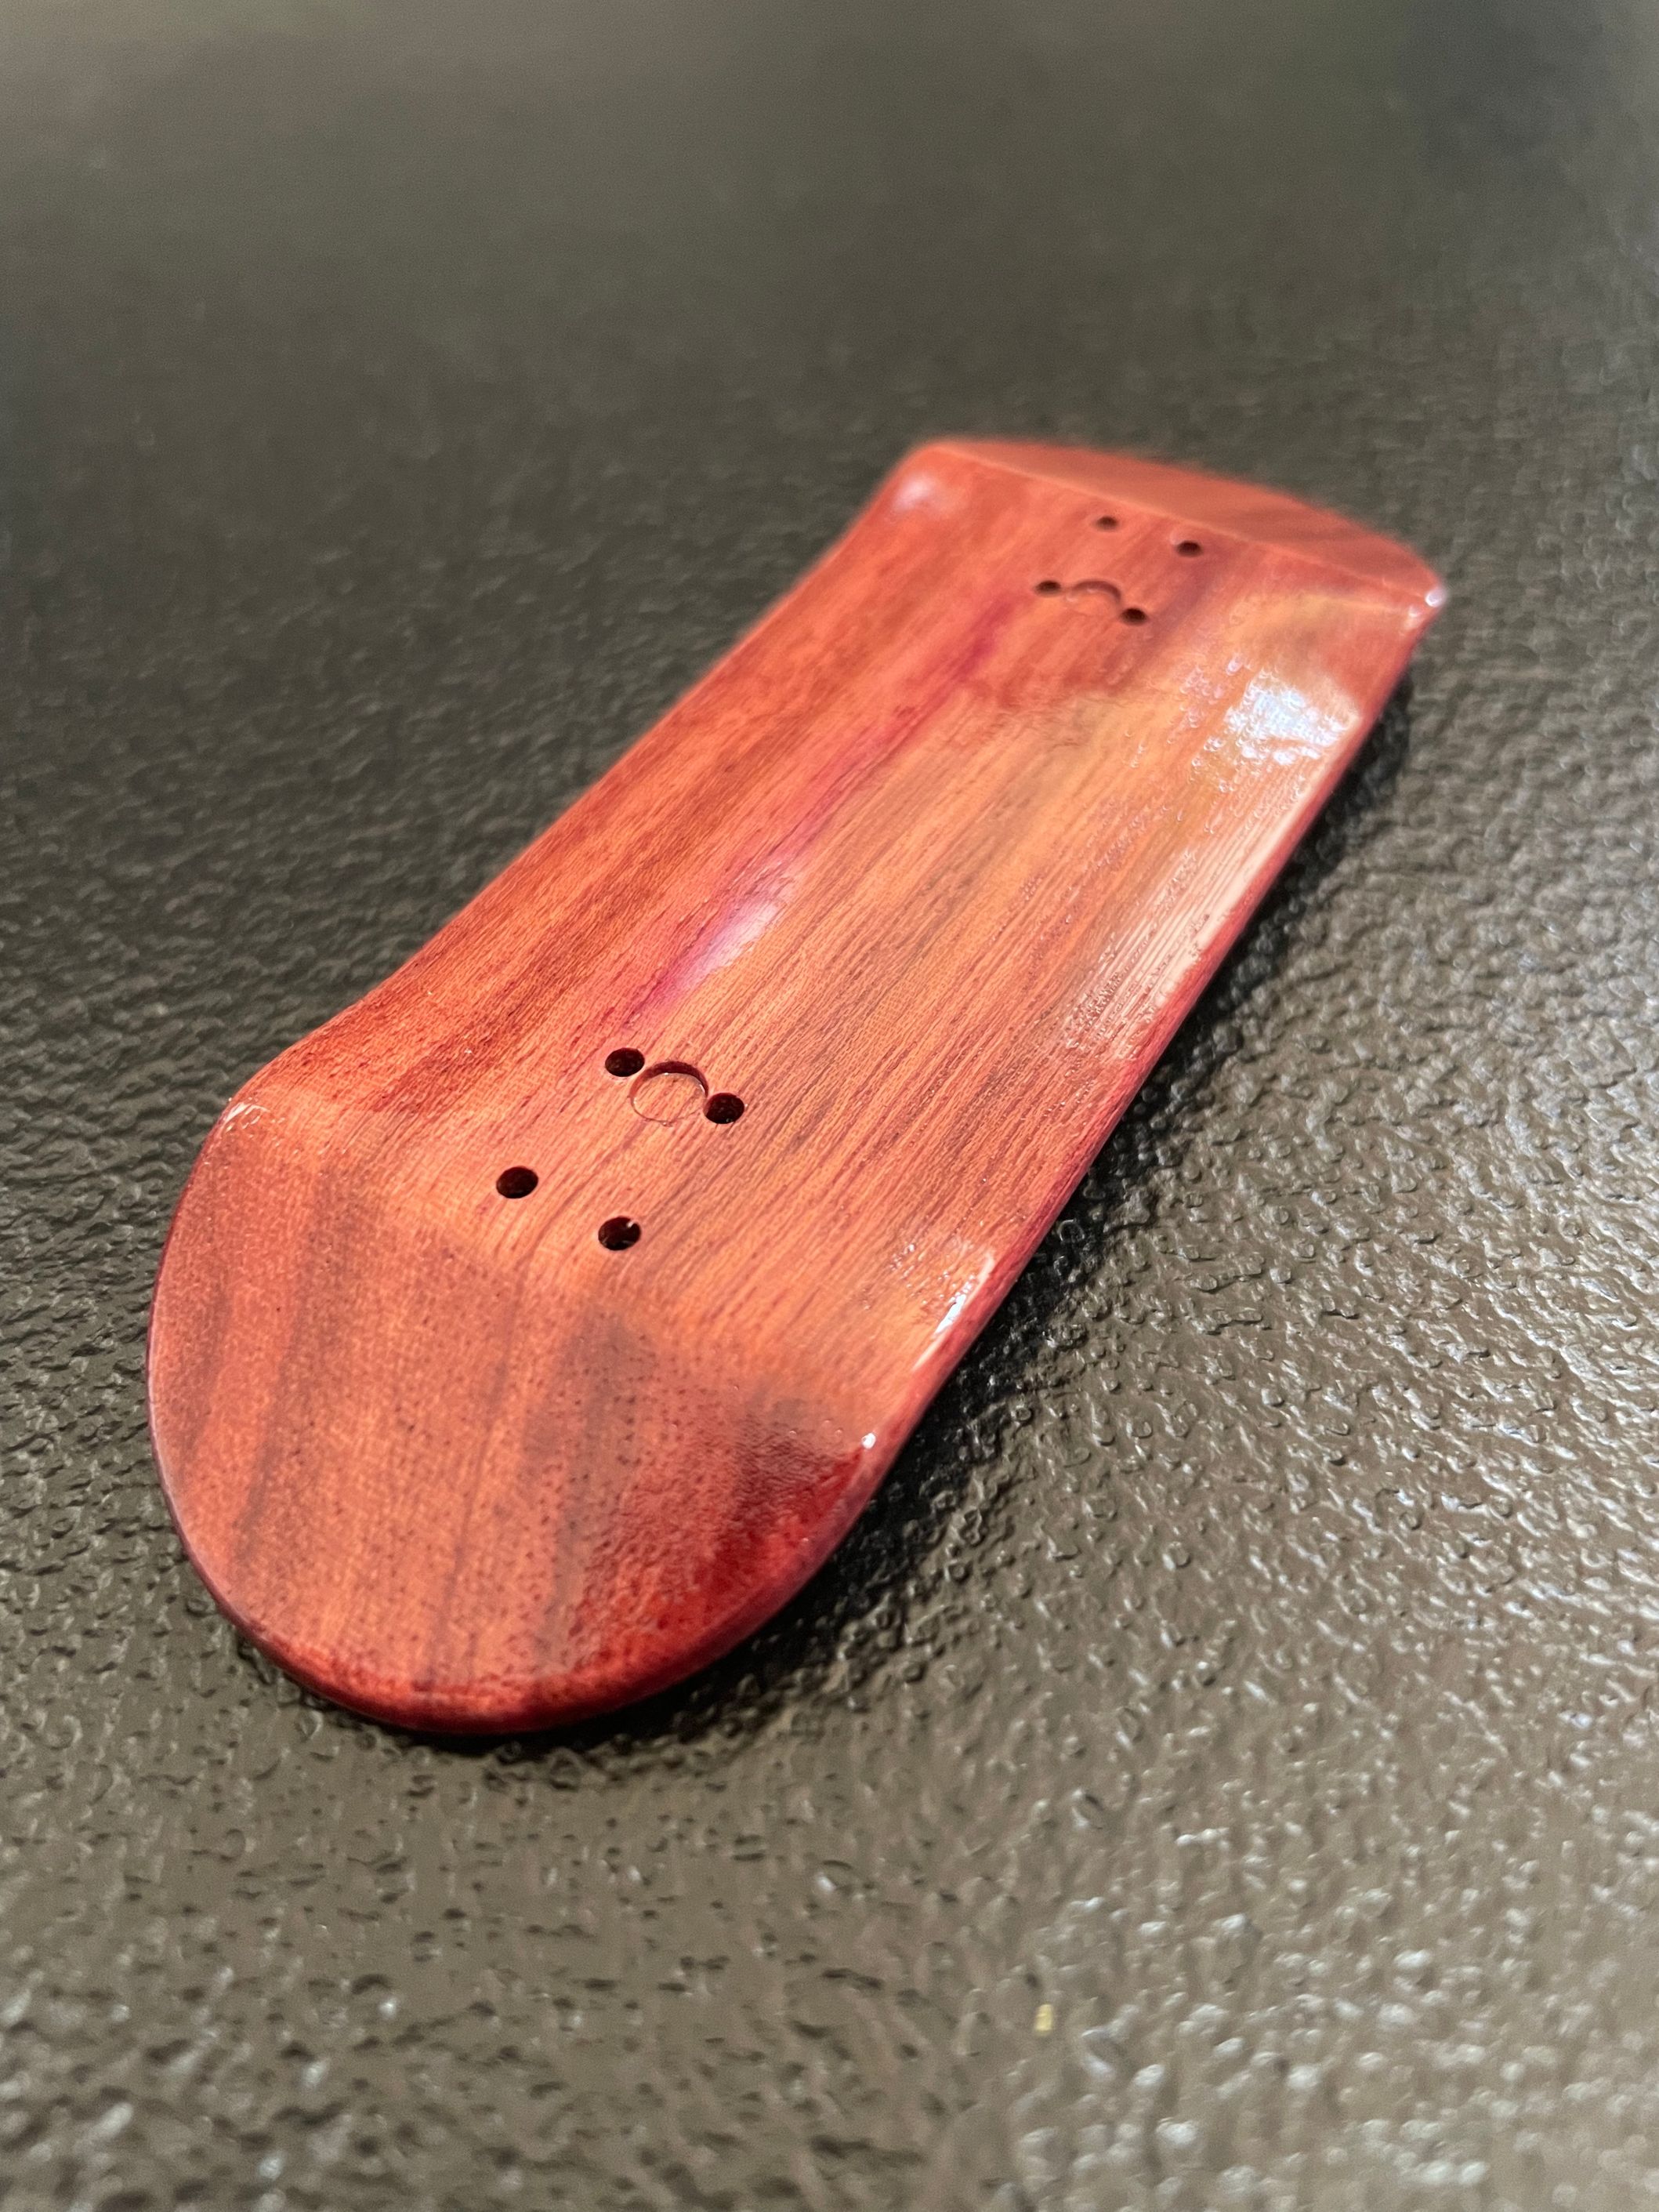
For V12 I used Purpleheart wood, which is stronger than Maple wood. This adds weight to the board which I preferred.
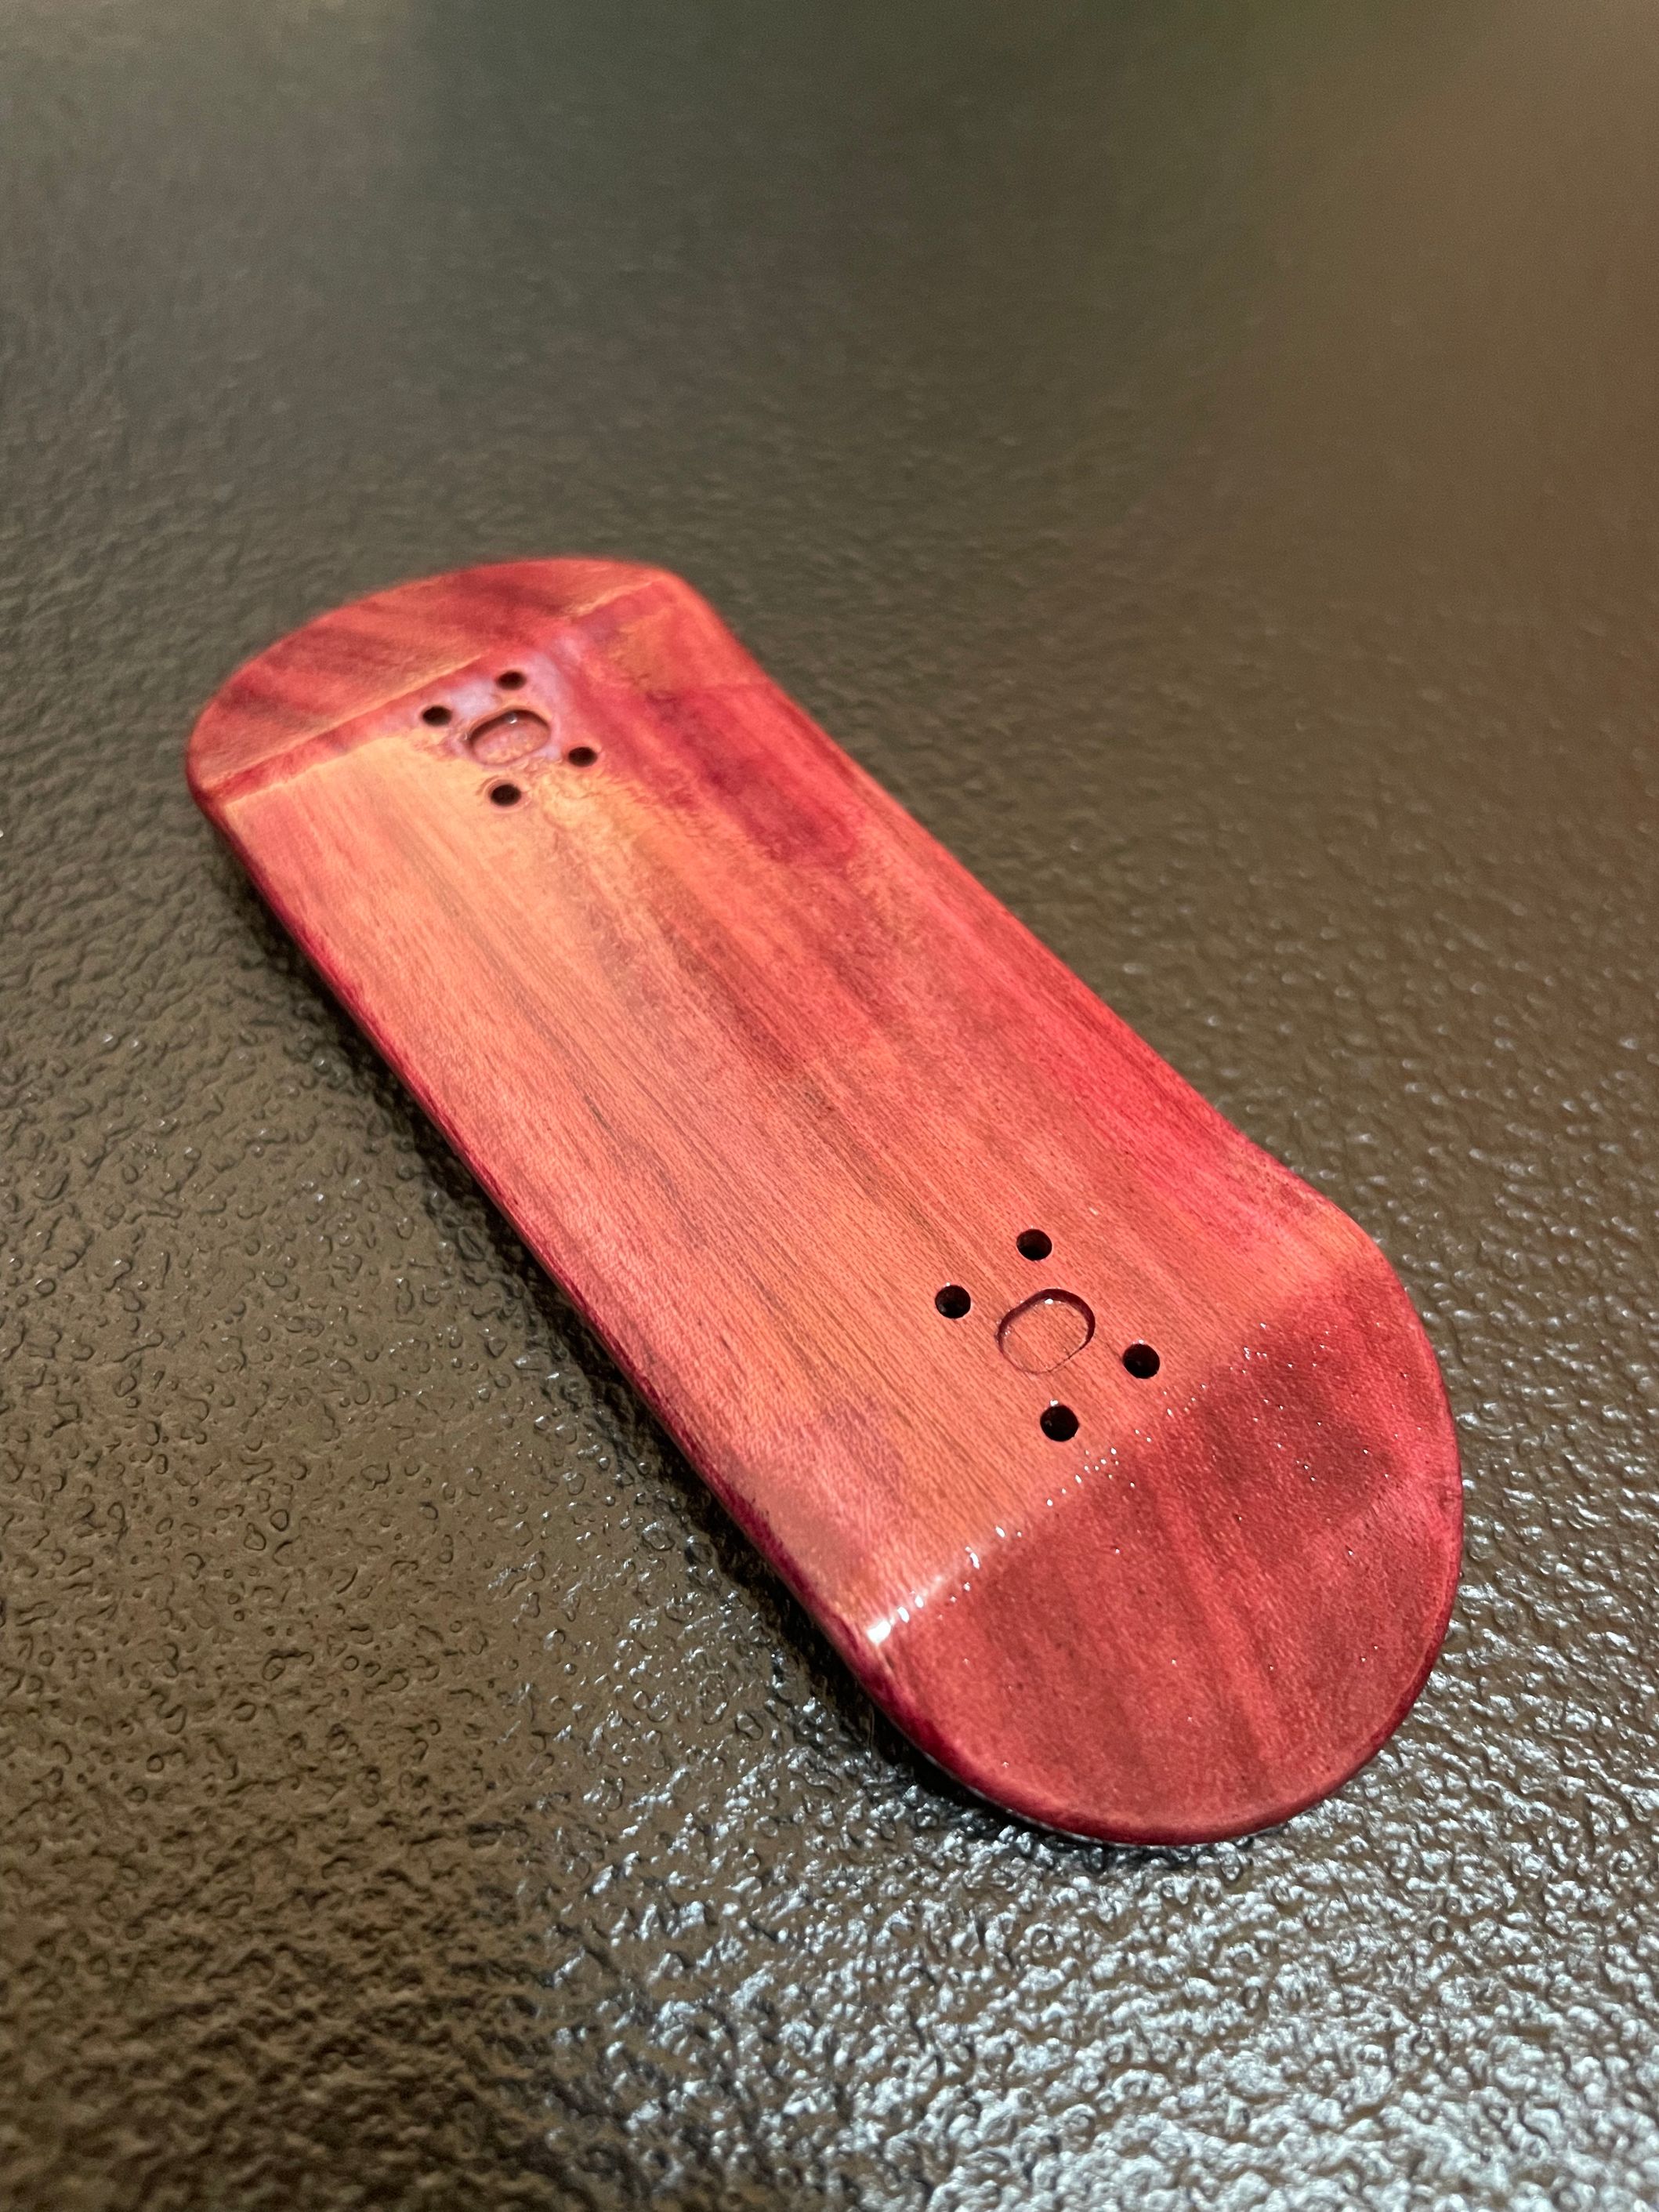
I love how the Purpleheart looks after adding lacquer.
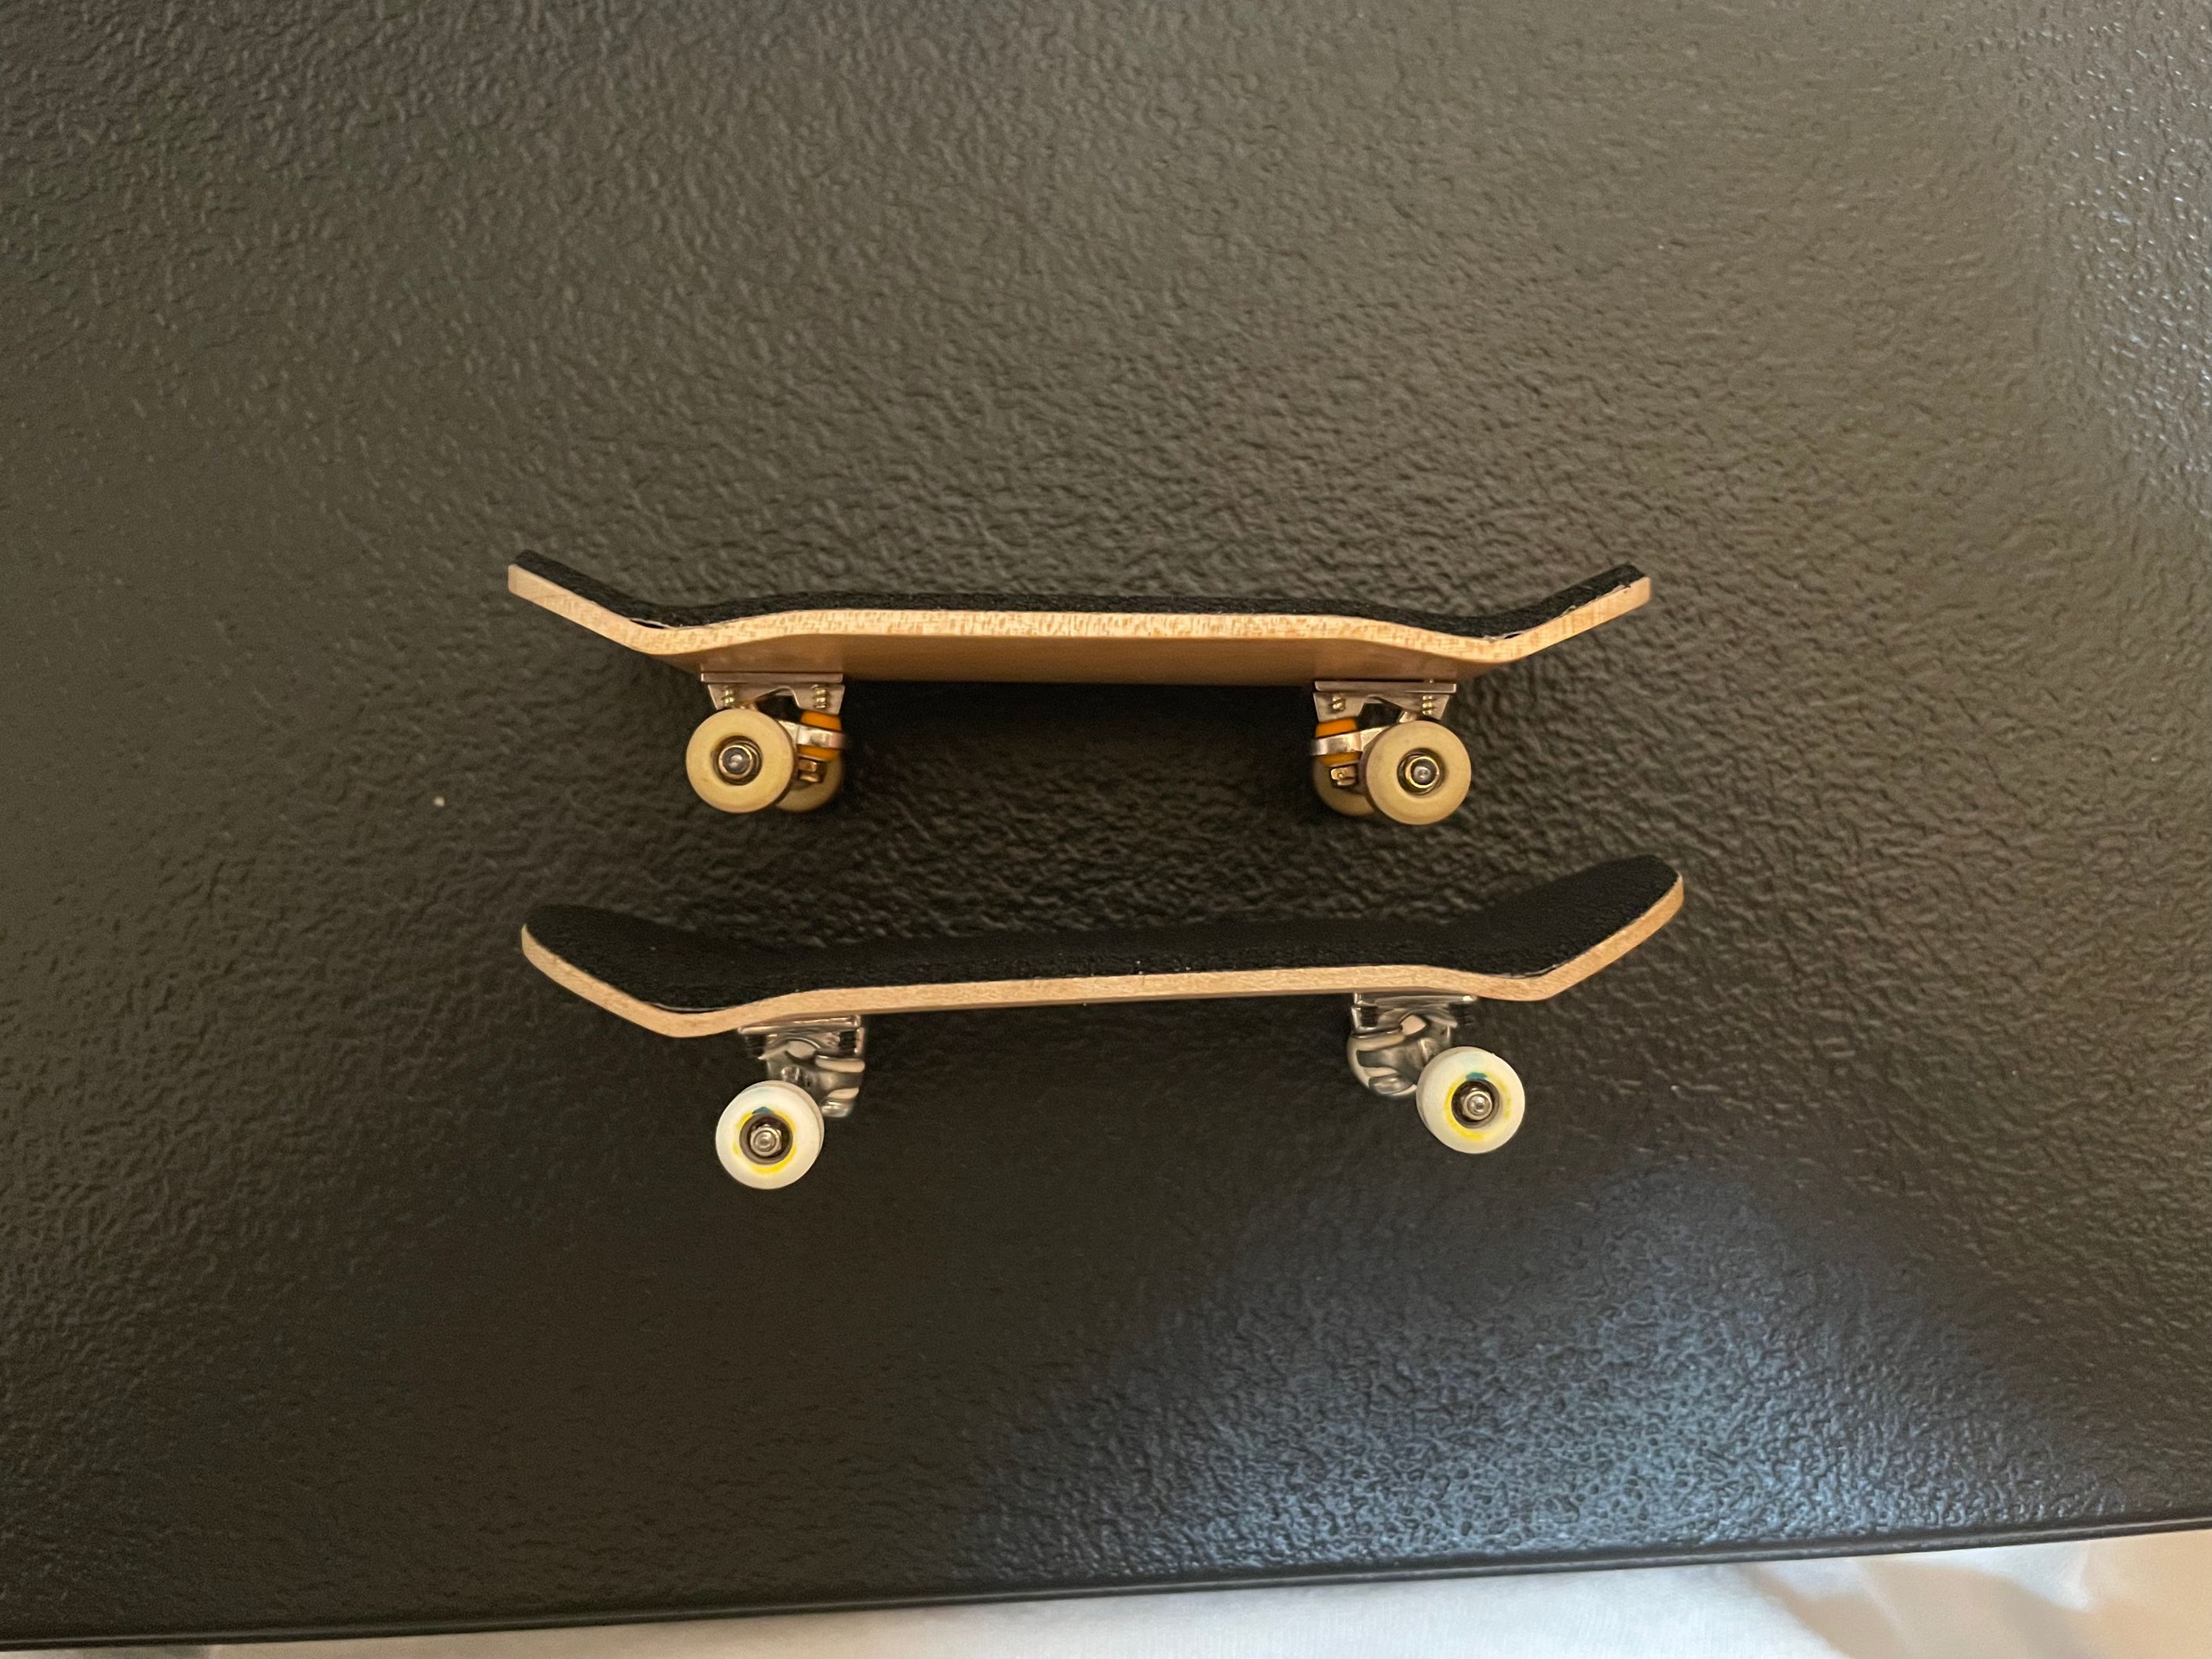
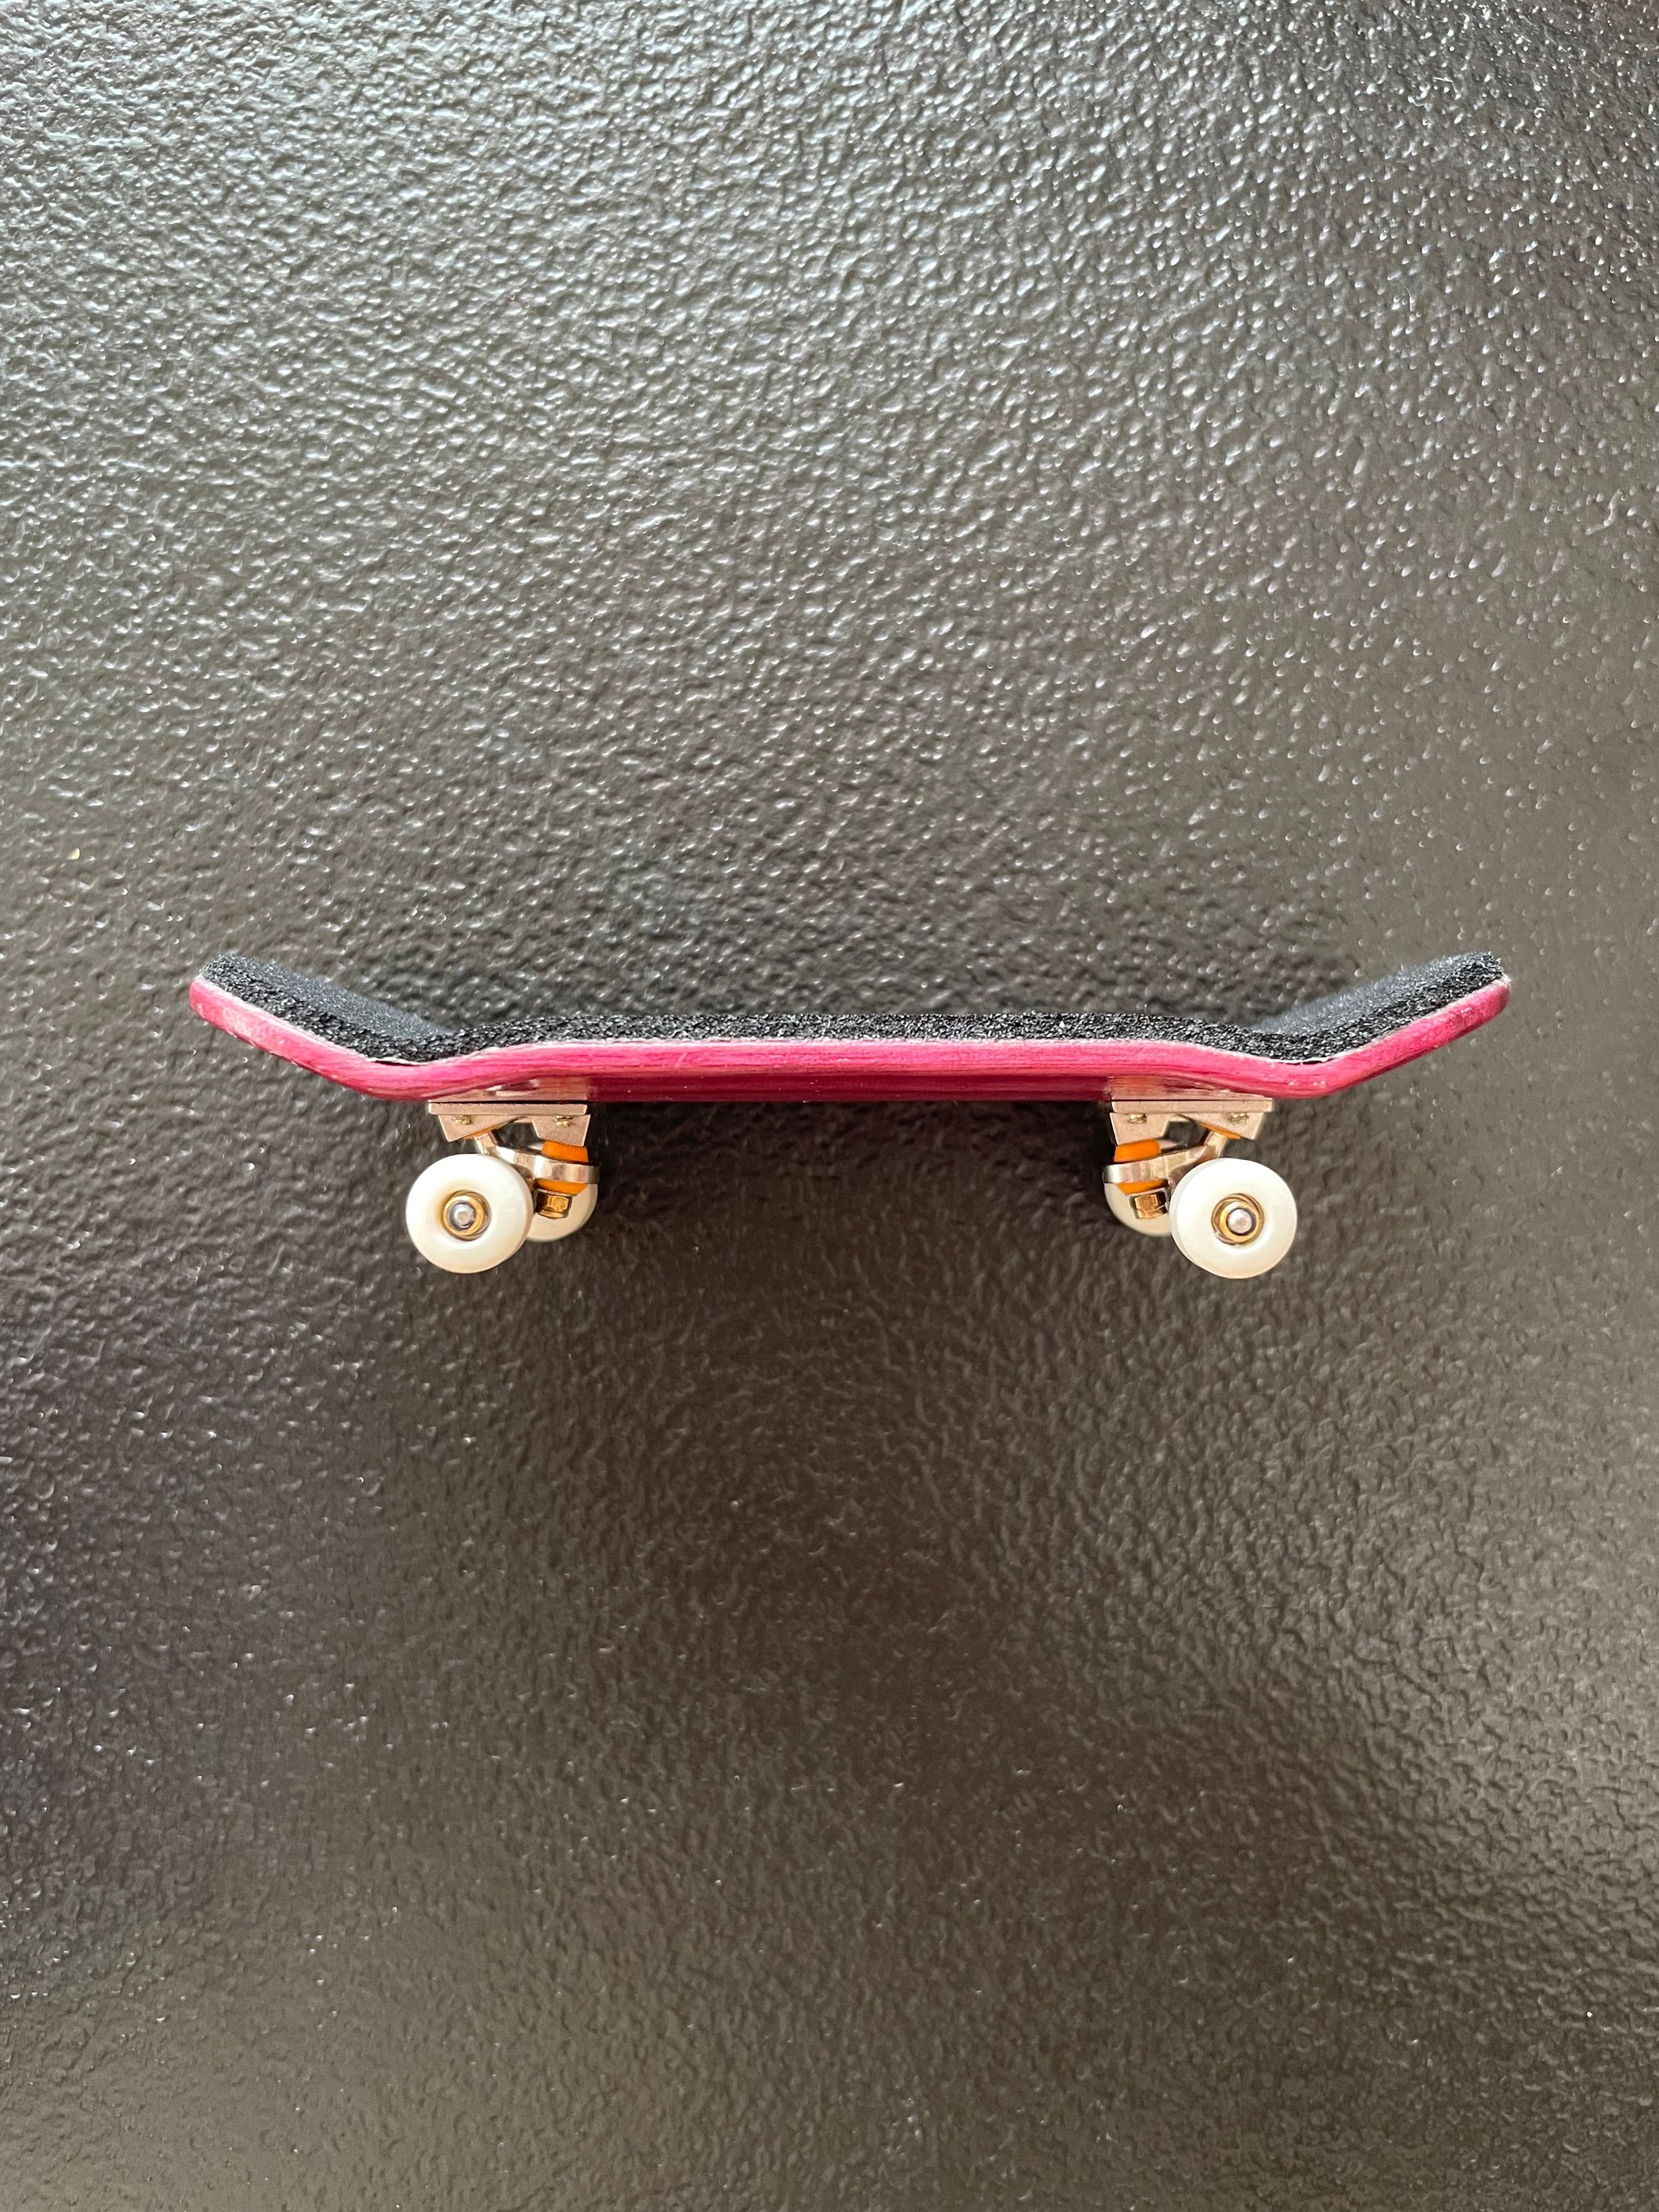
Here is a comparison of the weight between a standard, five ply veneer board and my Purpleheart board.
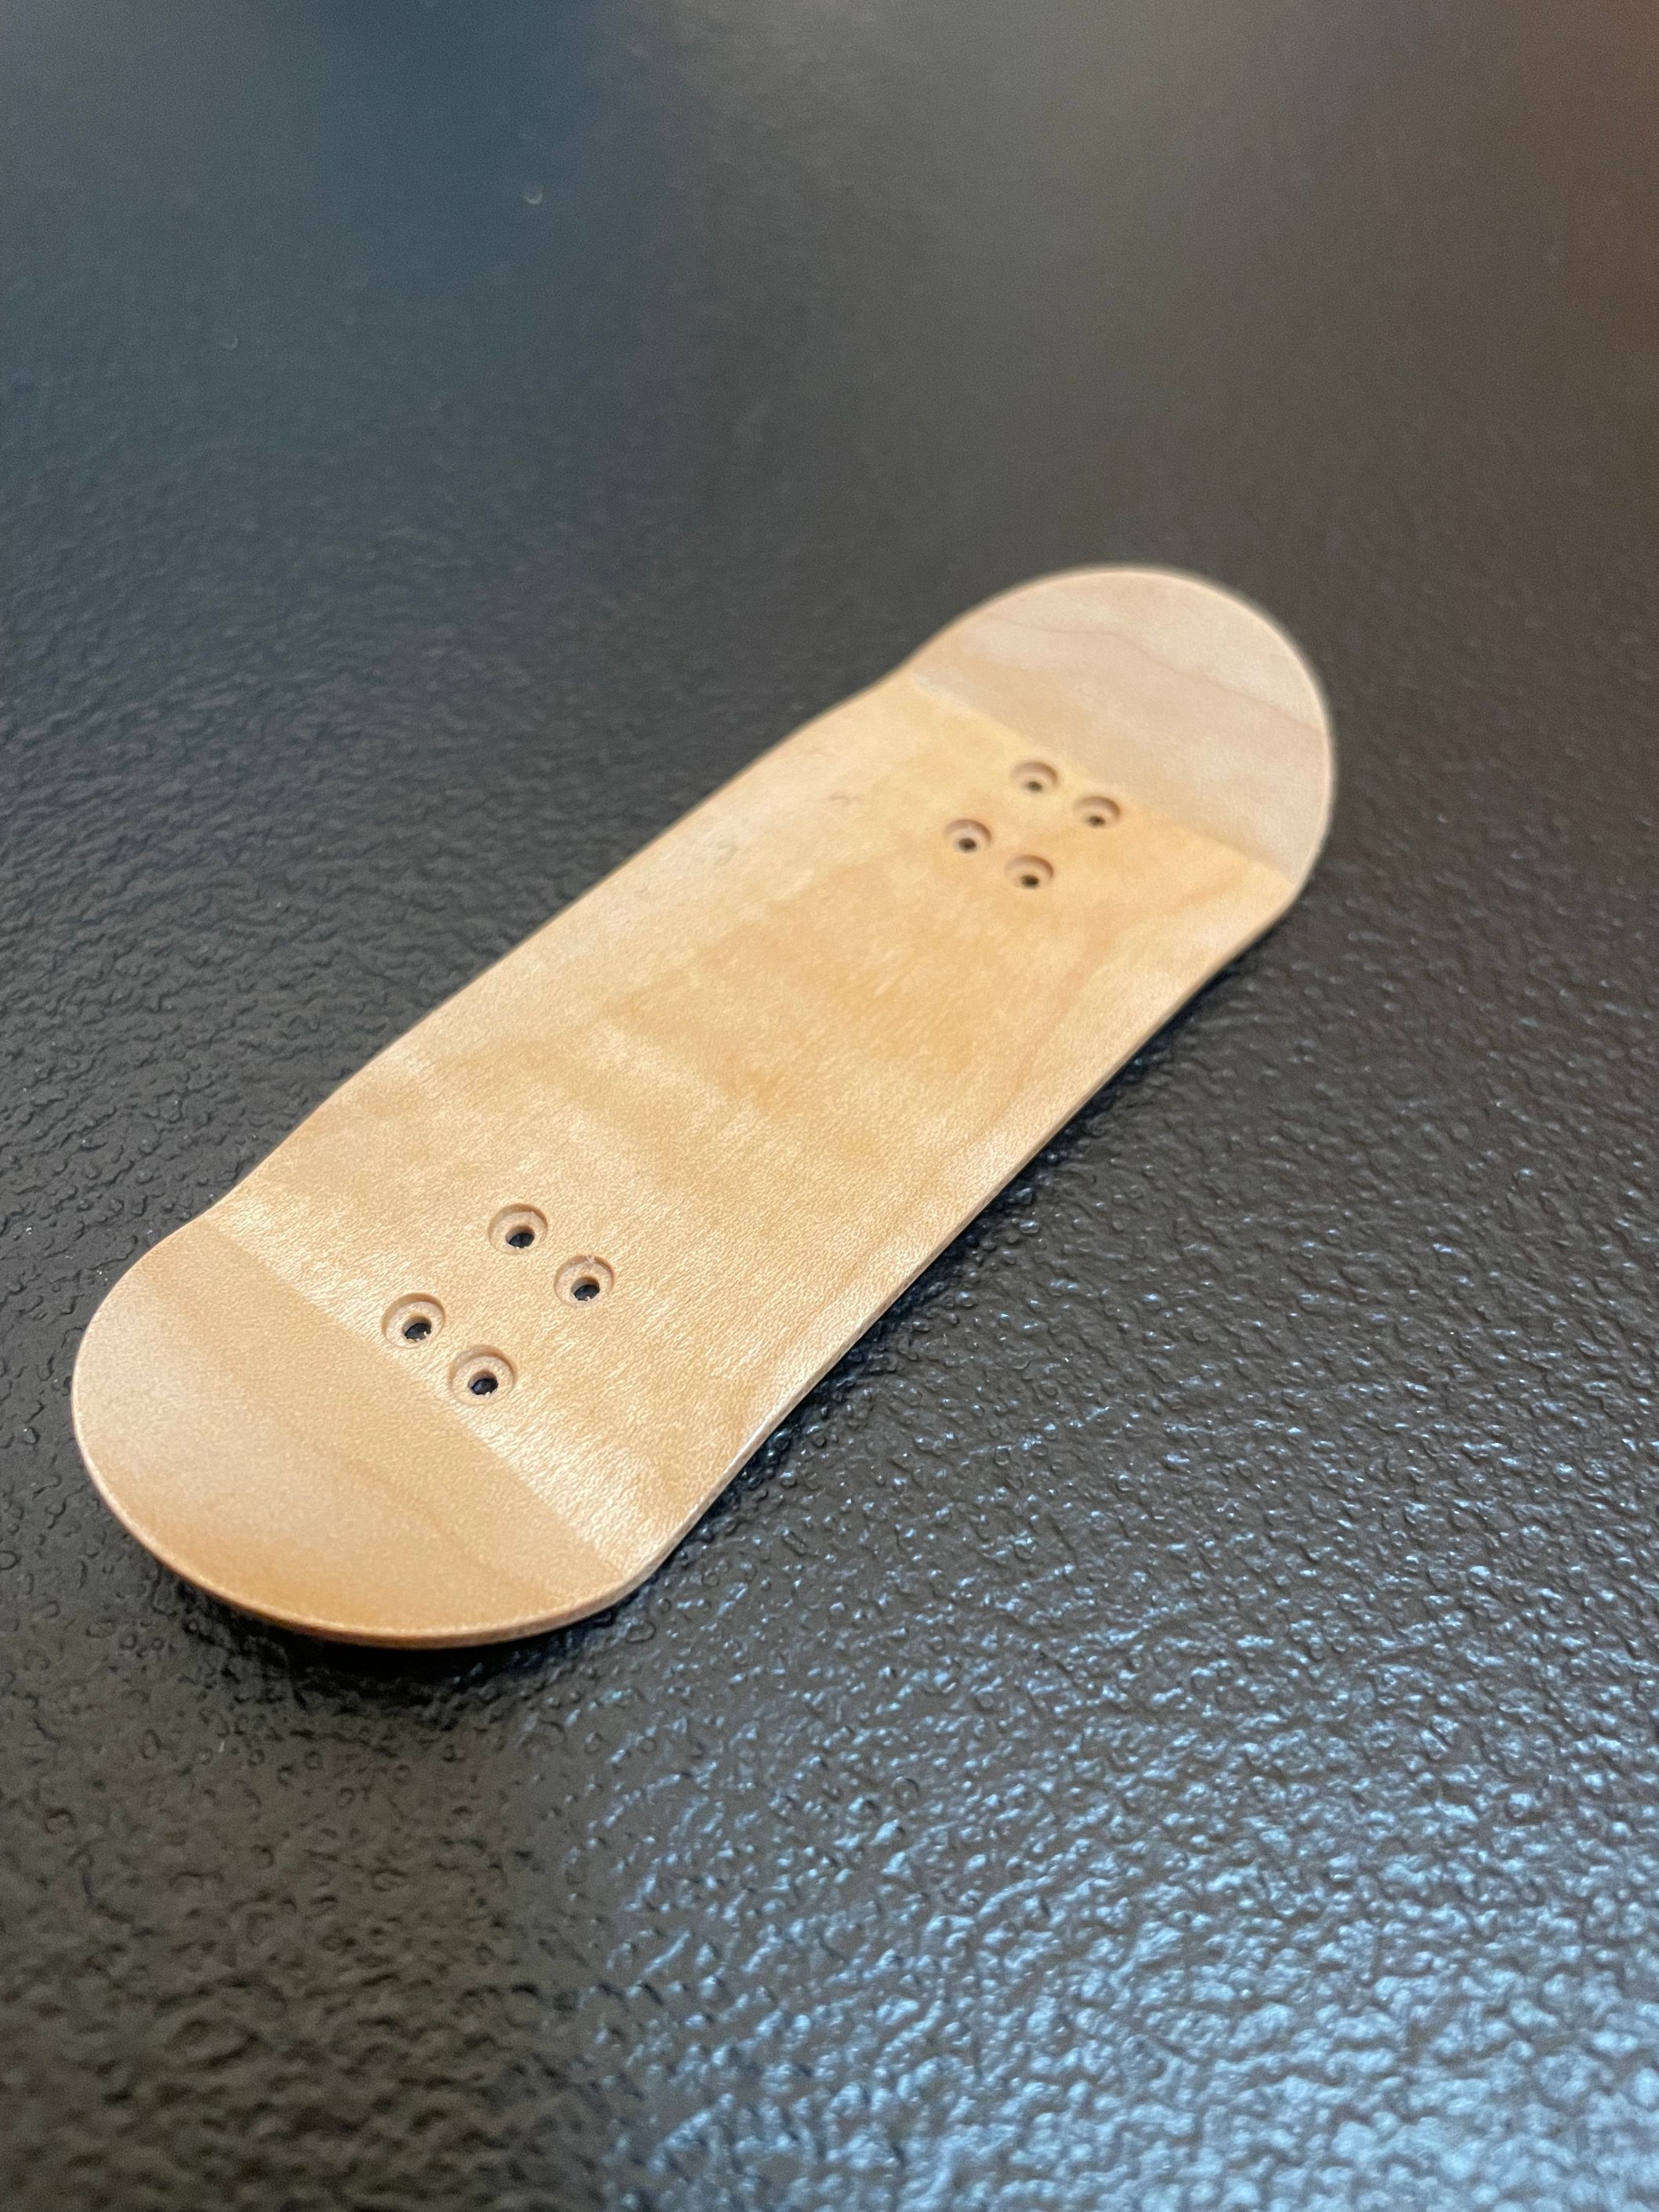
For V13 I made the alignment holes smaller, as the larger alignment holes affected the structural integrity of the board.
For V14 I made the alignment holes where the kingpin holes usually go. Kingpin holes help your trucks sit flat on the board.
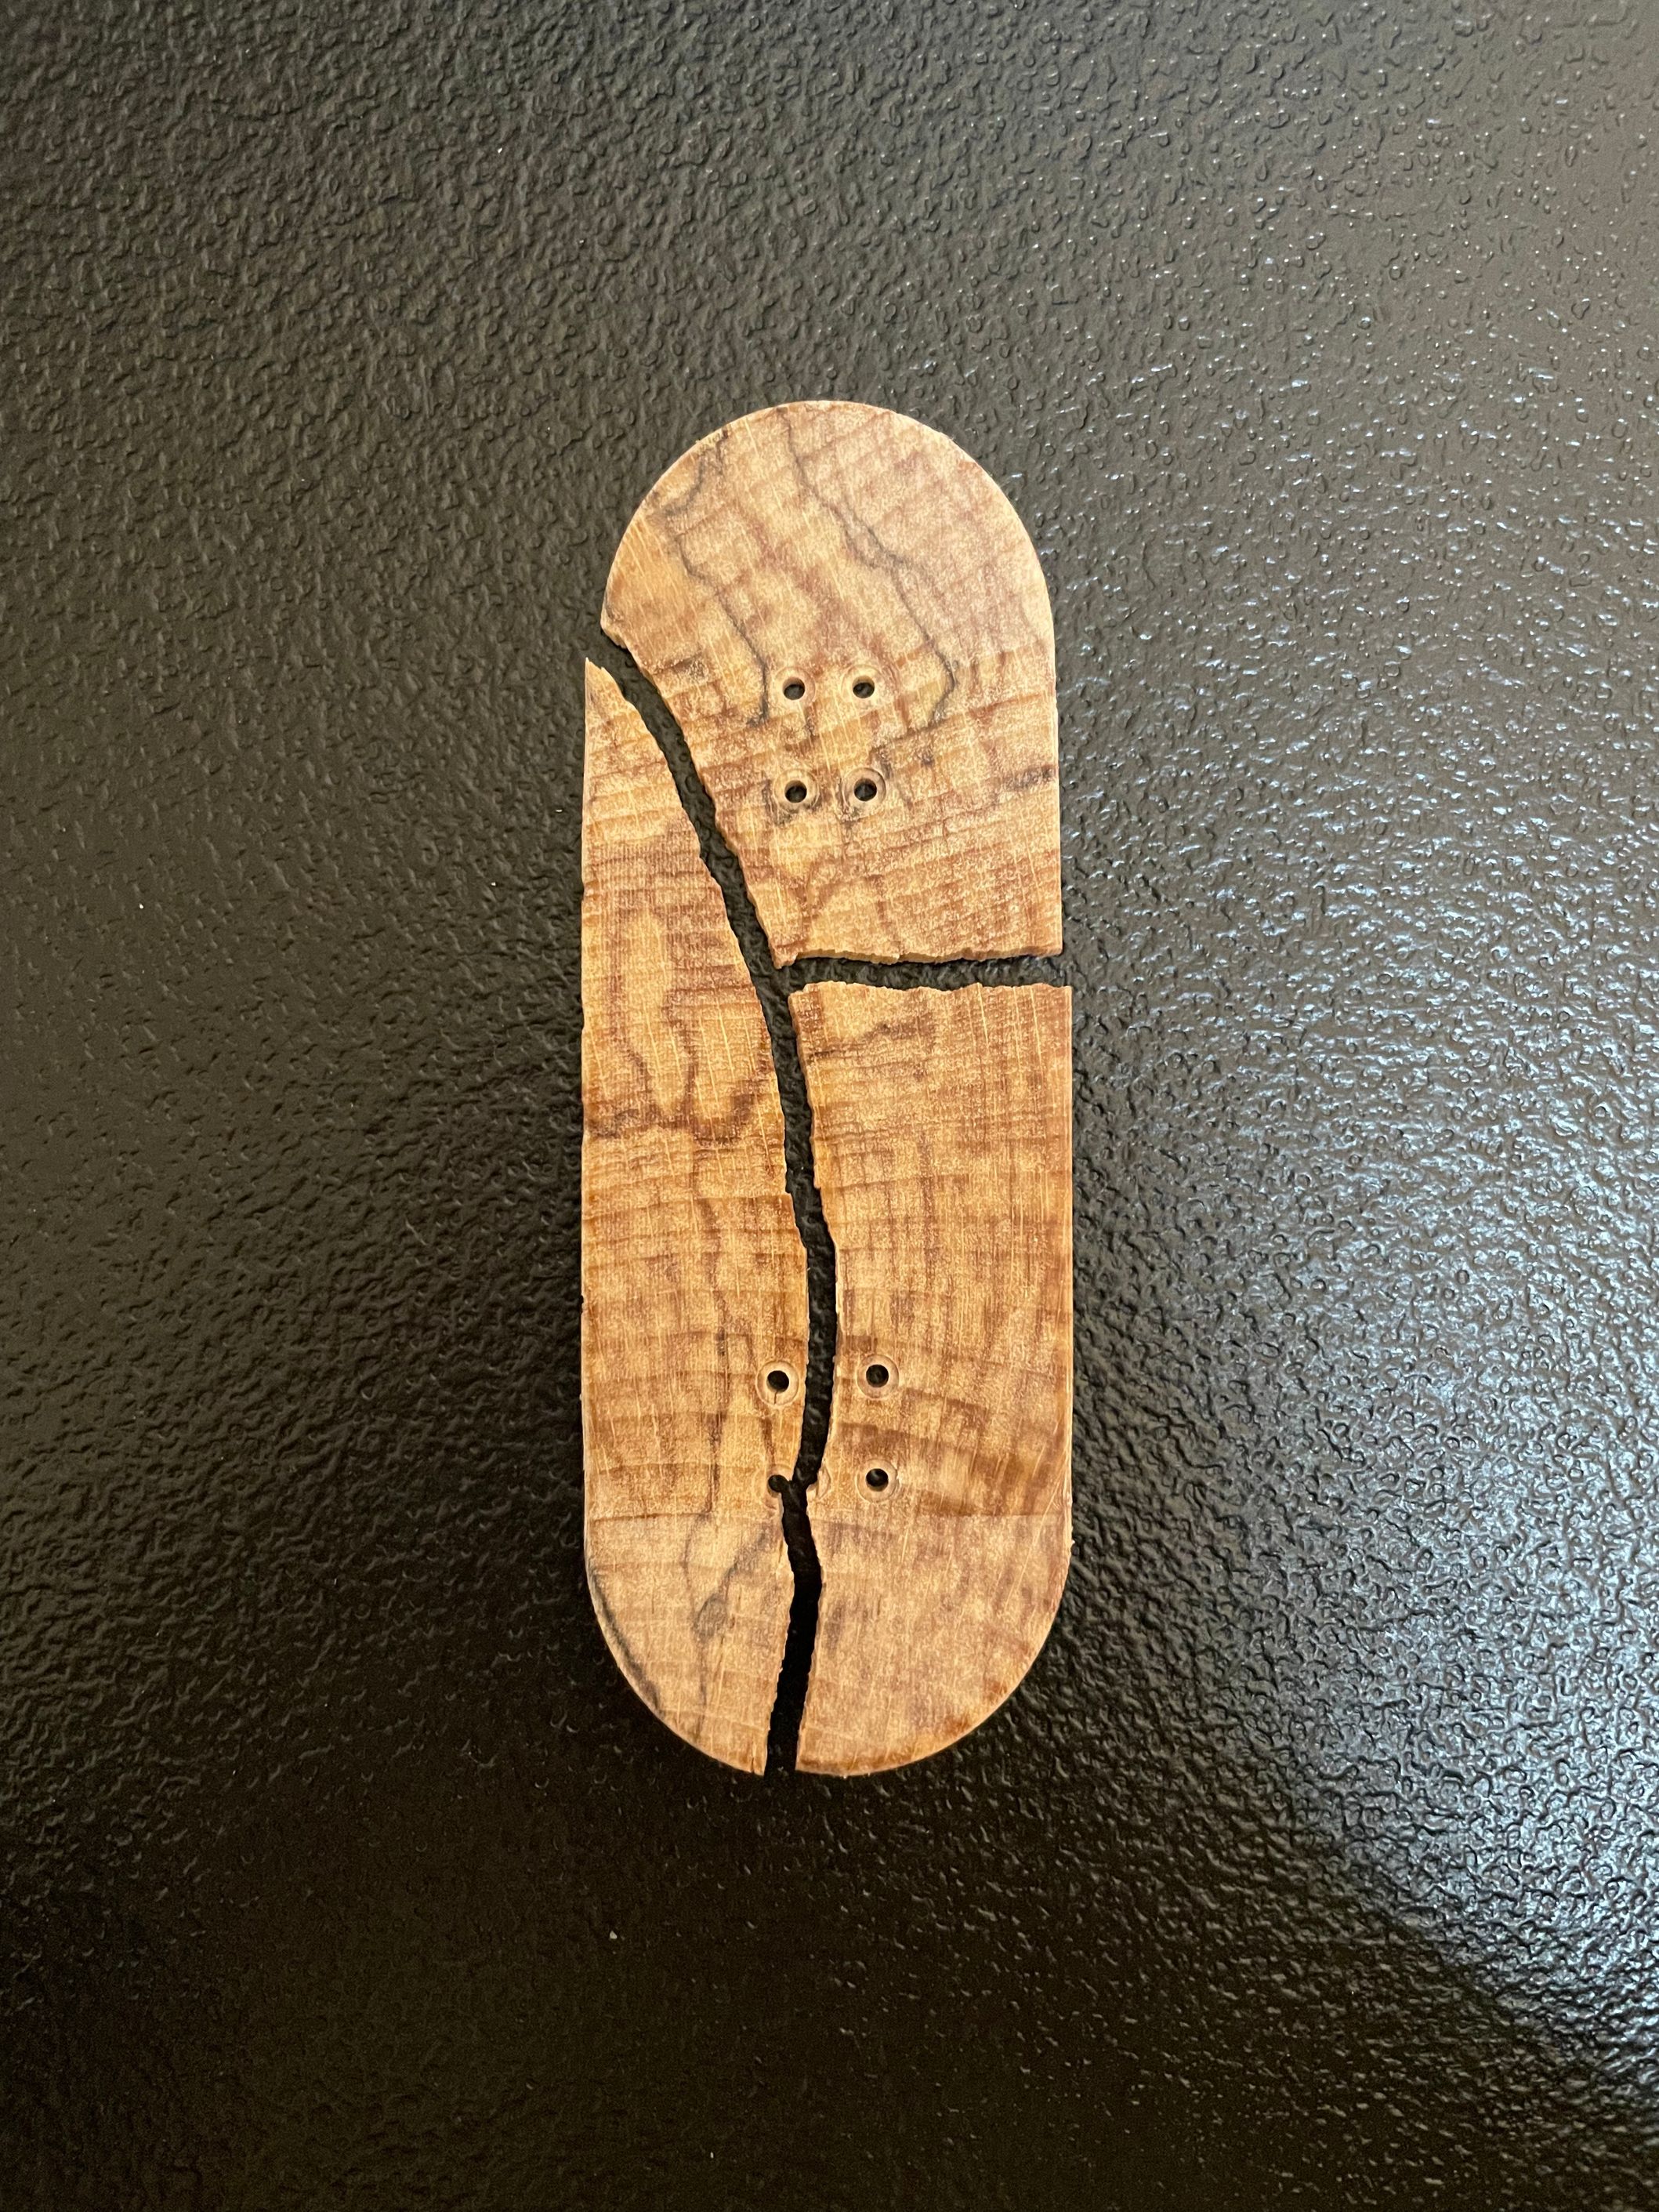
I got some blocks of stabilized wood on eBay. Stabilized wood is wood infused with resin. I wanted to test out boards made of stabilized wood.
The stabilized wood turned out to be a failure. The board was very brittle.
From this project, my favorite board was V13. I still use it.
Tre flip 50/50.